
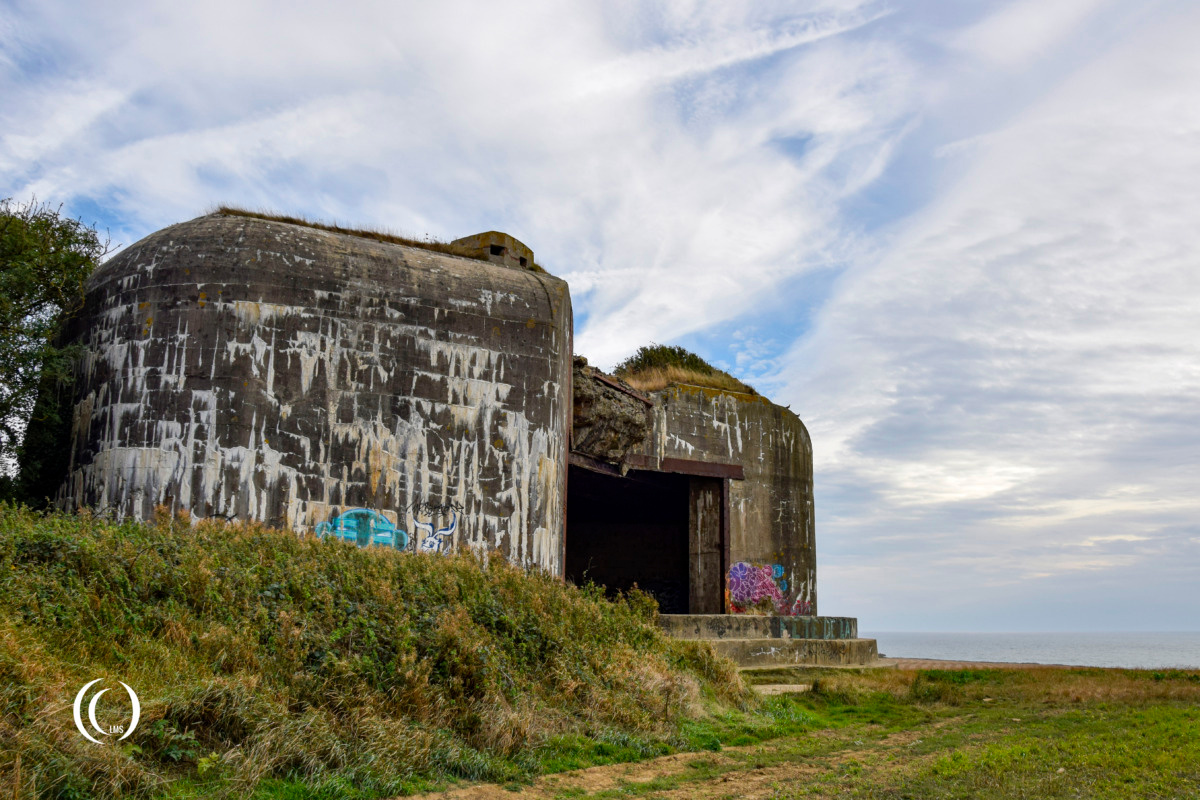
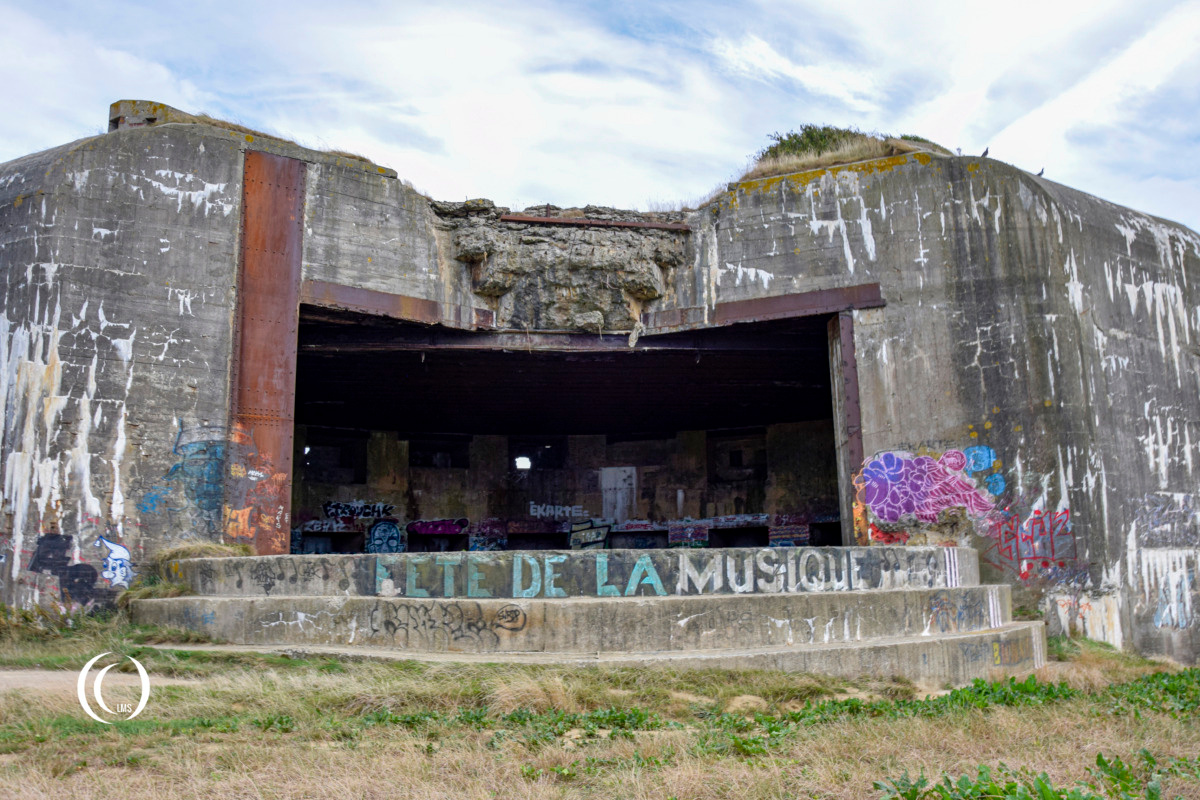
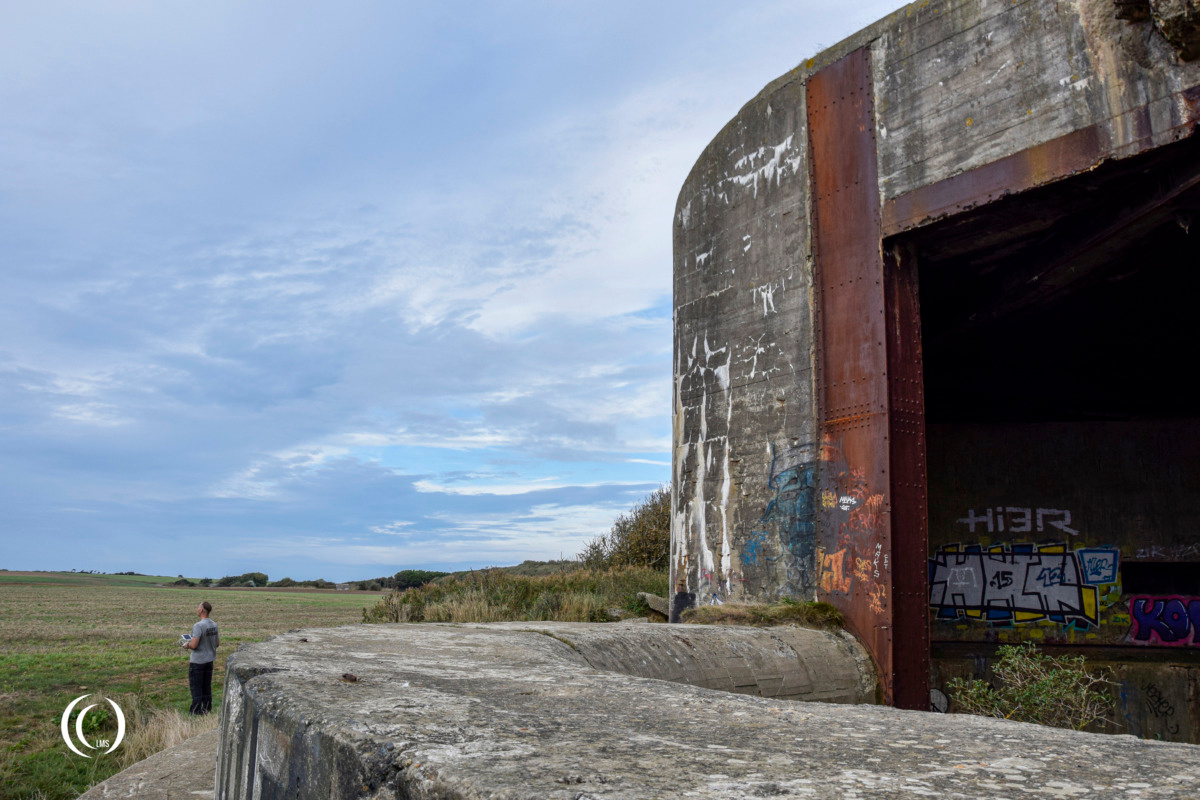
Turm IV of Batterie Todt lies at the edge of the forest of Haringzelles overlooking the English Channel. Compared to nearby Turm II and Turm III it is in relatively good shape, considering it’s much more exposed to the elements. You can walk around the bunker and even have a look inside. The firing chamber that originally housed the Krupp 380mm (15 inch) SK C/34 naval gun inside a C/39 armored turret (Ger: Bettungsschiessgerüst) can sometimes have water in it, especially after the wet season.


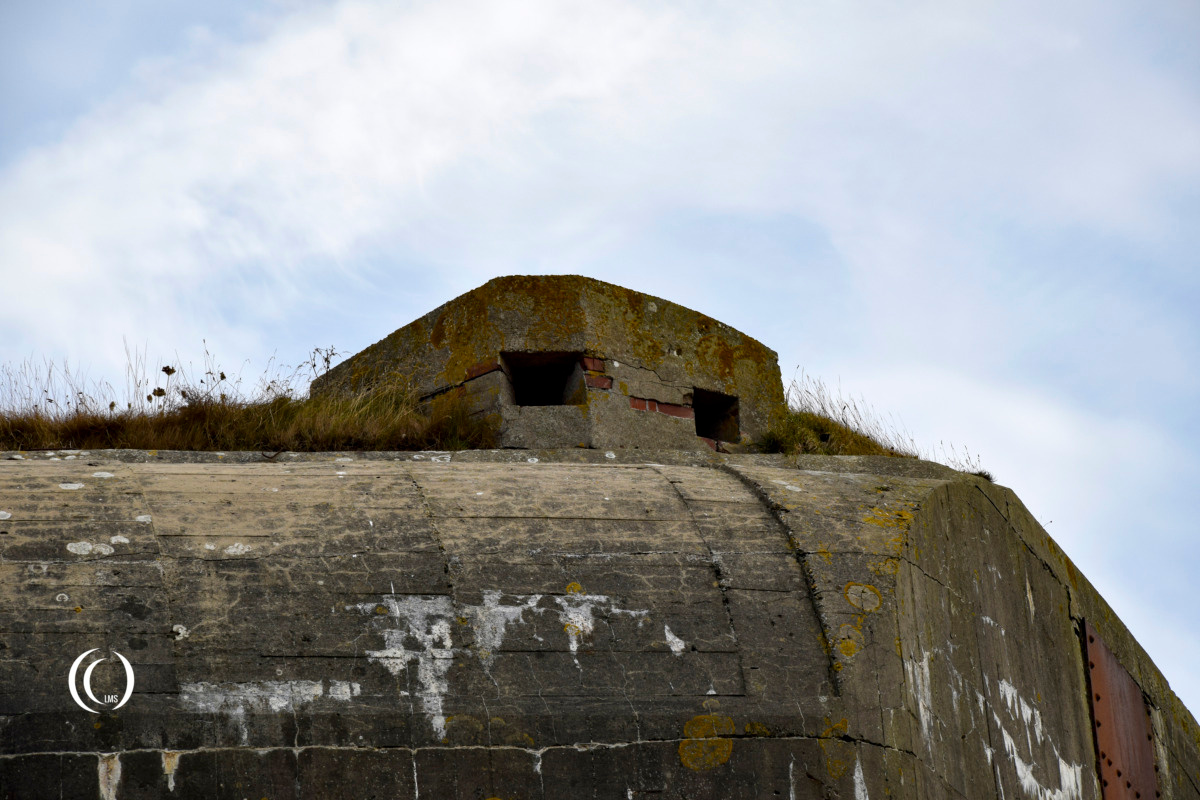
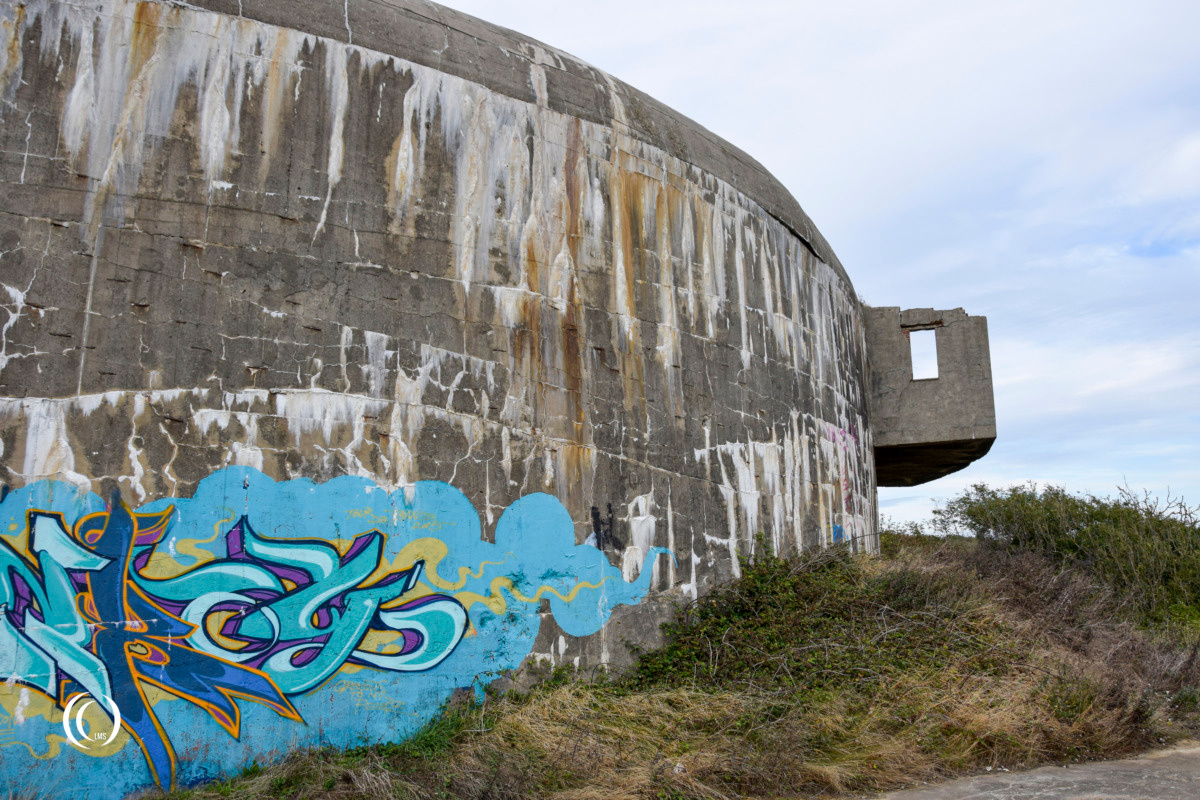
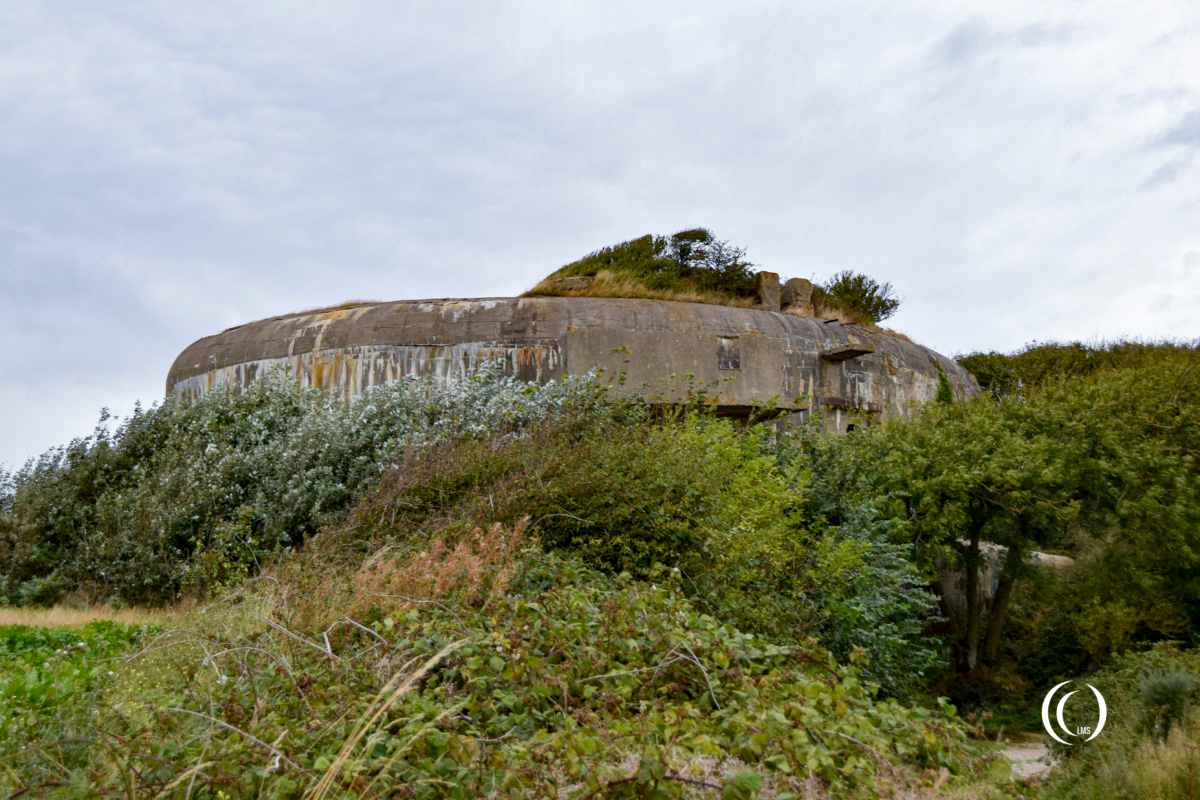
Bunker interior
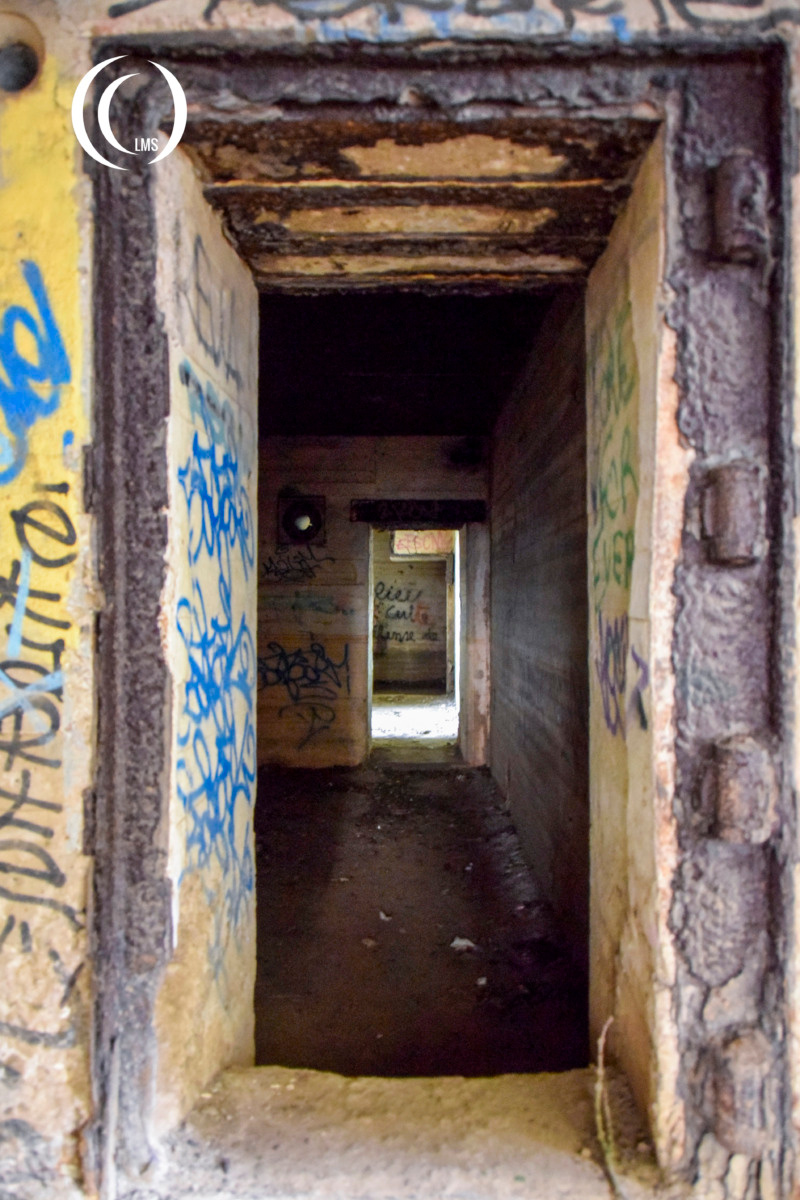
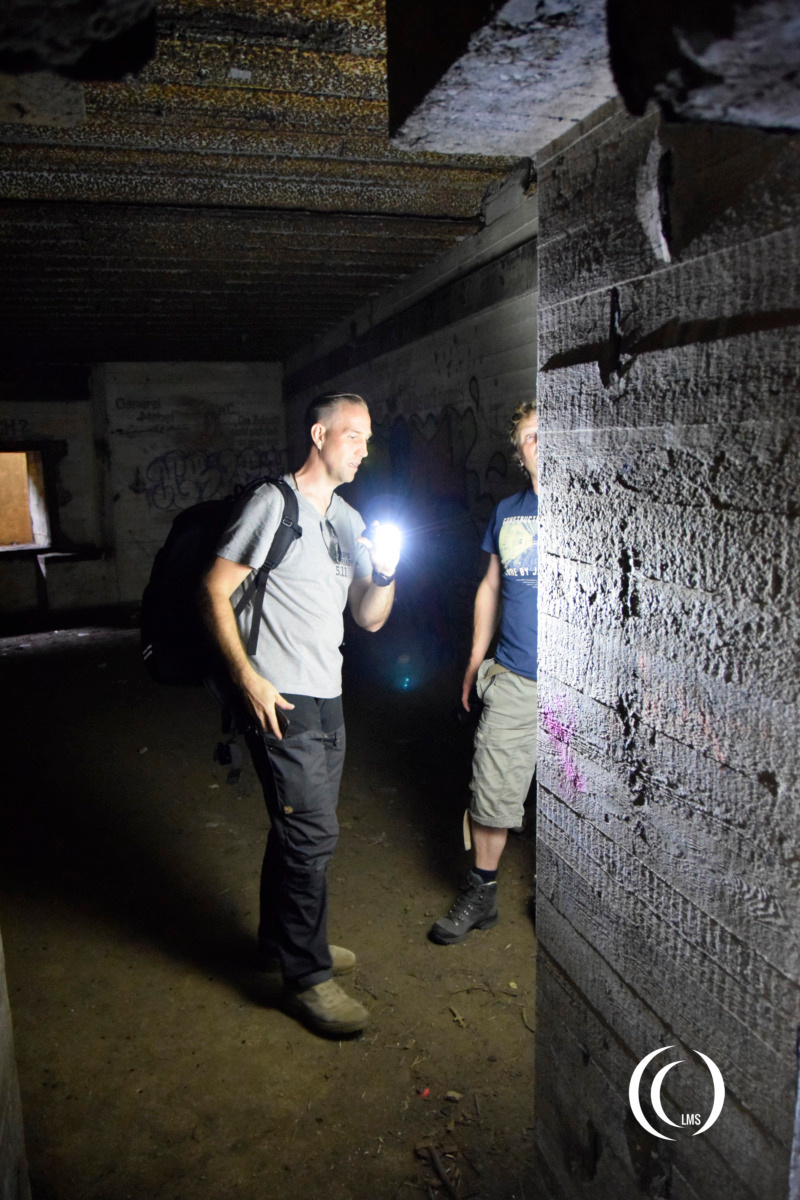
At this bunker you also have a chance to have a look inside, but be careful because this is at your own risk. You can visit the ammunition storage, machine room, crew room and the corridor behind the firing chamber.
Firing Chamber
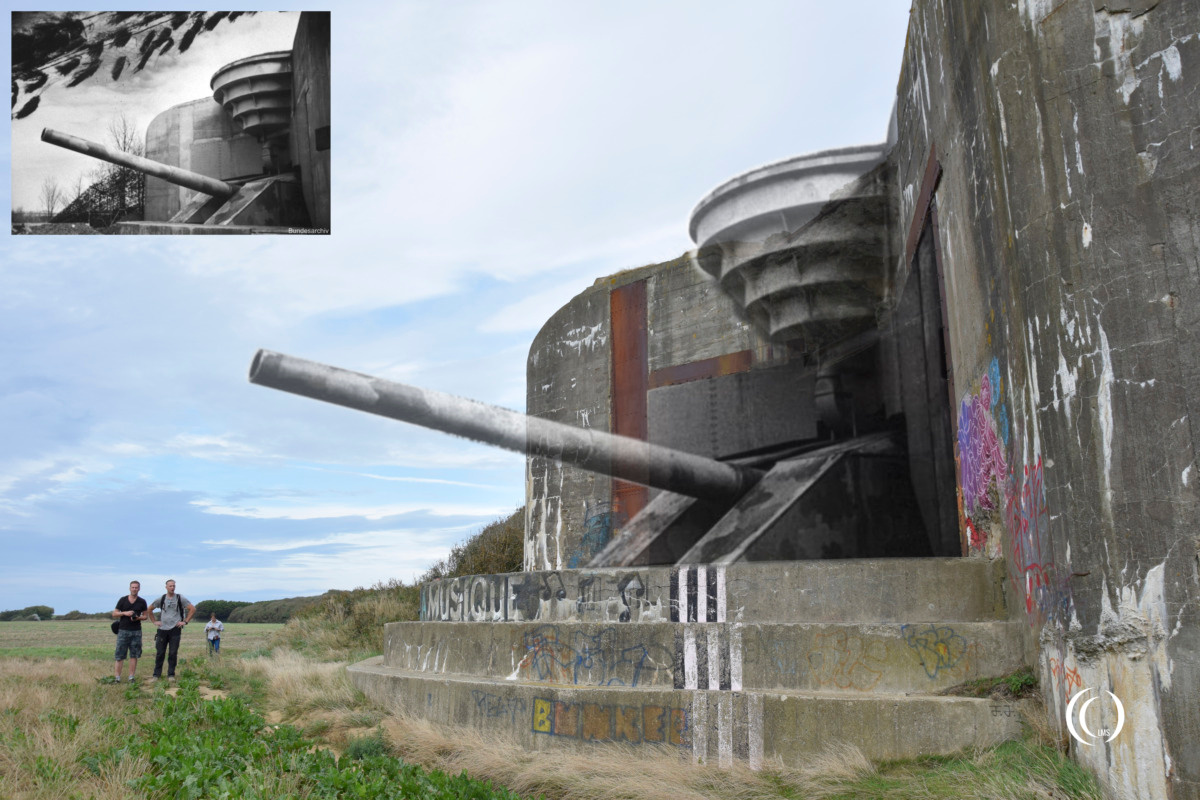
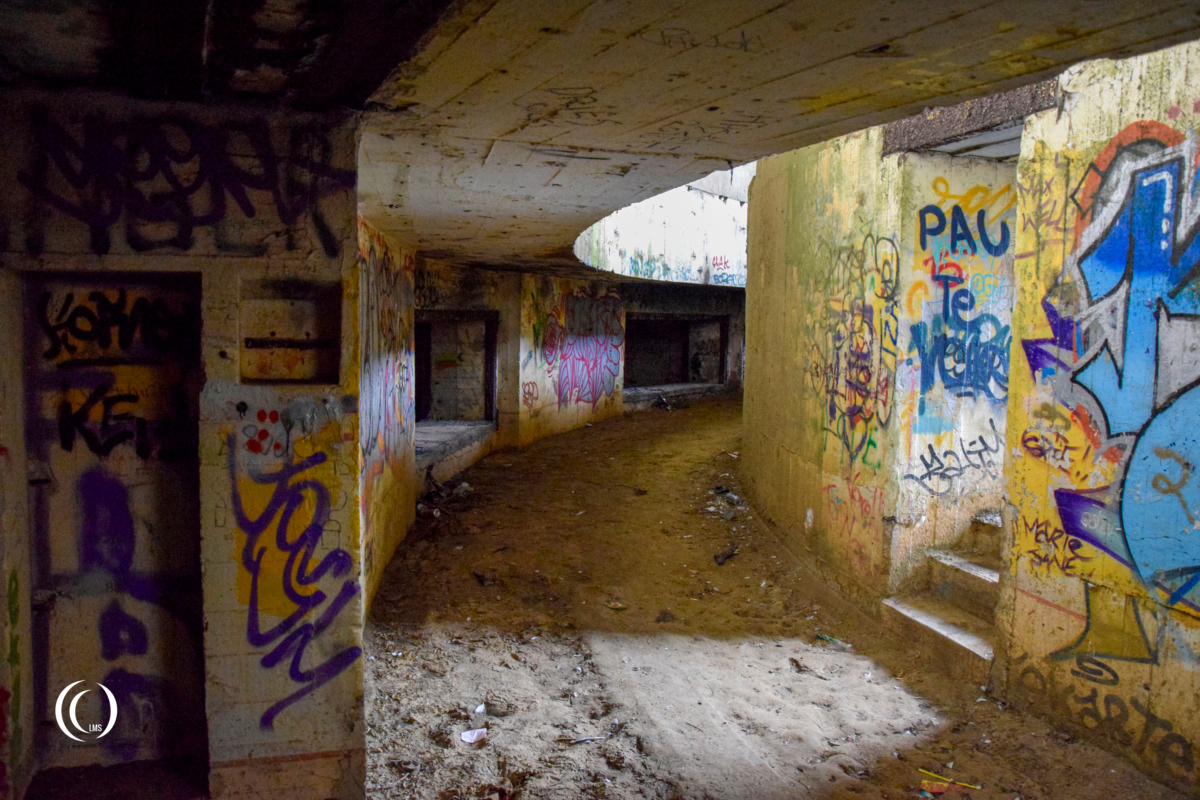
The firing chamber is circular with a diameter of 29 meters and has ceiling height of 11 meters. In the center of the room is the pivot for the Krupp 380mm SK C/34 naval gun. The gun itself was protected by a C/39 armored steel turret.
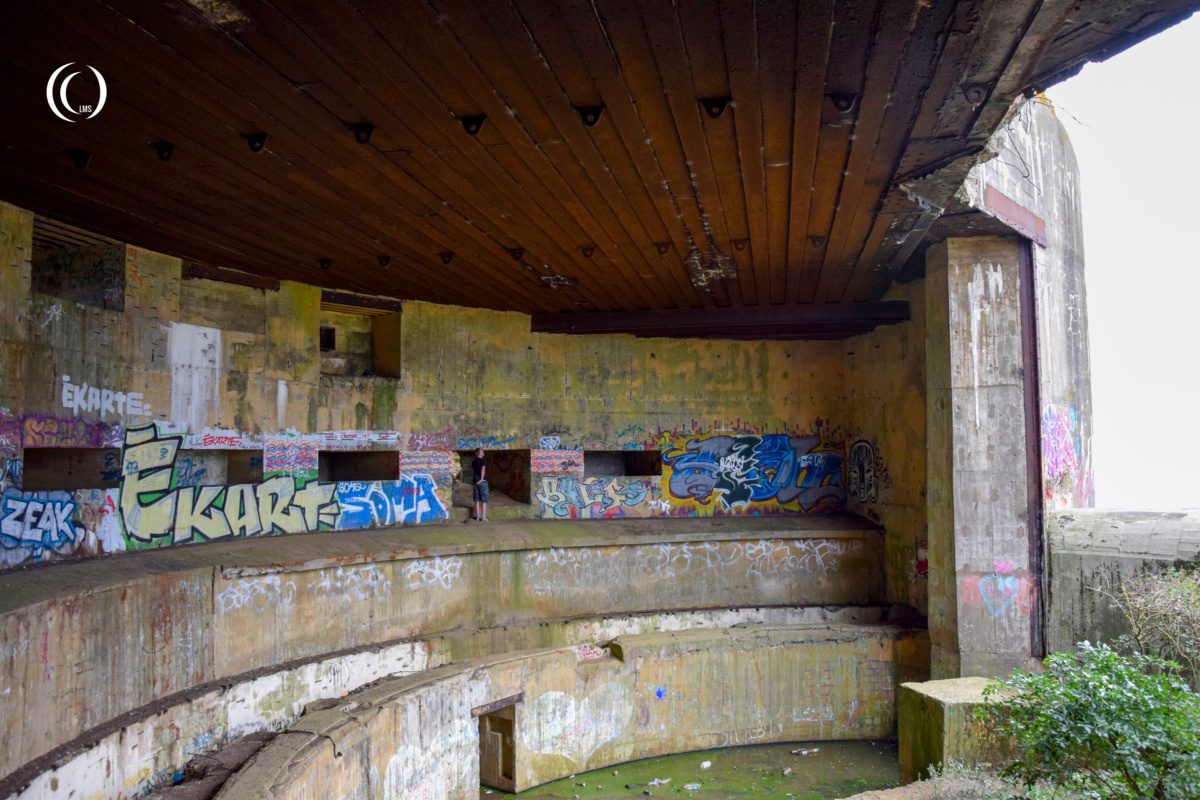

In the lower section you can see two concrete benches running along the rear wall with an opening in between showing the corridor. These supported the rotating turret. The picture below gives a good view of them.
The openings in the back wall following the top ledge are to release the air pressure for when the gun was firing. The larger hole before the last opening, pretty much in the center of the picture below, was where the ammunition and propelling charges were offloaded from the supply train. On the other side of this was a railroad track connecting the casemate to the main ammunition bunkers located at Onglevert.
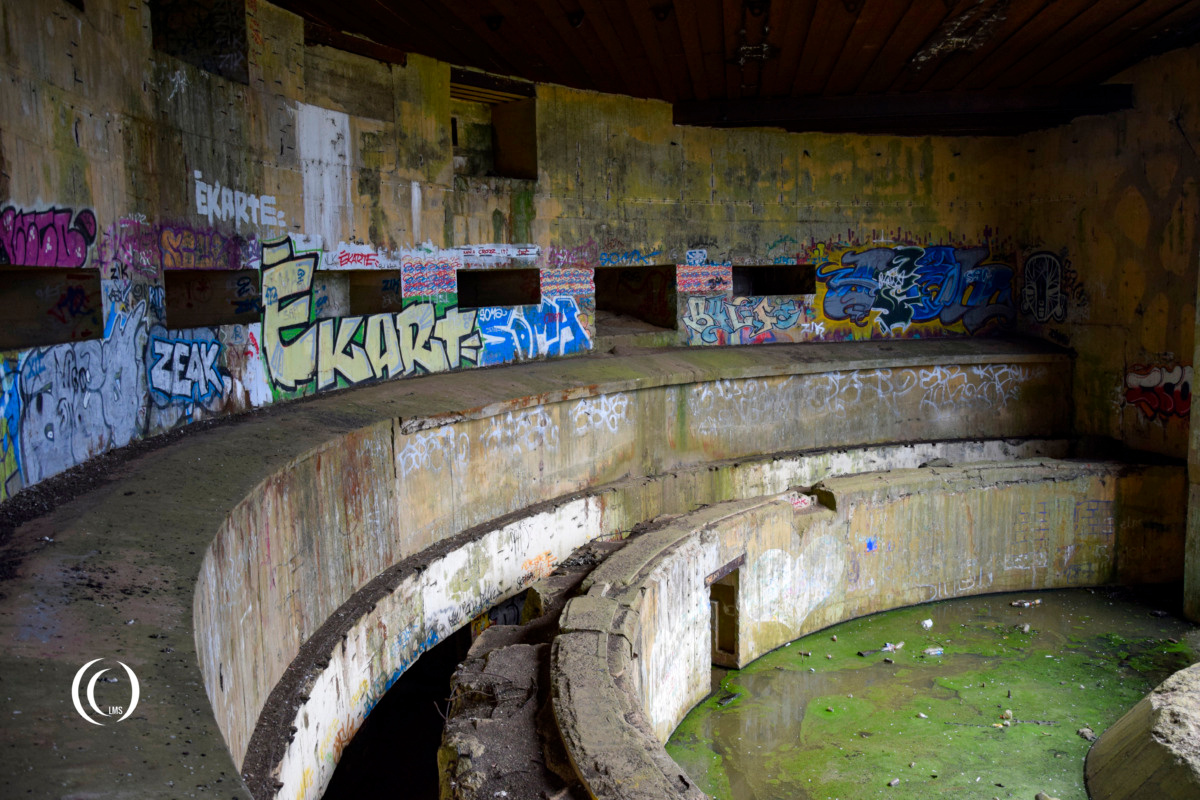
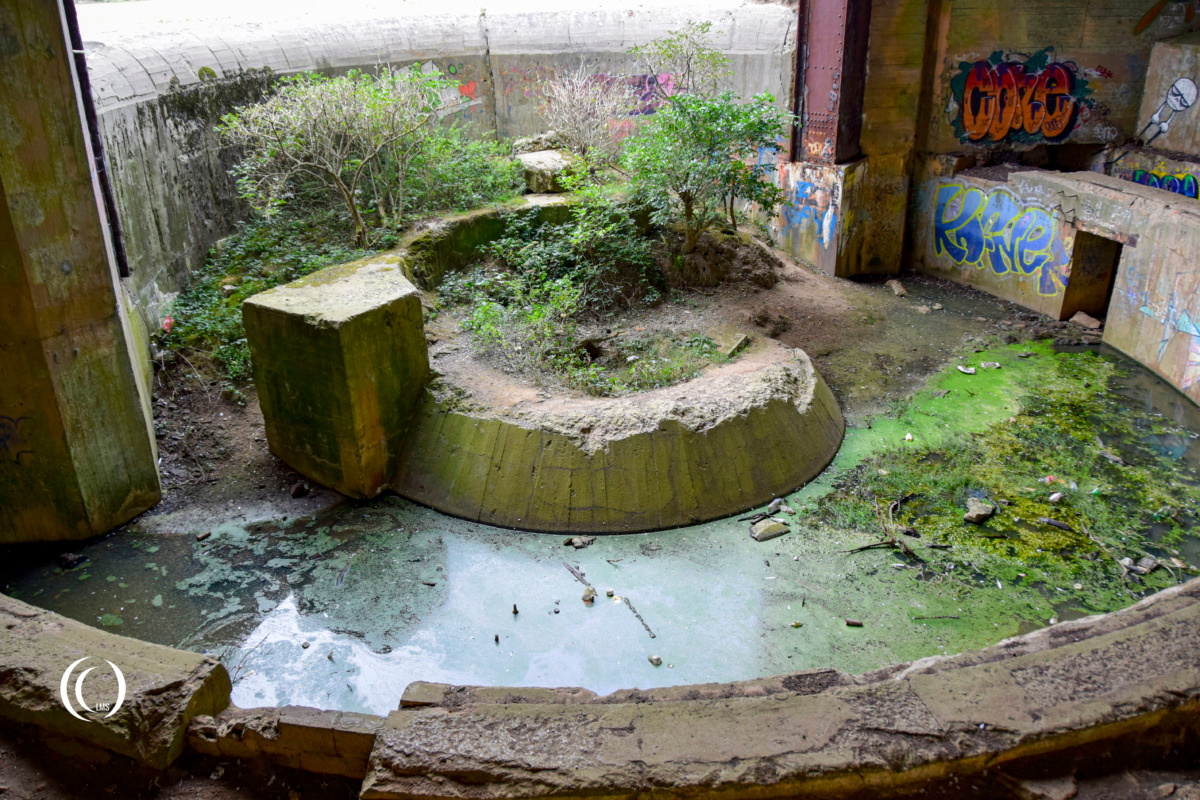
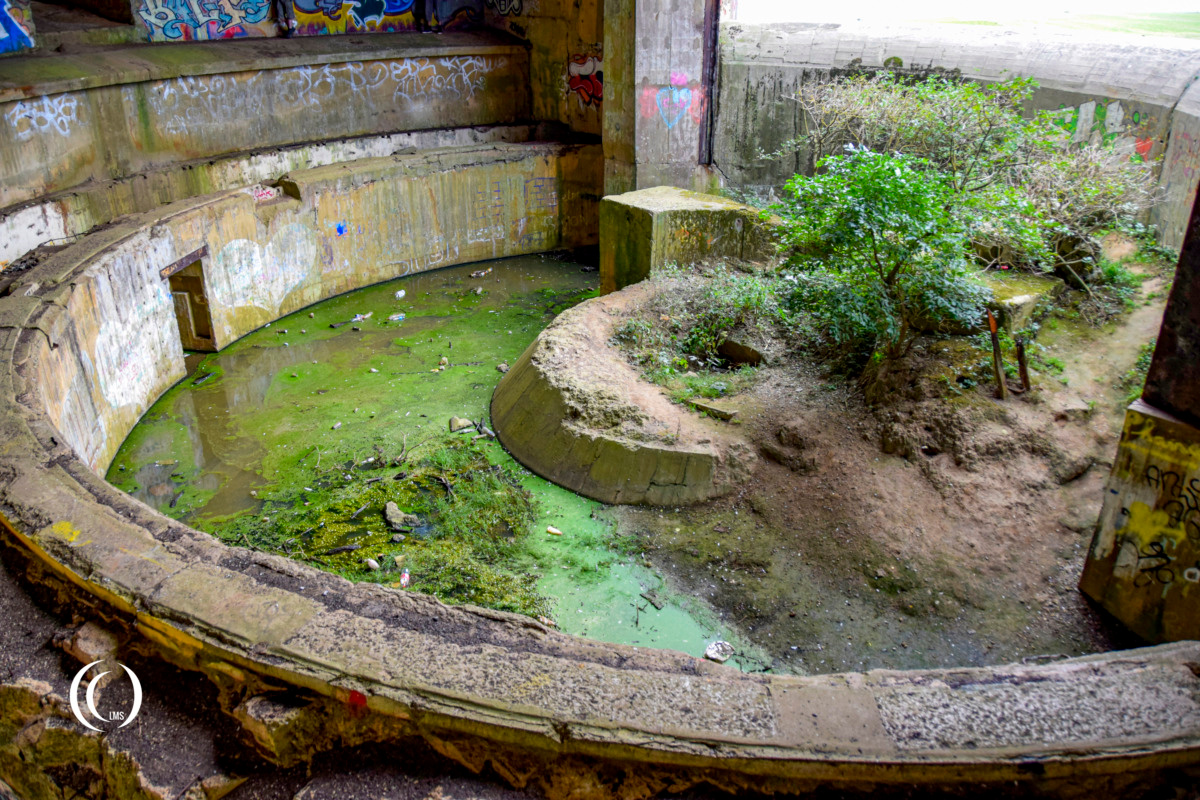
Behind the wall of the first ledge runs a parallel corridor (see picture below) which had two concentric Decauville-type rails. The inner track, closest to the ledge supported the rollers of the turret’s loading crane. The track underneath the concrete overhang of ledge nr. 2 was used to move shells and propelling charges with trolleys.

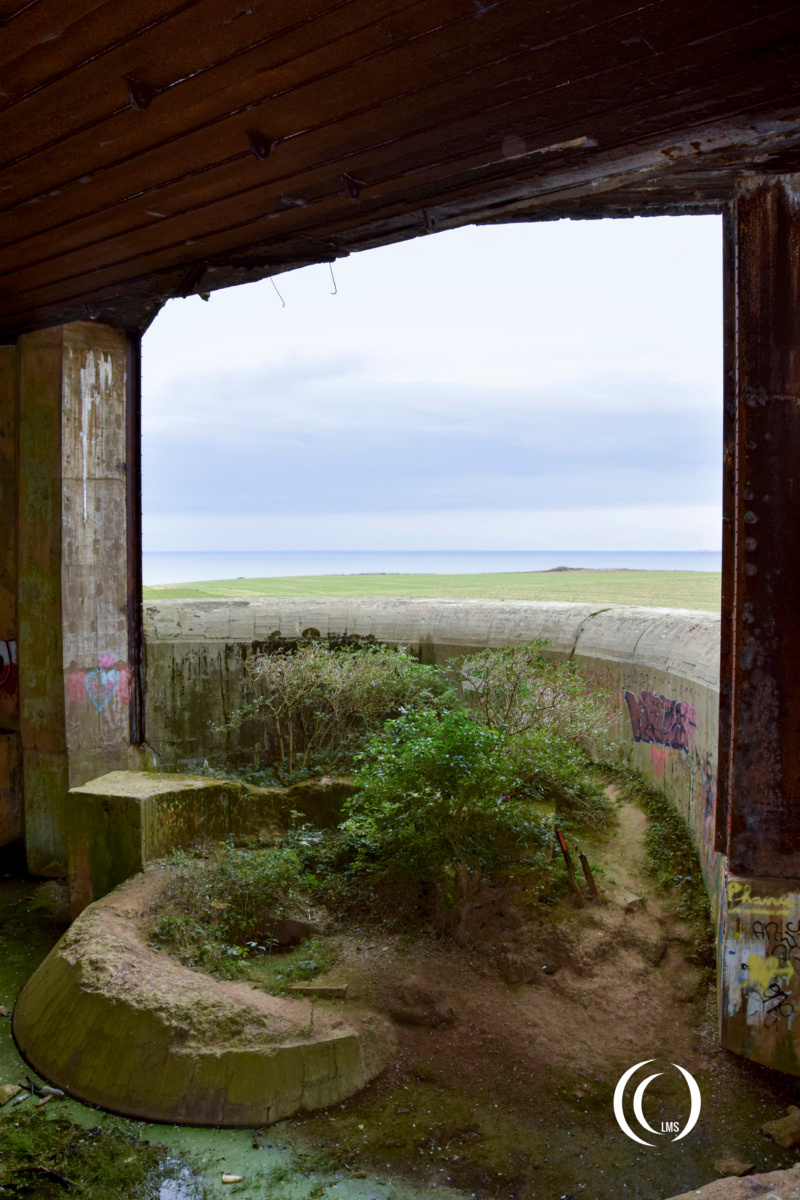
The gun room’s embrasure allowed a 120 degrees rotation of the turret and -4 to 60 degrees elevation for the gun. The sides of the embrasure were protected by 4 cm thick armored plates sealing off the space between the steel C/39 turret and the bunker as close as possible. Most of the reinforced steel plates were removed by scrap metal dealers after the war.
Ammunitions bunker
Connected to the fire chamber was the part of the bunker that consisted of two floors. The top floor housed the ammunition bunker and crew room. The second floor was completely underground and housed the machine rooms.
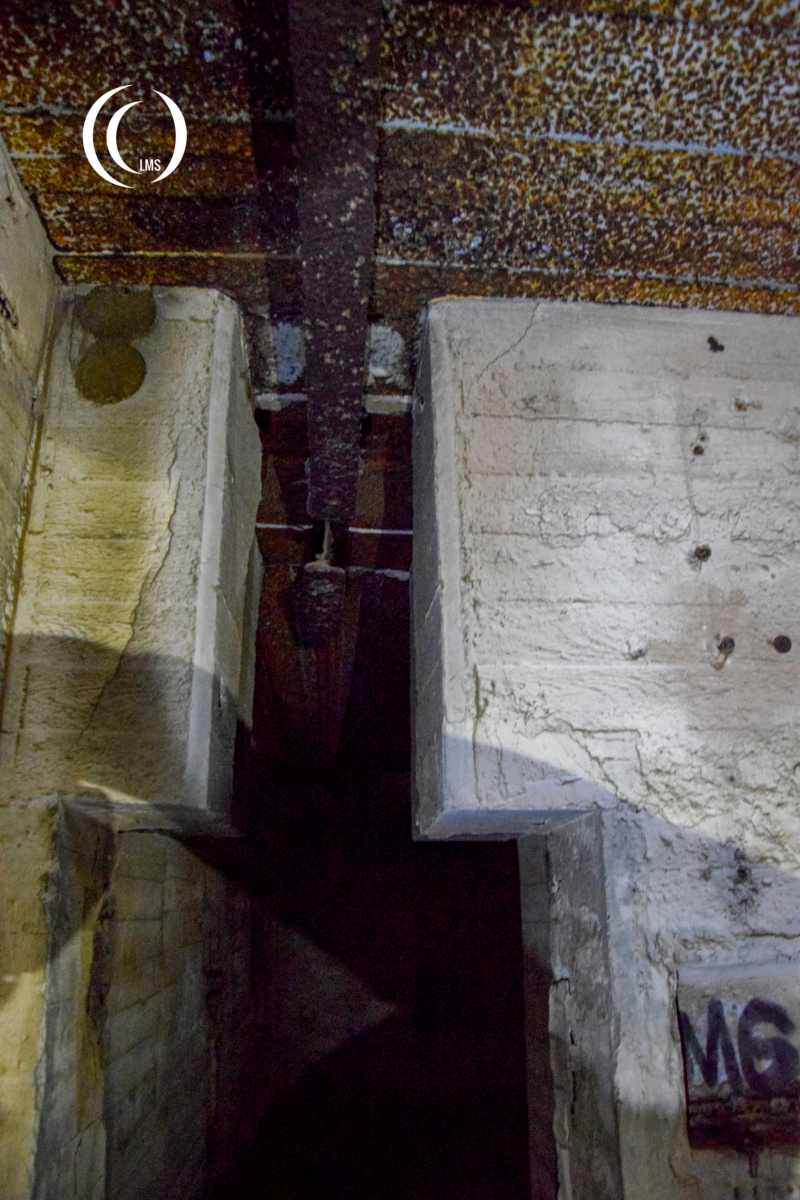
Because of the weight of the 380mm shells for the battery’s gun, weighing between 495 and 800 kilos, this level had a monorail system running across the ceiling to help the loading crew transport the shells through the bunker.
Mural paintings
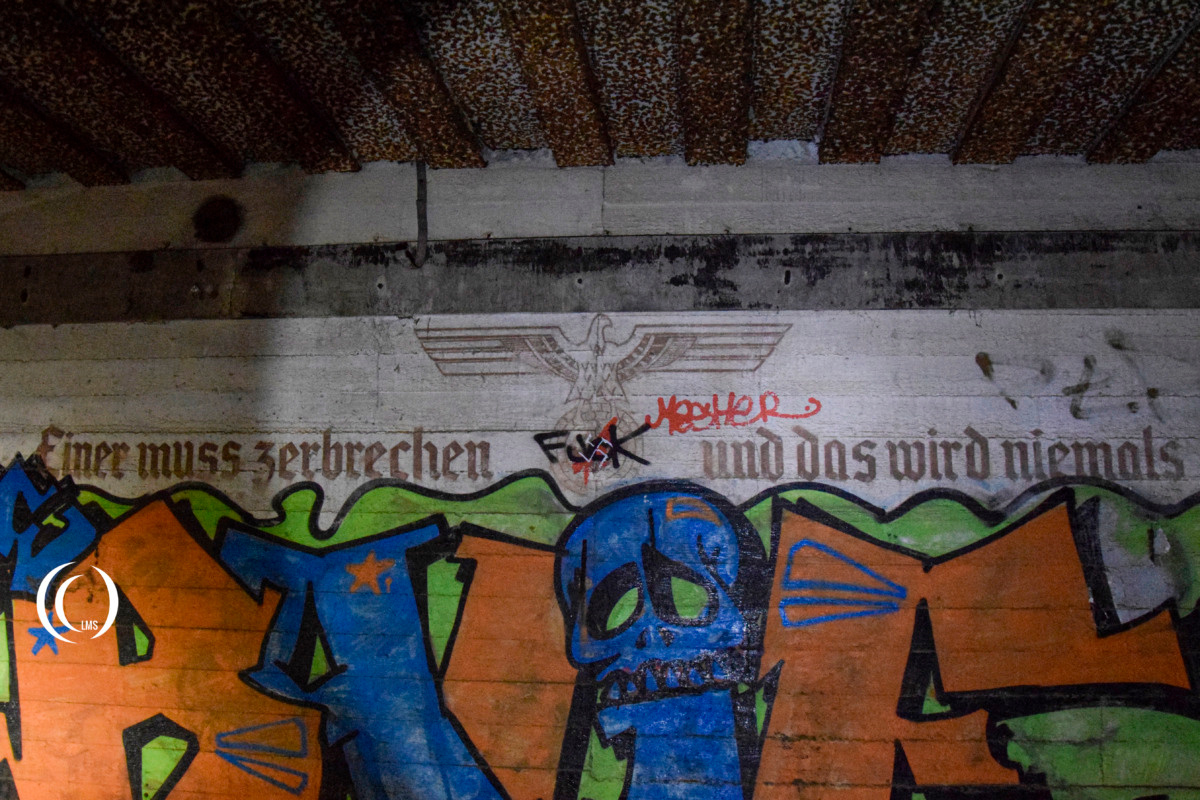
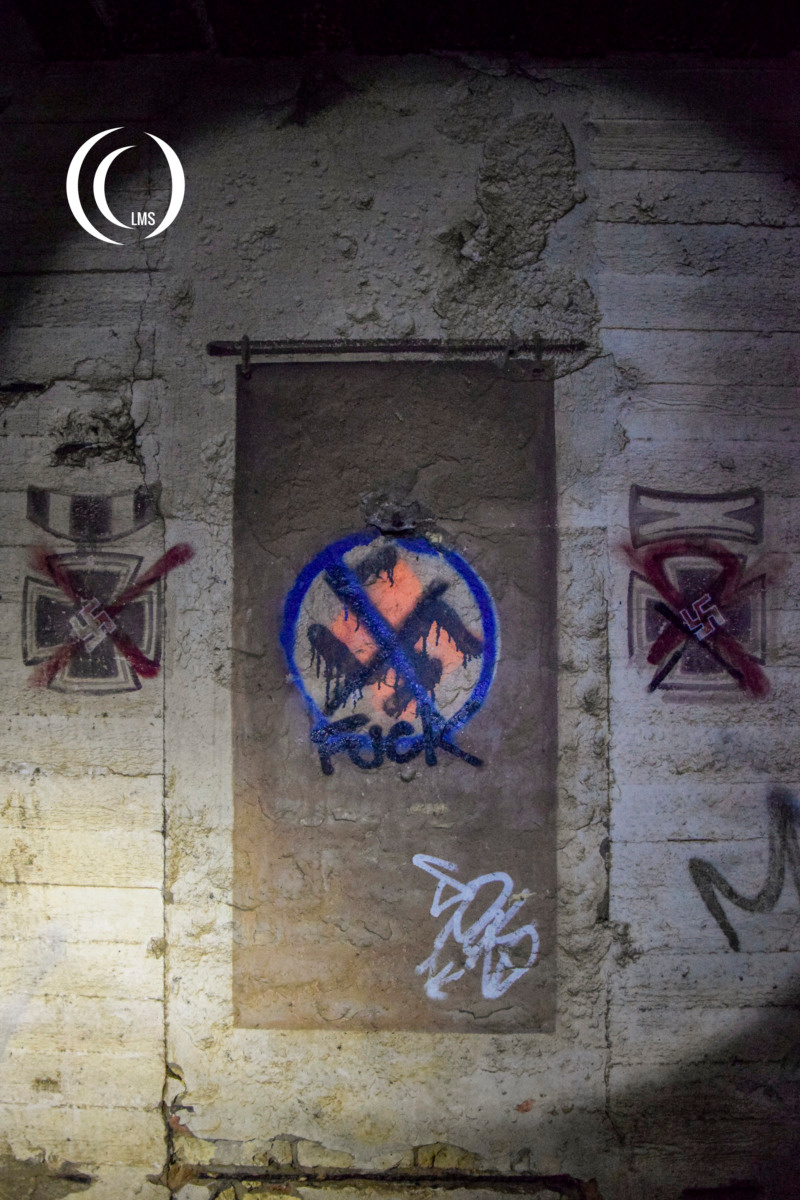
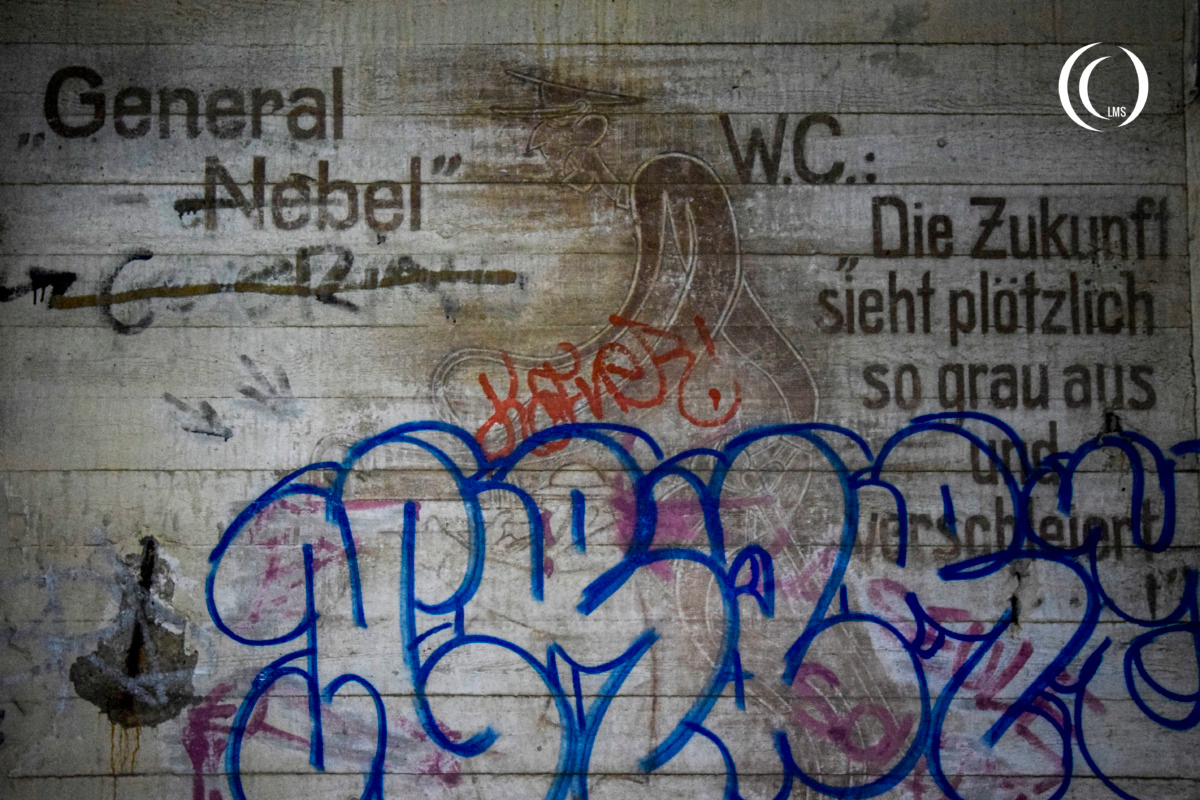
During World War Two the German garrison of Batterie Todt left various mural paintings on the walls of Turm IV based on propaganda and aimed to boost morale. Many of the murals have been painted over by graffiti artists of younger generations.





Batterie Todt
This bunker is part of Batterie Todt which was constructed between 1940 and 1942 together with other German coastal batteries like Batterie Oldenburg along the French coast in preparation for the Invasion of Britain, codenamed Operation Sea Lion. The battery had a total of four casemates or “Turms” fitted with 380mm naval guns.
The battery became operational in January 1942 and was officially opened in February of the same year by Grossadmiral Karl Dönitz and Grossadmiral Erich Raeder. Although initially named Batterie Siegfried, the name was changed to Batterie Todt just days before the opening, to honor German engineer Fritz Todt, head of the Todt Organisation, who died in a plane crash on February 8th 1942.
Visit
You can visit this bunker Turm IV as part of Batterie Todt in the Forest of Haringzelles in Audinghen, Cap Gris Nez, France. You can also visit Turm I, Turm II and Turm III nearby.
Turm I has been turned into a museum called Musée du Mur de l’Atlantique, where you can learn more about the battery and the Atlantic Wall.