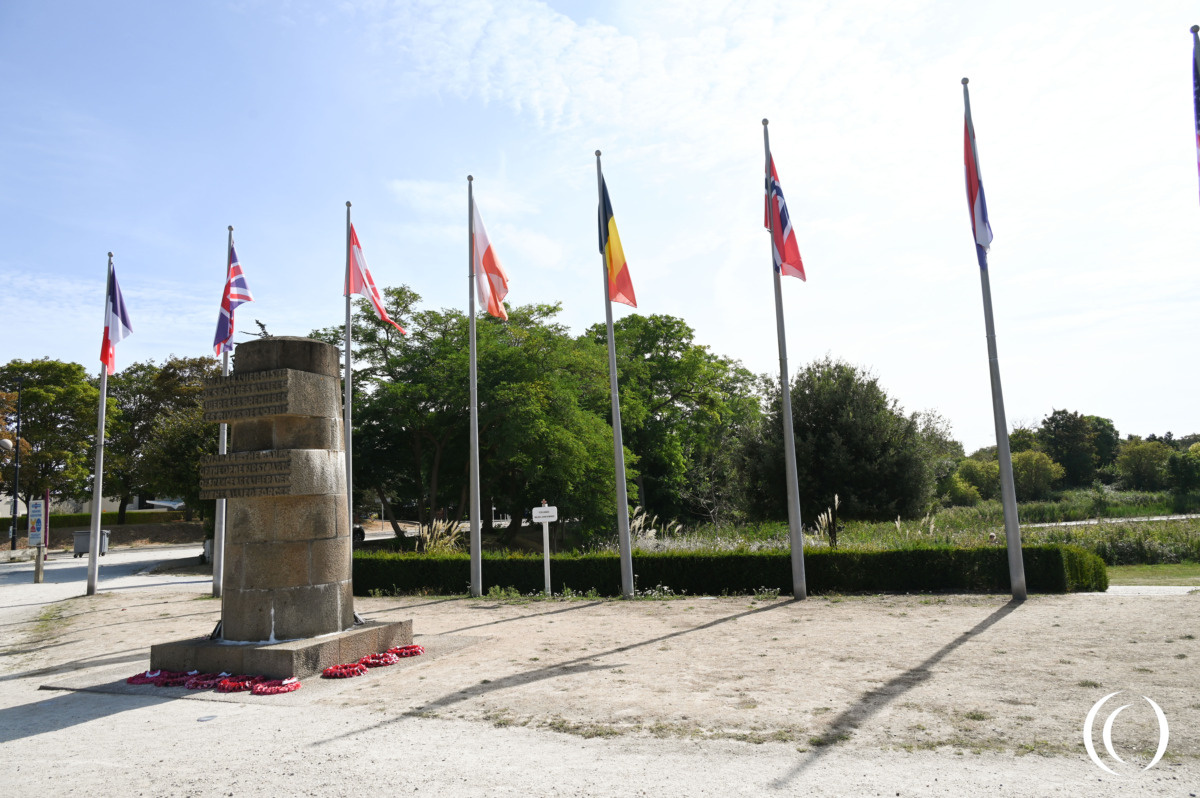
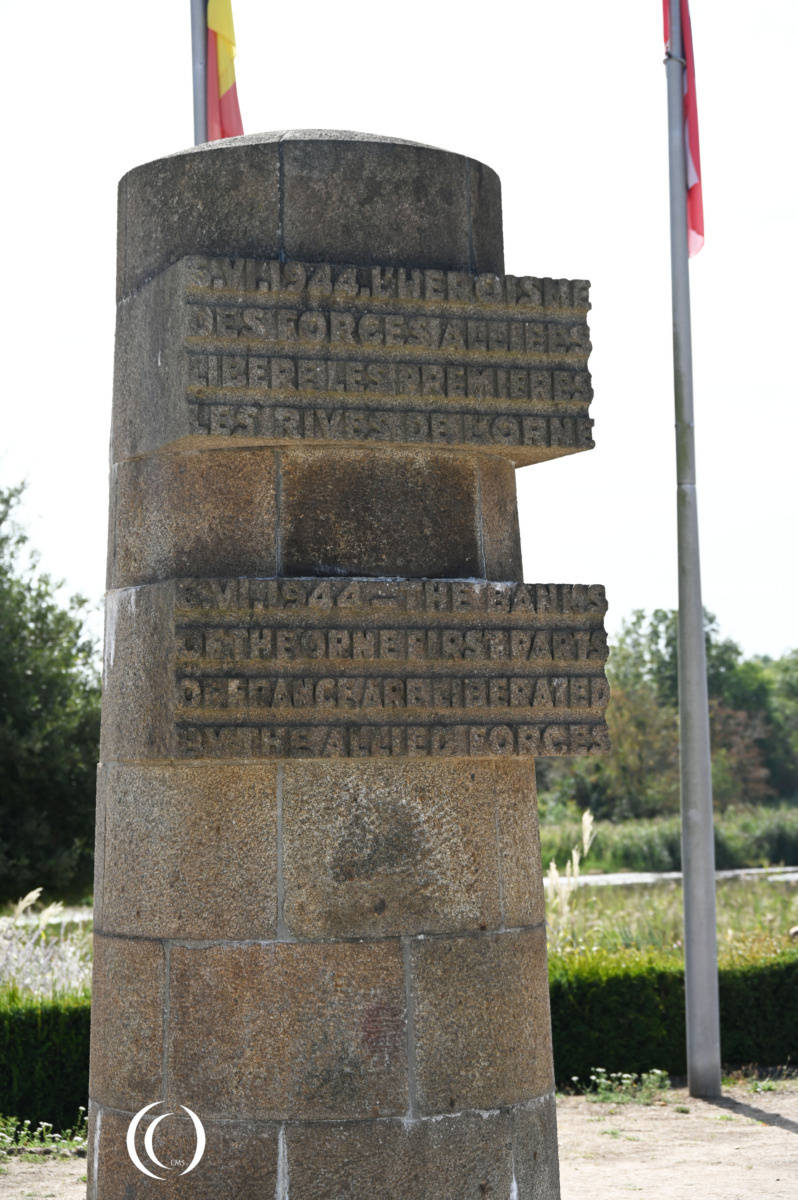
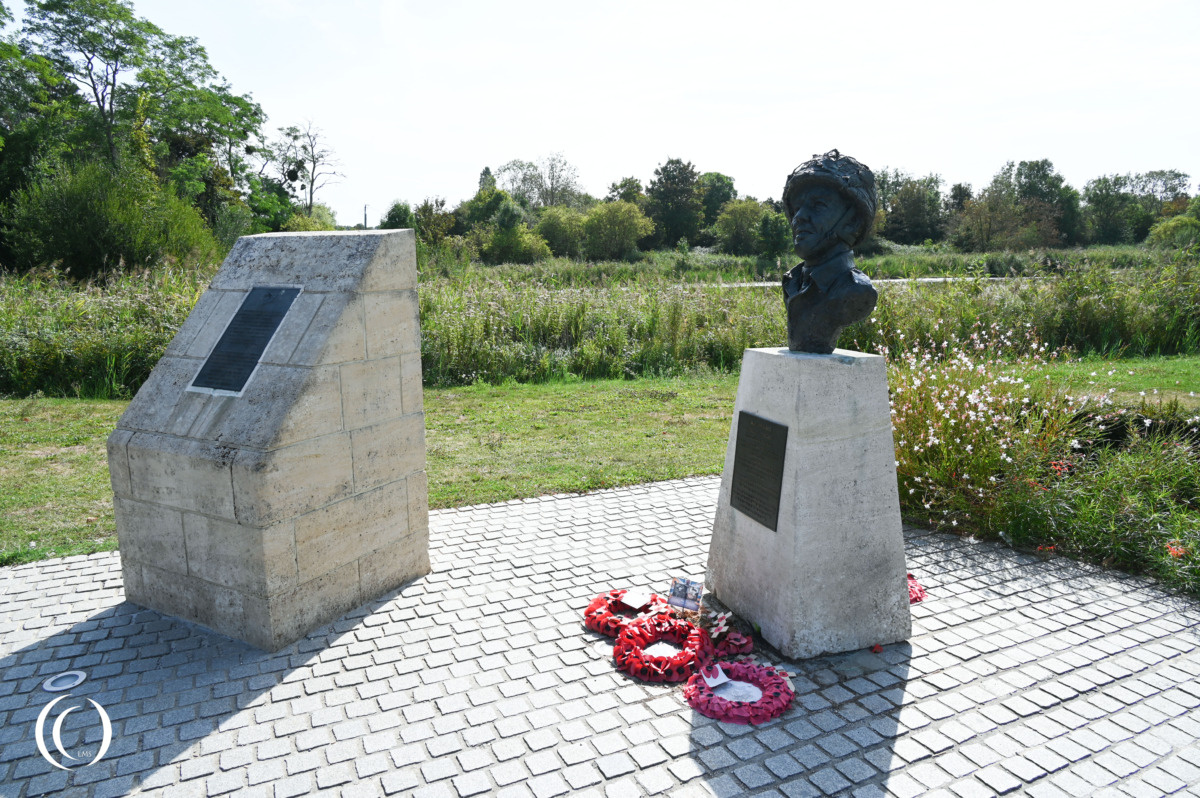
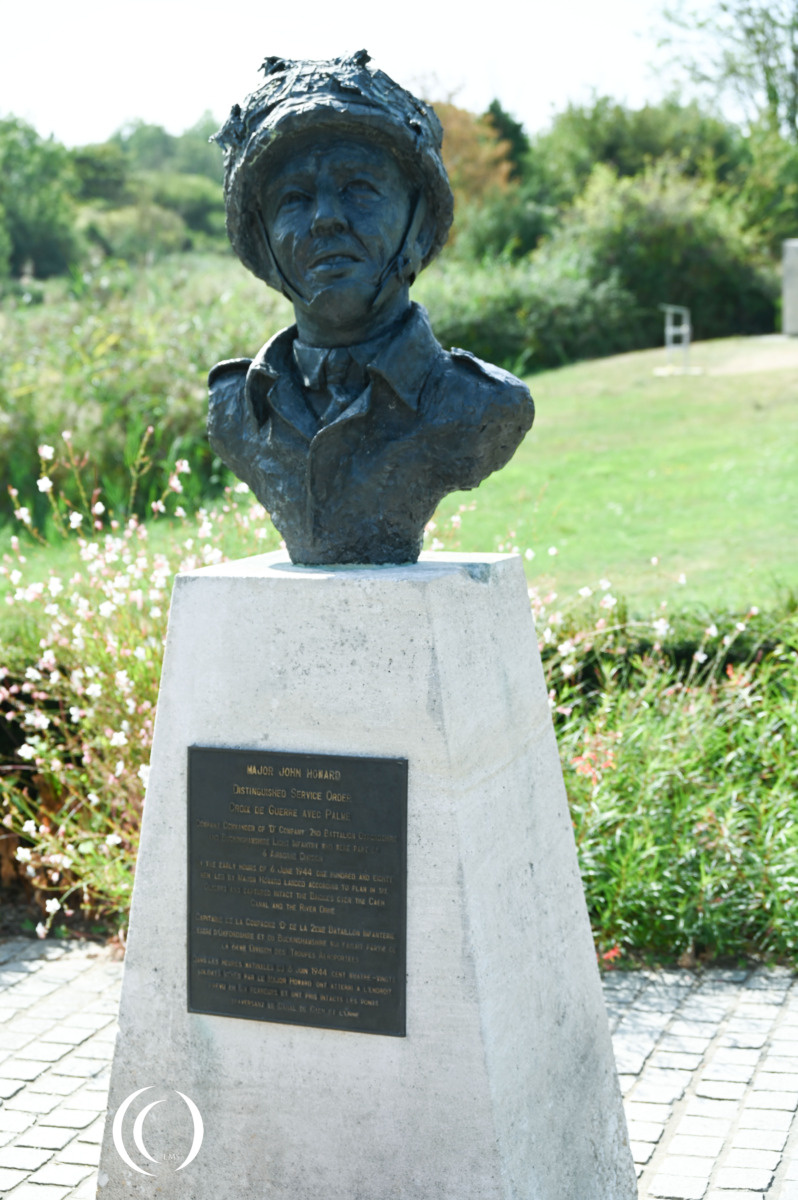
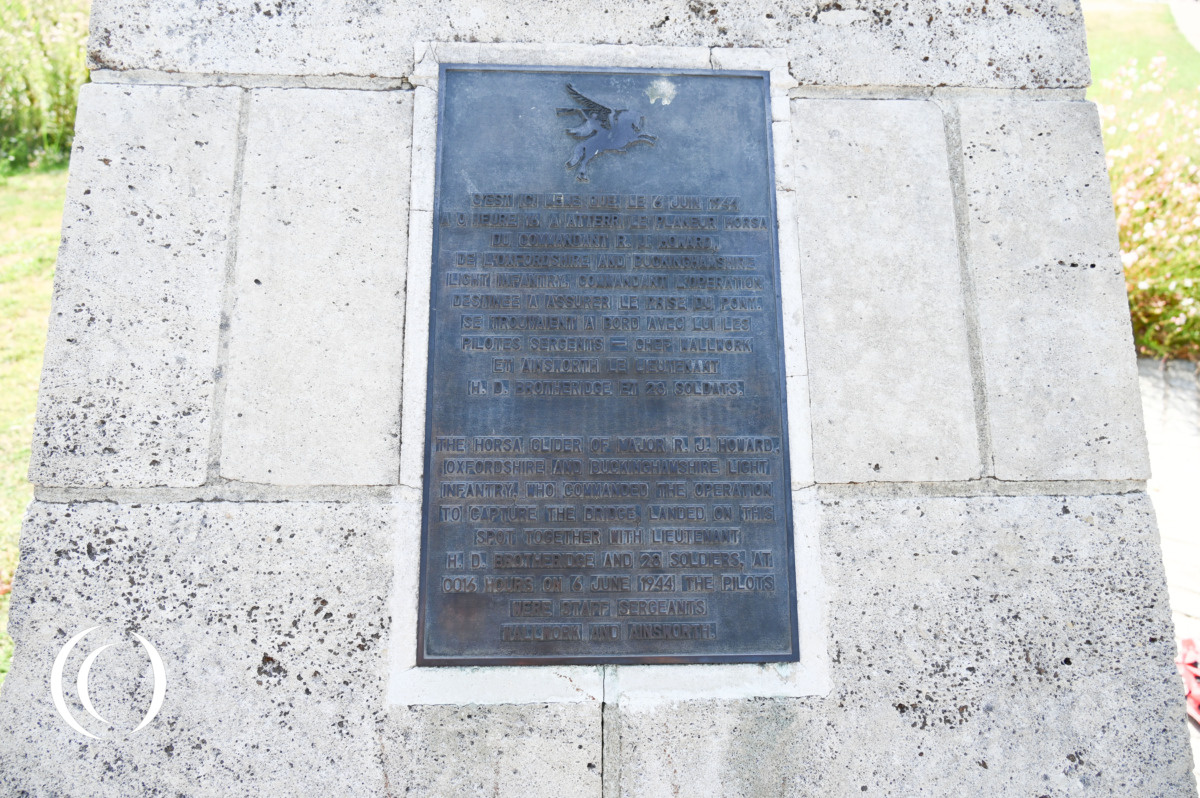
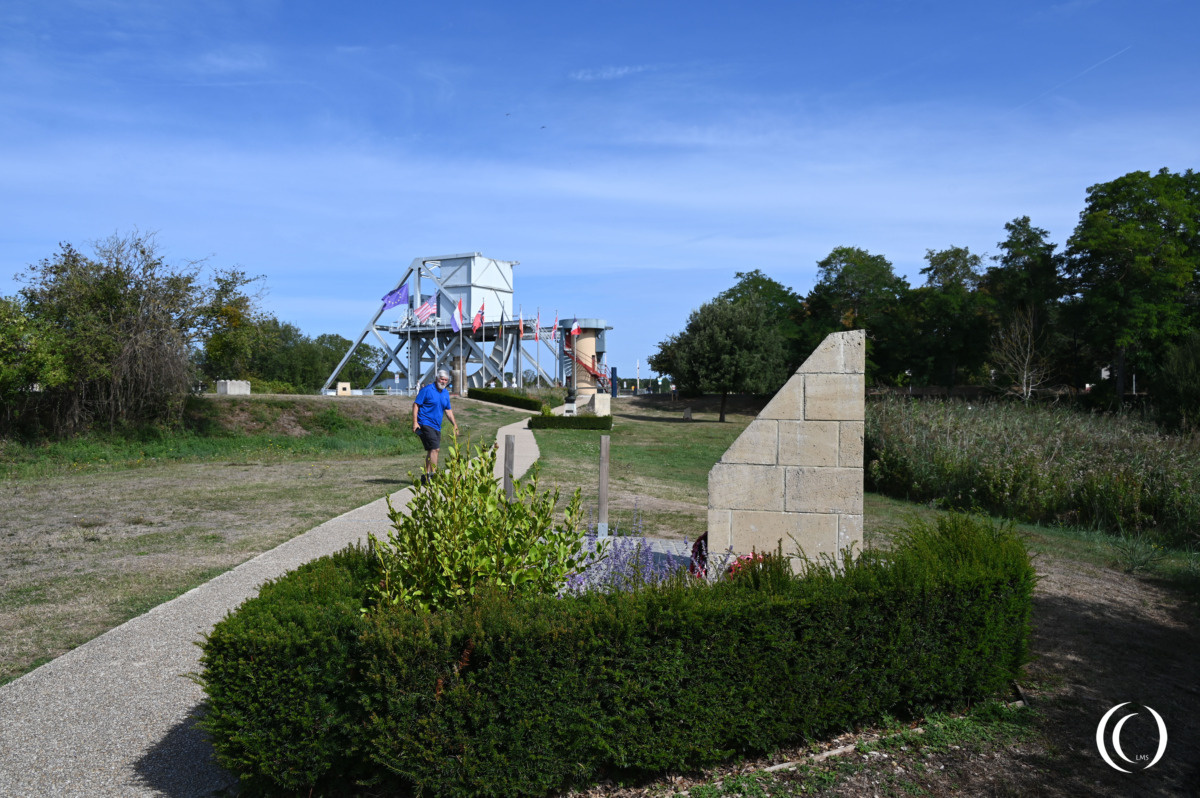
The landing site of the three Horsa gliders, which brought the soldiers tasked with capturing Pegasus Bridge, is marked by monuments and flags. Plaques with text provide an account of the fighting at Pegasus Bridge during Operation Tonga.
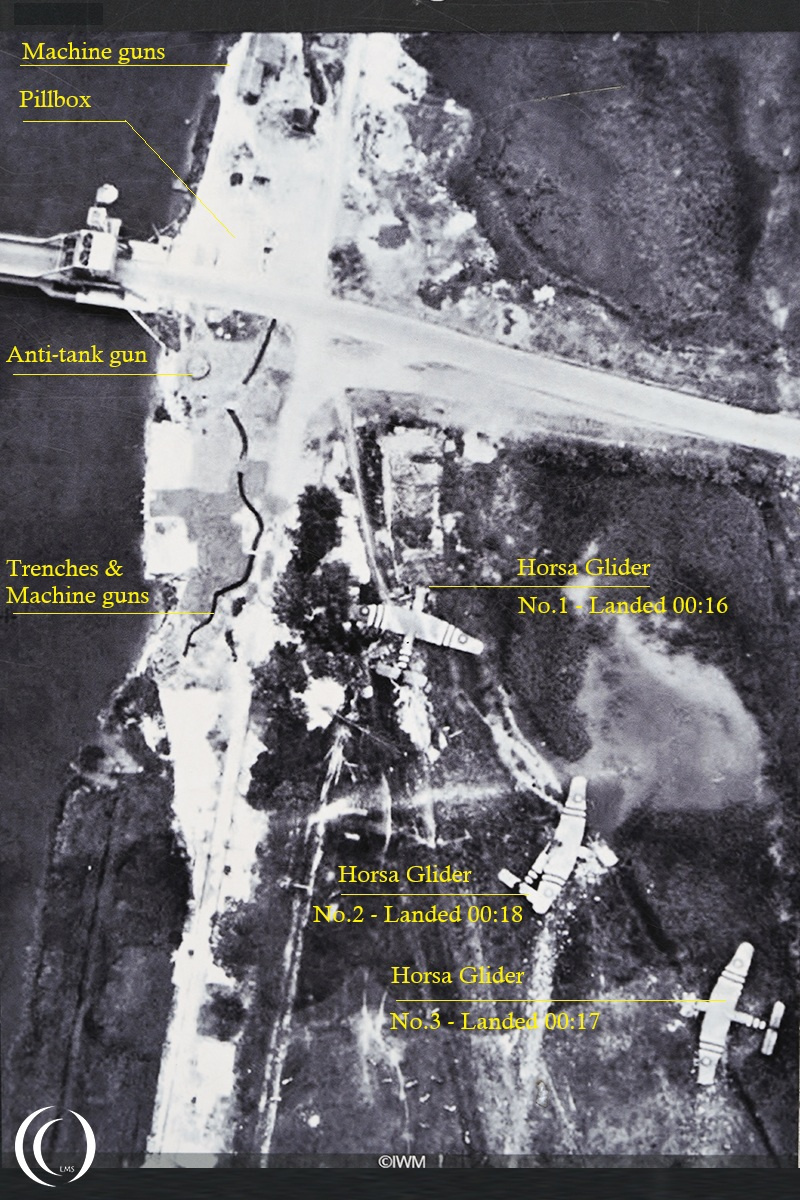
Horsa Glider No.1
Glider no. 1 landed at 00:16 on the 6th of June 1944,The first glider to land, right next to Pegasus Bridge.
It was Piloted by staff sergeants Wallwork and Ainsworth. The 28-man unit, Platoon No. 1 Oxfordshire and Buckinghamshire Light Infantry (the Ox and Bucks) combined with Royal Engineers was led by Major John Howard & Lt. Den Brotheridge.
Horsa Glider No.2
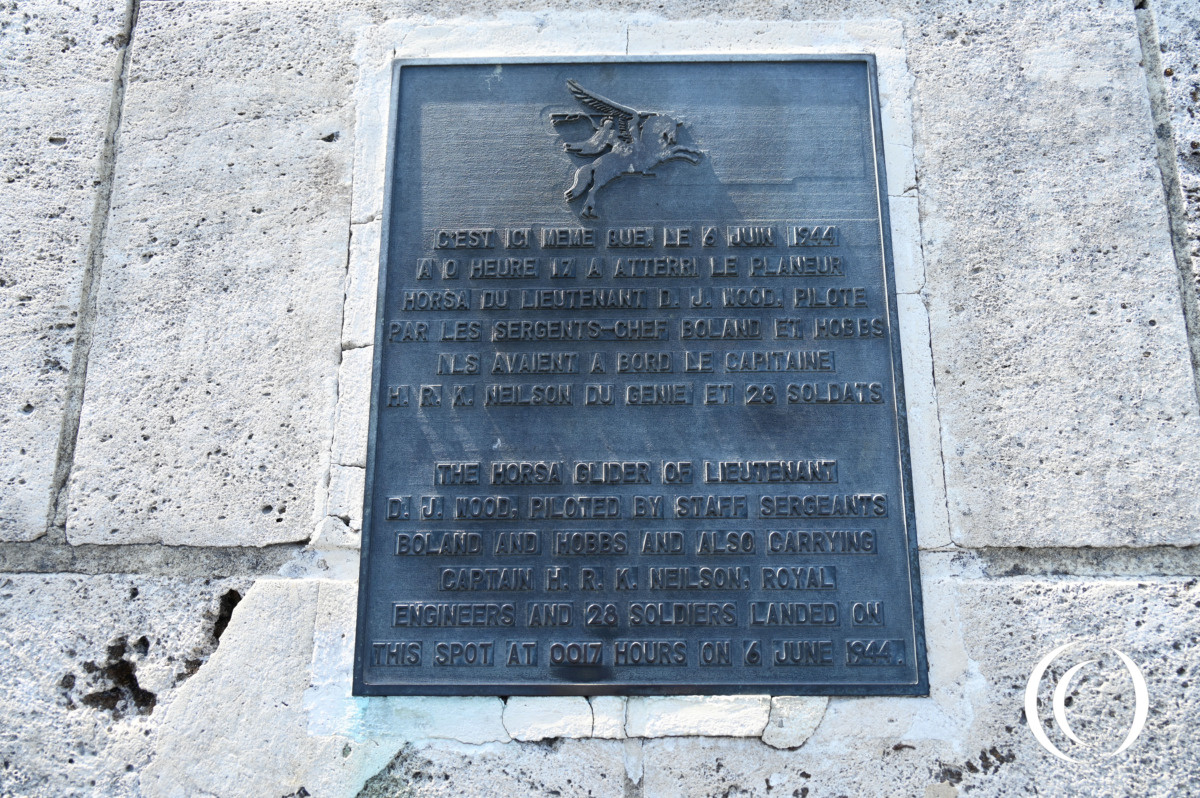
Glider no. 2 landed at 00:18 on the 6th of June 1944, after glider no. 3.
It was piloted by Staff Sergeants Boland and Hobbs. The 28-man unit, Platoon No. 2, the Ox and Bucks Light Infantry combined with Royal Engineers, was led by Lt. David Wood. The Horsa was carrying Captain H.R.K. Nelson.
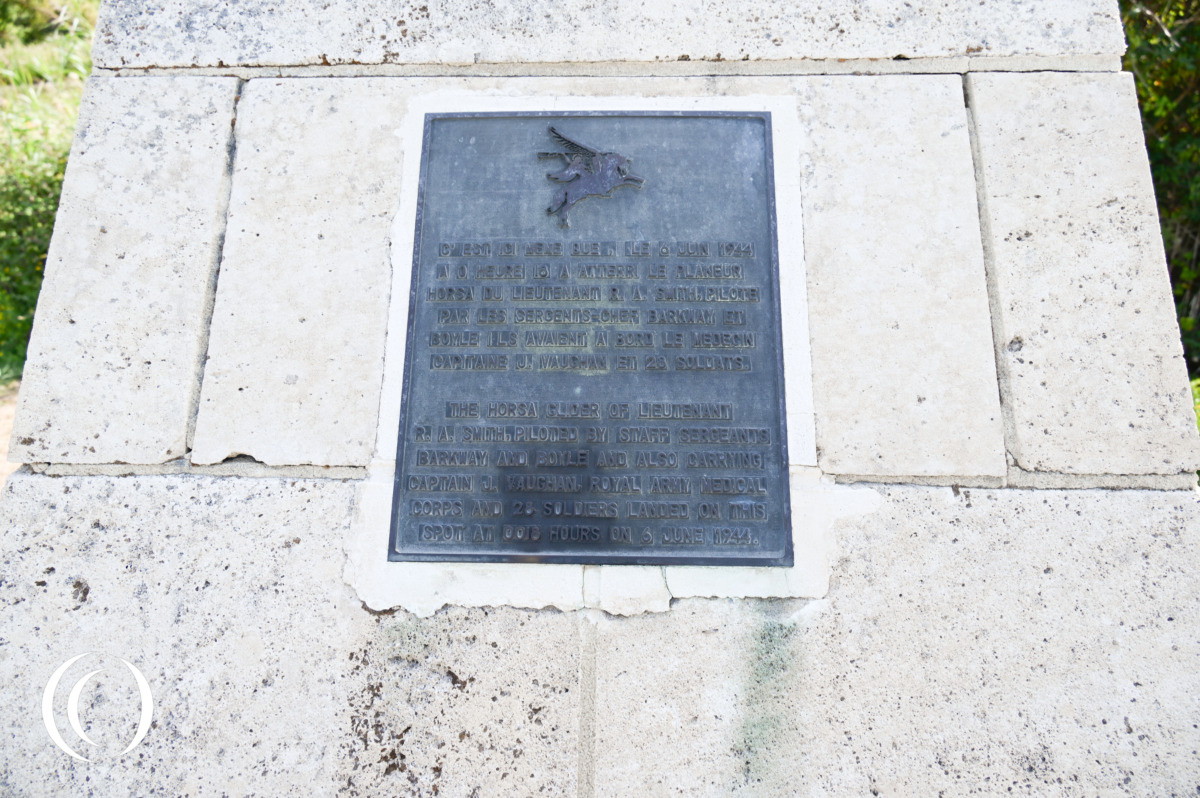
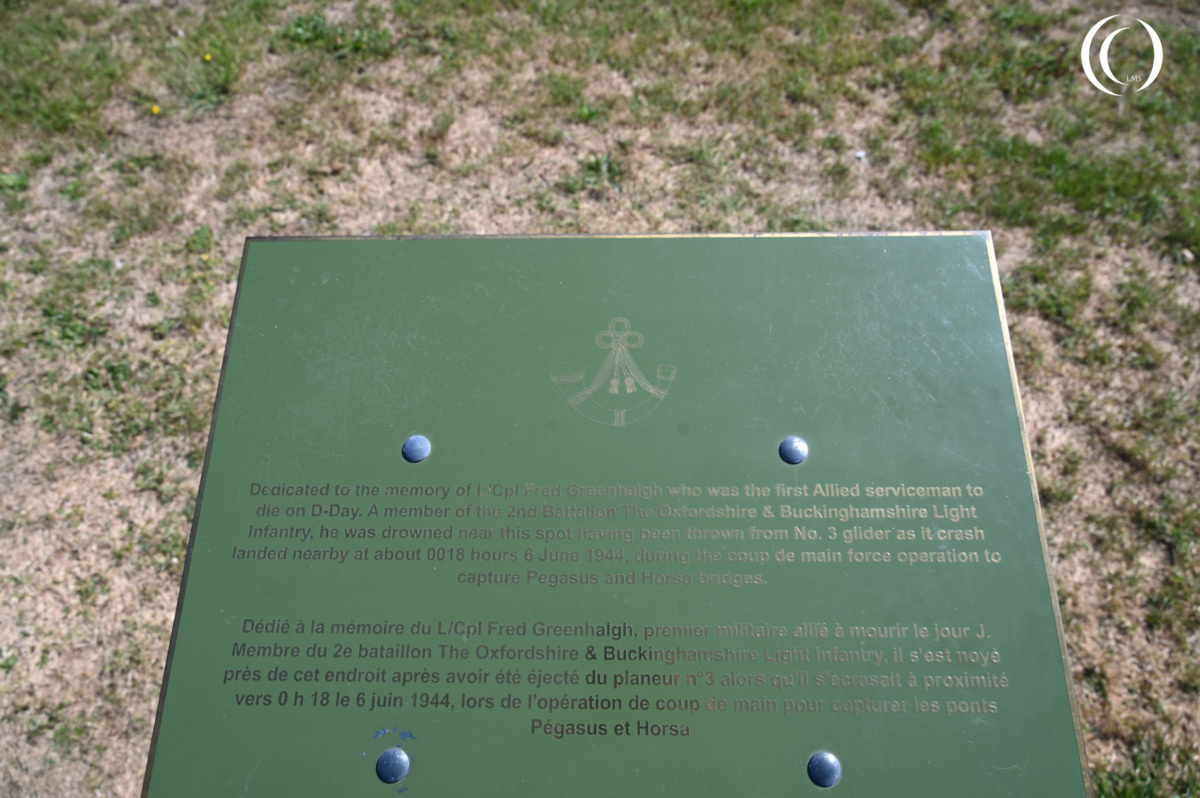
During the landing, Glider No. 2 swerved to avoid Glider No. 1.. The Horsa broke its back upon landing, and came to a stop near the edge of a pond. The sudden impact flung lance-Corporal Fred Greenhalgh out of the glider into the pool next to it and he died by drowning, he was the first casualty of the operation.
Horsa Glider No.3
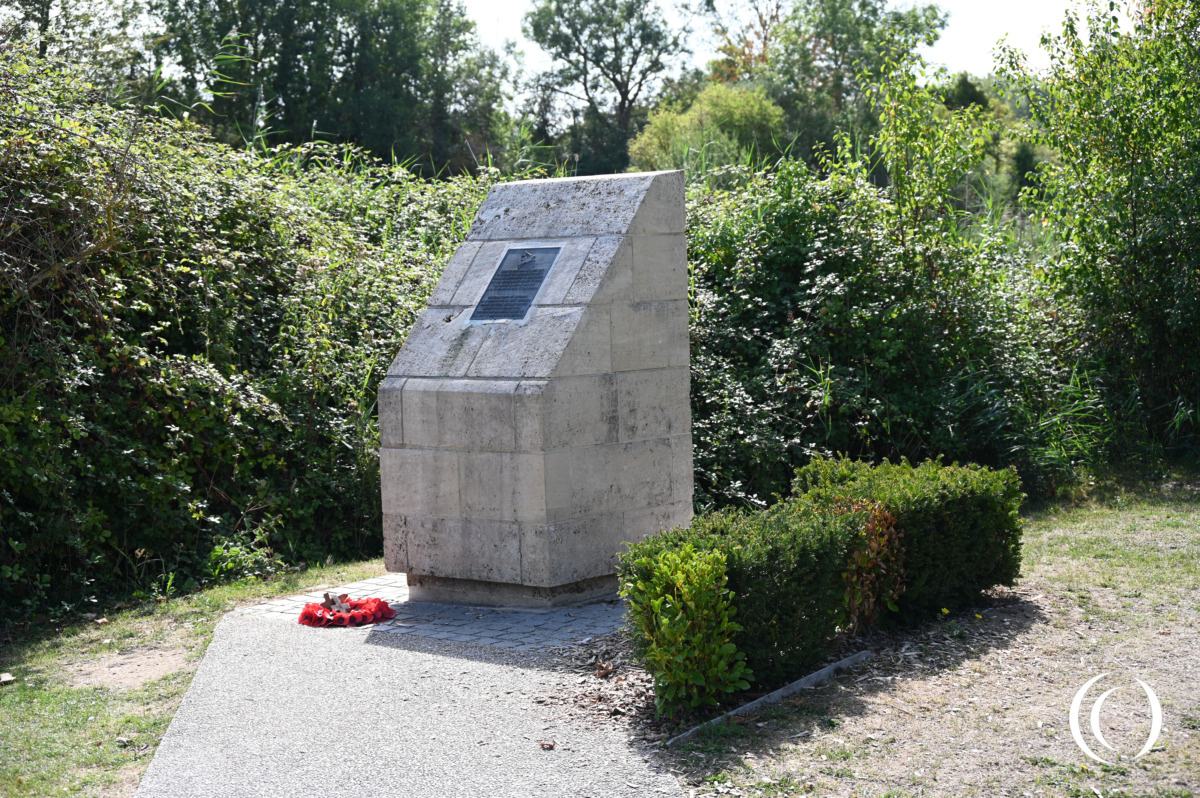
Glider no. 3 landed at 00:17 on the 6th of June 1944, ahead of glider no. 2.
It was piloted by staff sergeants Barkway and Boyle. The 28-man unit, Platoon No. 3, the Ox and Bucks, combined with Royal Engineers was led by Lt. Smith, and the Horsa was carrying Captain J. Vaughan, Royal army Medical Corps.
Visit
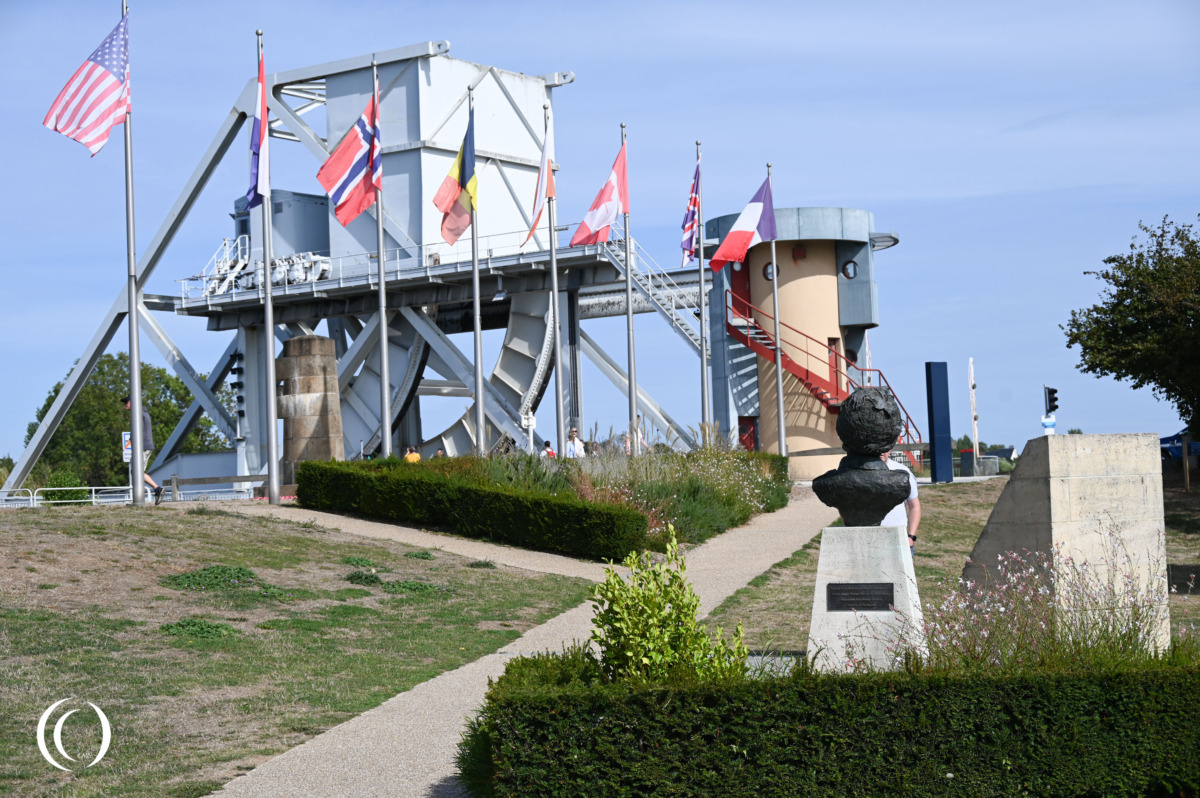
The glider landing site is located right next to the Pegasus Bridge. The three glider landing locations are marked with a monument, each featuring an explanatory text on a plaque.
