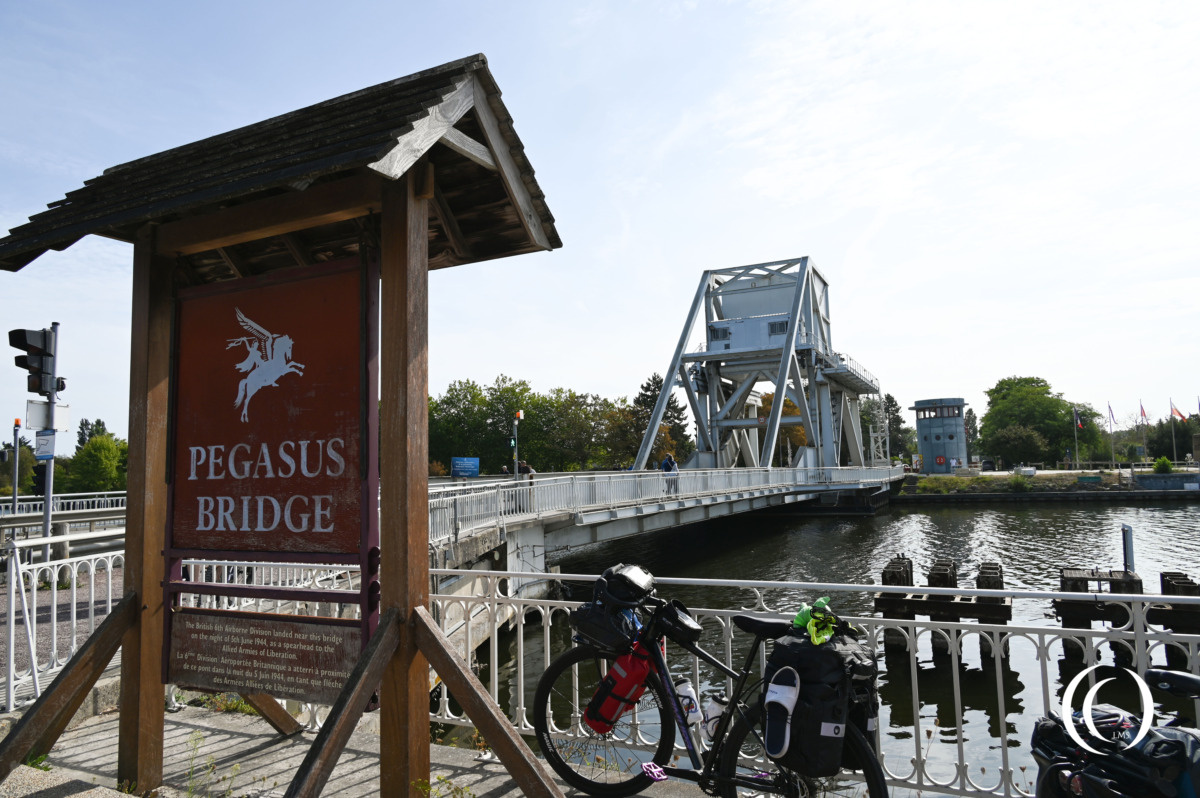
During Operation Tonga, British paratroopers and infantry units were deployed to critical locations in Normandy, France, to provide cover for the landings on the invasion beaches, block the movement of German reinforcements, and thereby improve the chances of success for the D-Day invasion.
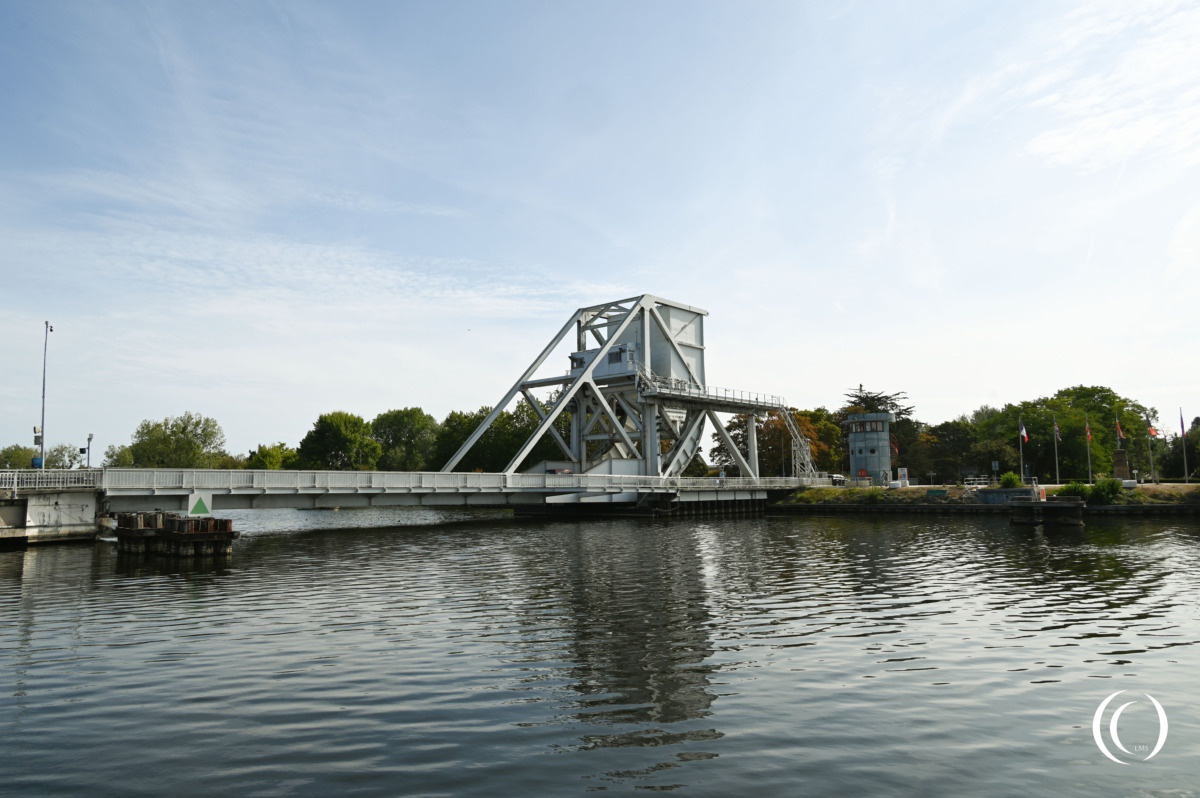
One of these locations consisted of two bridges west of Caen: the bridge over the Orne River (Ranville bridge) and the bridge over the Caen Canal (Bénouville bridge)—better known as the Horsa Bridge and the Pegasus Bridge.
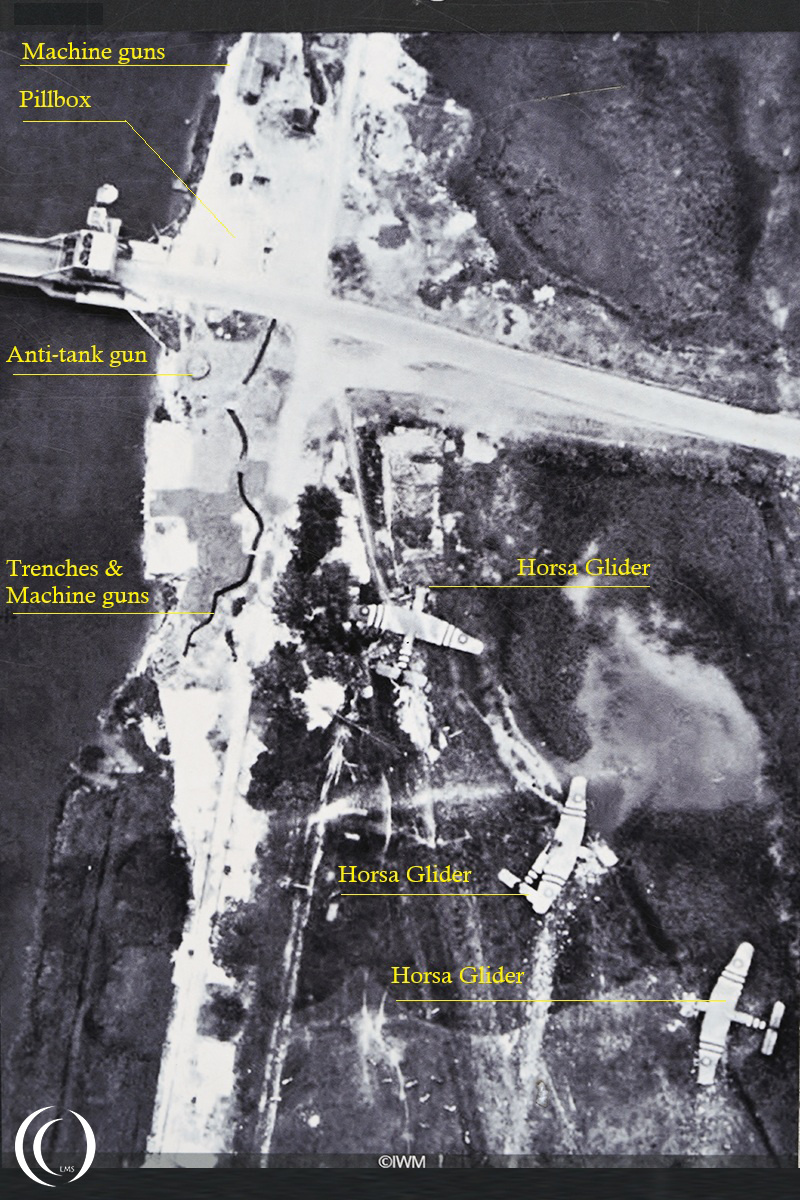
The Horsa Gliders on Euston I, the Pegasus Bridge
The three gliders had a configuration consisting of a unit and a commander;
Glider 1 – Major John Howard & Lt. Den Brotheridge with No. 1 Platoon (D Coy) + Royal Engineers
Glider 2 – Lt. David Wood with No. 2 Platoon (D Coy) + Royal Engineers
Glider 3 – Lt. Smith with No. 3 Platoon (D Coy) + Royal Engineers
British forces
The main force that attacked both bridges consisted of a highly trained group of 181 soldiers. They operated under the command of Major John Howard. They were trained to work in coordination with infantry, specialized engineers, and elite pilots.
The “Coup de Main” force that captured both the Euston I and Euston II bridges consisted of a highly trained group of 181 men. Operating under the command of Major John Howard, this force was built on cooperation between infantry, specialist engineers, and elite pilots.
The exact units and leadership responsible for the operation break down into distinct roles:
The Assault Infantry was divided into two companies, D and B.
The backbone of the force belonged to the 2nd Battalion, Oxfordshire and Buckinghamshire Light Infantry (the Ox and Bucks). They were part of the 6th Airlanding Brigade within the British 6th Airborne Division.
D Company was the core force led by Major Howard. His entire company provided four of the six platoons utilized in the raid.
B Company were the reinforcements. The two additional platoons from B Company were attached to D Company to ensure they had enough manpower to seize and hold both targets.
The Specialist Royal Engineers
A detachment of 30 sappers from the 249th Field Company (Airborne), Royal Engineers was divided among the six gliders. Their primary task was to immediately crawl underneath the bridges upon landing, locate the German demolition wiring, and neutralize any active explosives intended to blow up the bridges.
The Glider Pilot Regiment
The force included 12 pilots from the Glider Pilot Regiment, two in each aircraft. These men were not just drivers but were fully trained combat soldiers who picked up rifles and fought alongside the infantry as soon as they exited the cockpits.
Attack on the Pegasus bridge
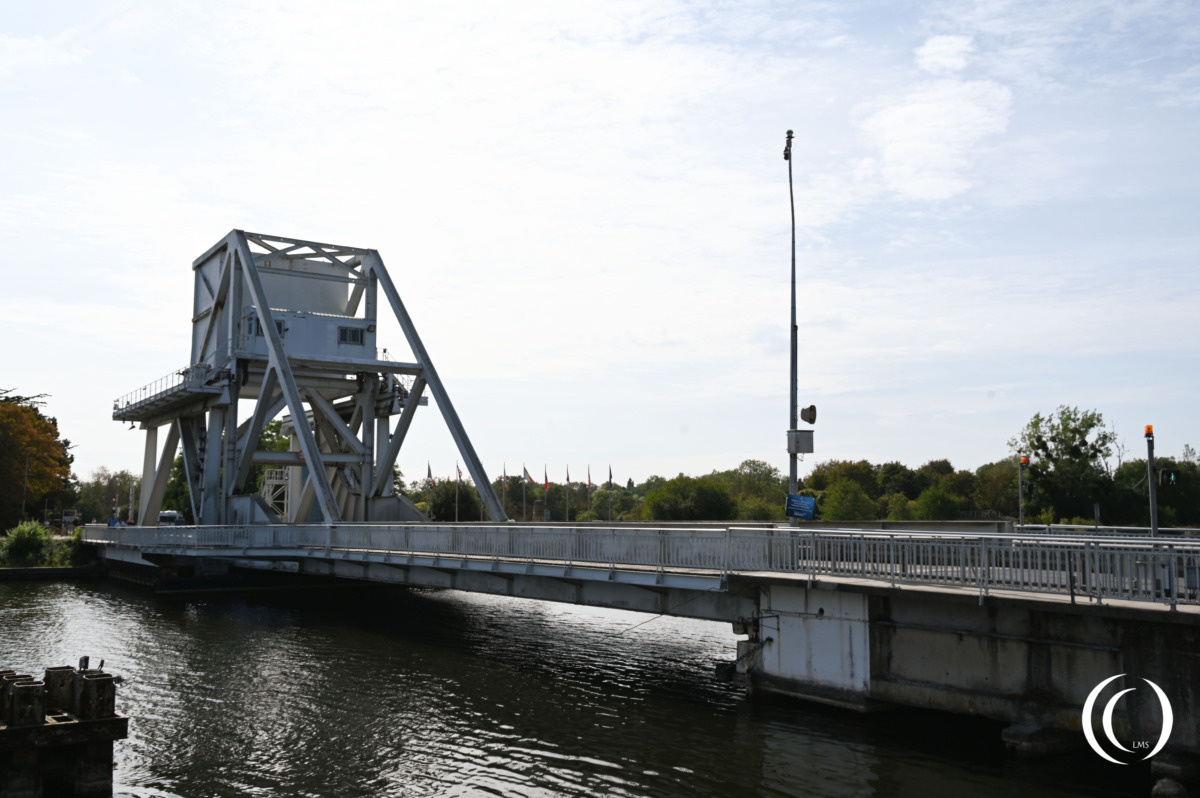
The glider assault targeting the Euston II (Horsa Bridge) and Euston I (Pegasus Bridge) spans is widely considered one of the most outstanding feats of precision flying in military history. The air fleet was made up of six Airspeed Horsa gliders, towed by Halifax bombers, They took off from RAF Tarrant Rushton in Dorset, England, at 22:56 on June 5, 1944.
They crossed the French coastline at 7,000 feet before detaching from the bombers to glide silently into Normandy, towards both bridges.
The fleet was split cleanly down the middle between the two strategic targets, gliders 1, 2, and 3: Targeted Euston I (Bénouville/ Caen Canal Bridge) and gliders 4, 5, and 6: Targeted Euston II (Ranville/ Orne River Bridge). The first glider landed around 00:16 on 6 June 1944 at Euston I only 40 to 50 yards – 35 to 45 meters from the bridge and the gliders landed within minutes from each other. Glider number two hit a pond. The sudden impact flung lance-Corporal Fred Greenhalgh unconscious out of the glider into the pool and died by drowning, he was the first casualty of the operation.
Both bridges were secured and in British hands within 10 minutes. After successfully securing the bridges, the 181 glider troops were reinforced later that night by the 7th (Light Infantry) Parachute Battalion, commanded by Lieutenant-Colonel Richard Pine-Coffin.
By midday on June 6th, they were officially relieved by commandos of Lord Lovat’s 1st Special Service Brigade marching inland from Sword Beach.
Ham and Jam
Despite losing an entire platoon to the navigation error on Glider 4, the surprise from the silent midnight landings was absolute. The German sentries initially mistook the sounds of the crash-landings for debris from a downed Allied bomber. Once the Royal Engineers successfully checked the bridge structures and confirmed they were cleared of active demolition charges, the famous code words “Ham and Jam” were transmitted back to command, within 10 minutes after landing.
Ham confirmed the capture of the Pegasus Bridge and “Jam” indicated the capture of the Horsa Bridge.
Codeword Jack would be used if the bridge was captured and destroyed. “Lard’ would be sent for the same fate on the Horsa bridge.
Hold until relieved
Securing the bridges was only the beginning; holding them against German counterattacks proved equally challenging. Reinforced by the 7th Parachute Battalion at around 03:00, Major John Howard’s men defended their positions throughout D-Day, facing repeated German attacks, armoured probes and increasingly accurate sniper fire after sunrise.
At approximately 02:00, Panzer IV tanks from the 2nd Battalion, 192nd Panzergrenadier Regiment advanced towards the bridge. A single PIAT anti-tank round struck and destroyed the leading tank, blocking the narrow approach and forcing the remaining vehicles to withdraw. This fortunate but decisive shot may have prevented the Germans from overrunning the position.
Fighting around the bridges continued intermittently for approximately 21 hours before the position was fully secured. The defenders suffered dozens of additional casualties beyond those sustained during the initial assault.
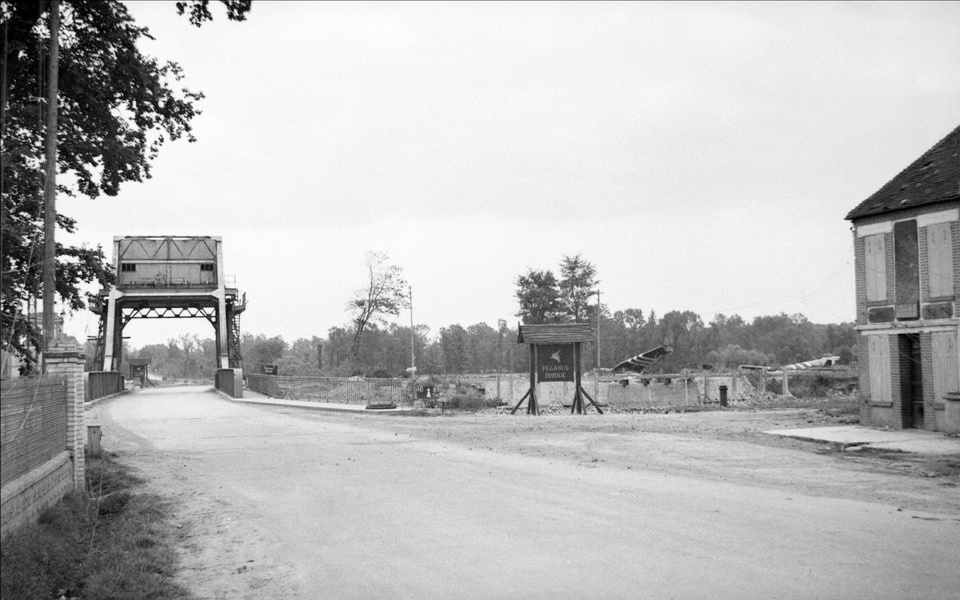
By early afternoon, Lord Lovat’s commandos, the 1st Special Service Brigade, landed at Sword Beach that morning, reached the bridges on foot. Their arrival marked the successful link-up between the airborne troops and the advancing Allied forces. The moment became legendary when Lovat’s personal piper, Bill Millin, played his bagpipes while crossing the bridge under enemy fire. His remarkable march became one of the most enduring images associated with the British airborne operation on D-Day.
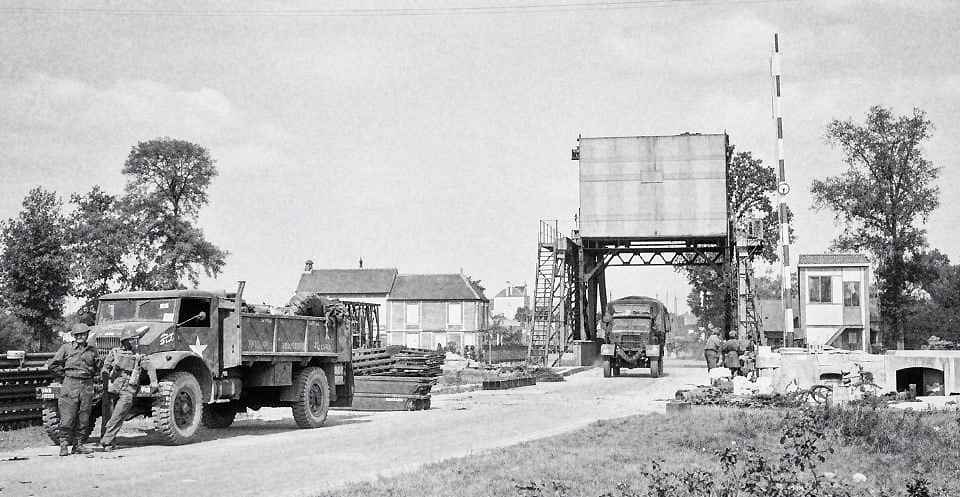
Visit
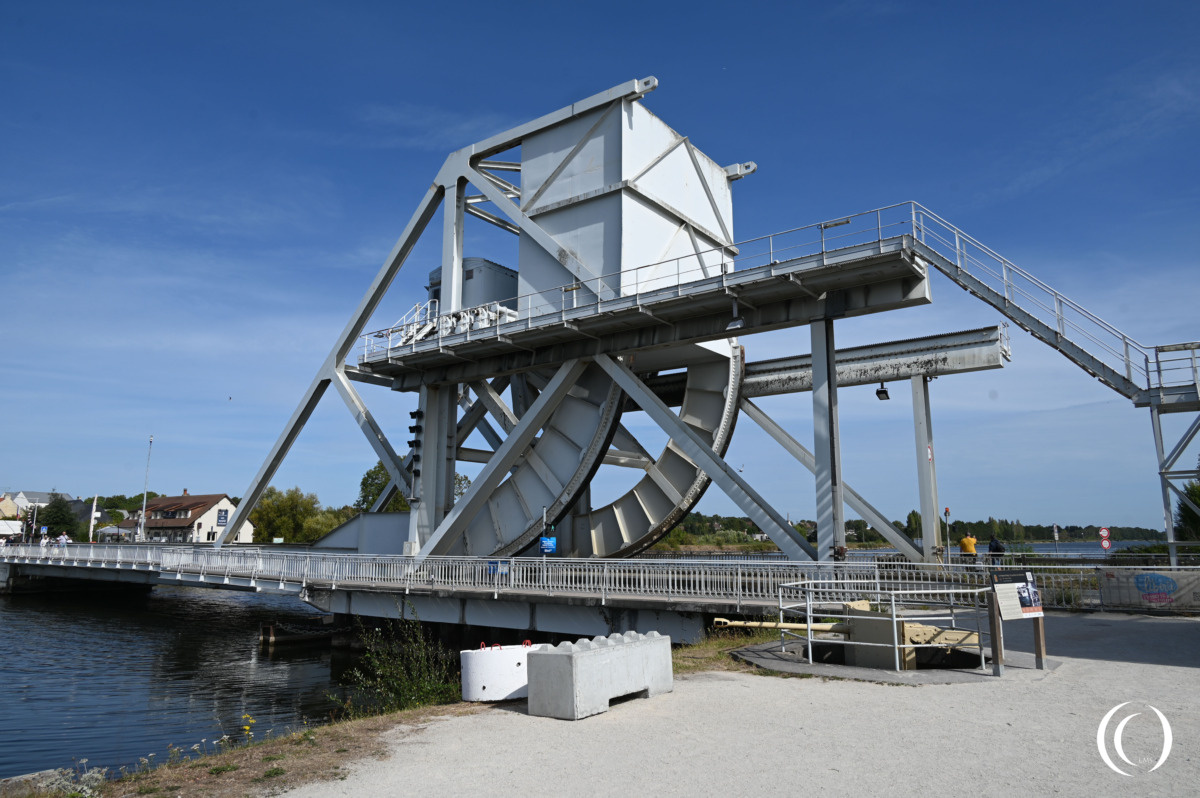
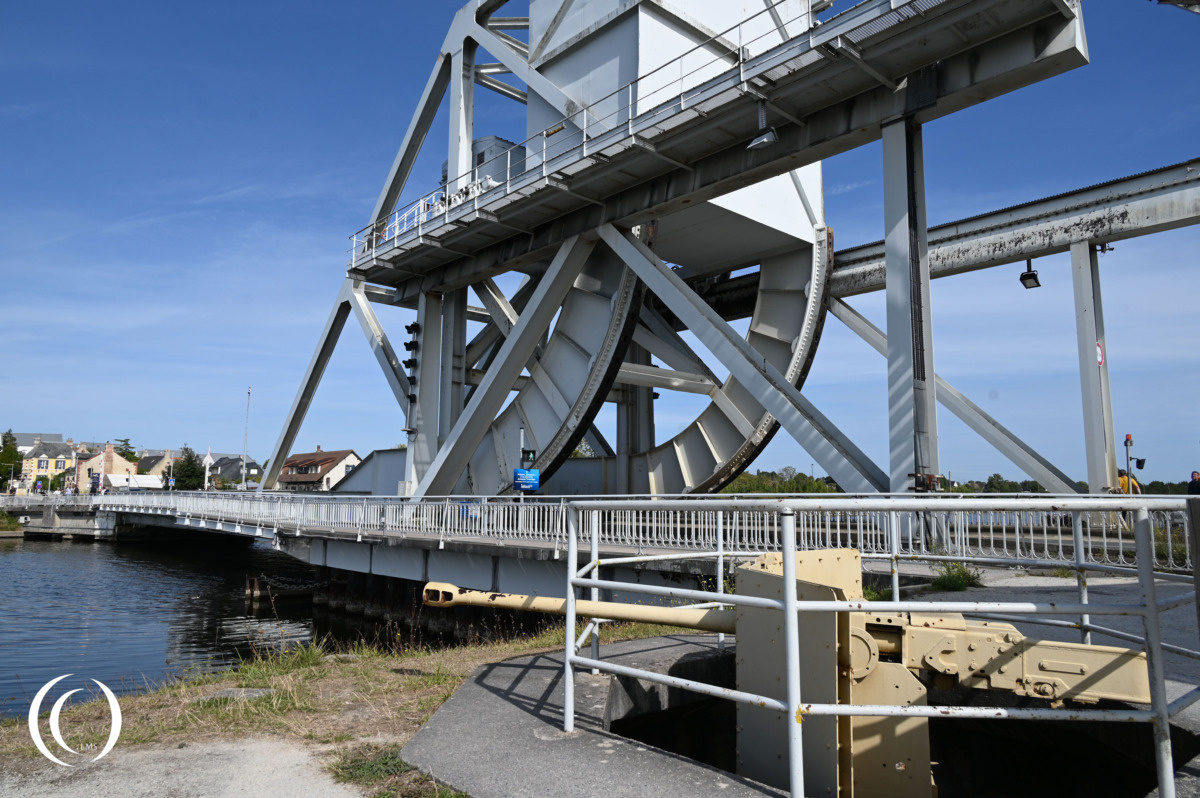
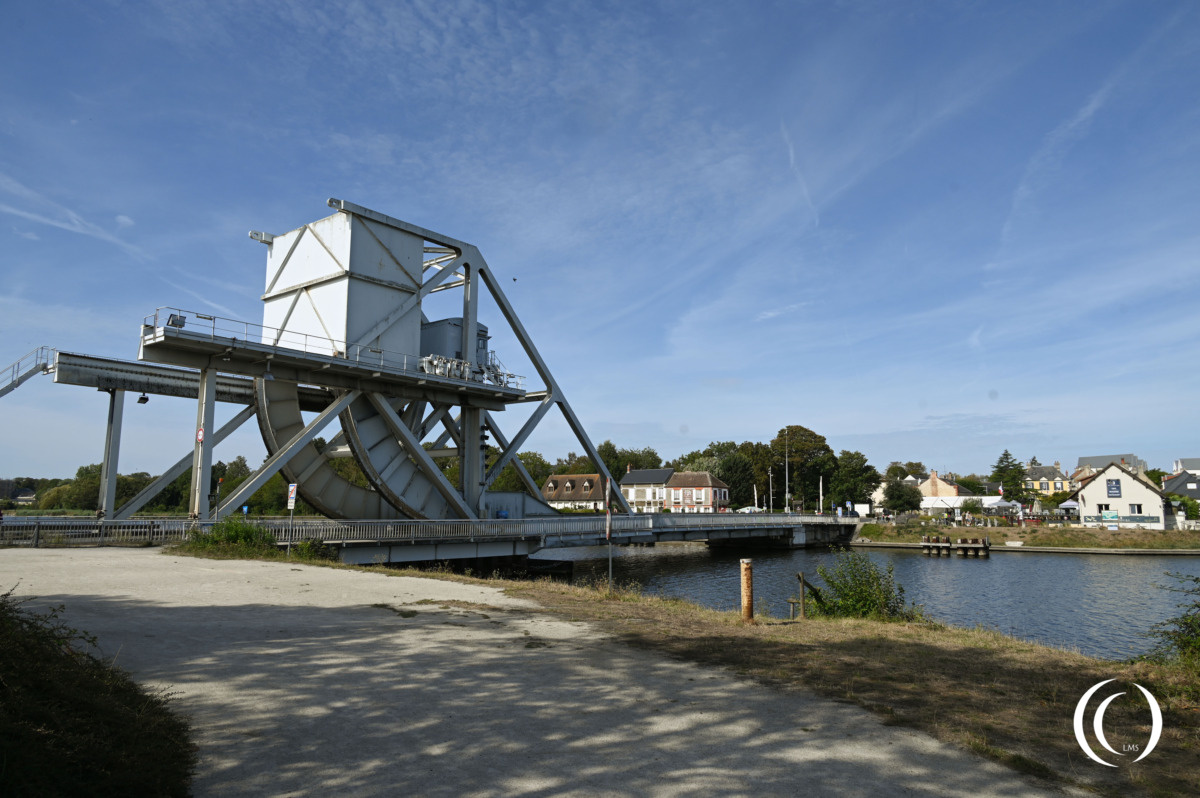
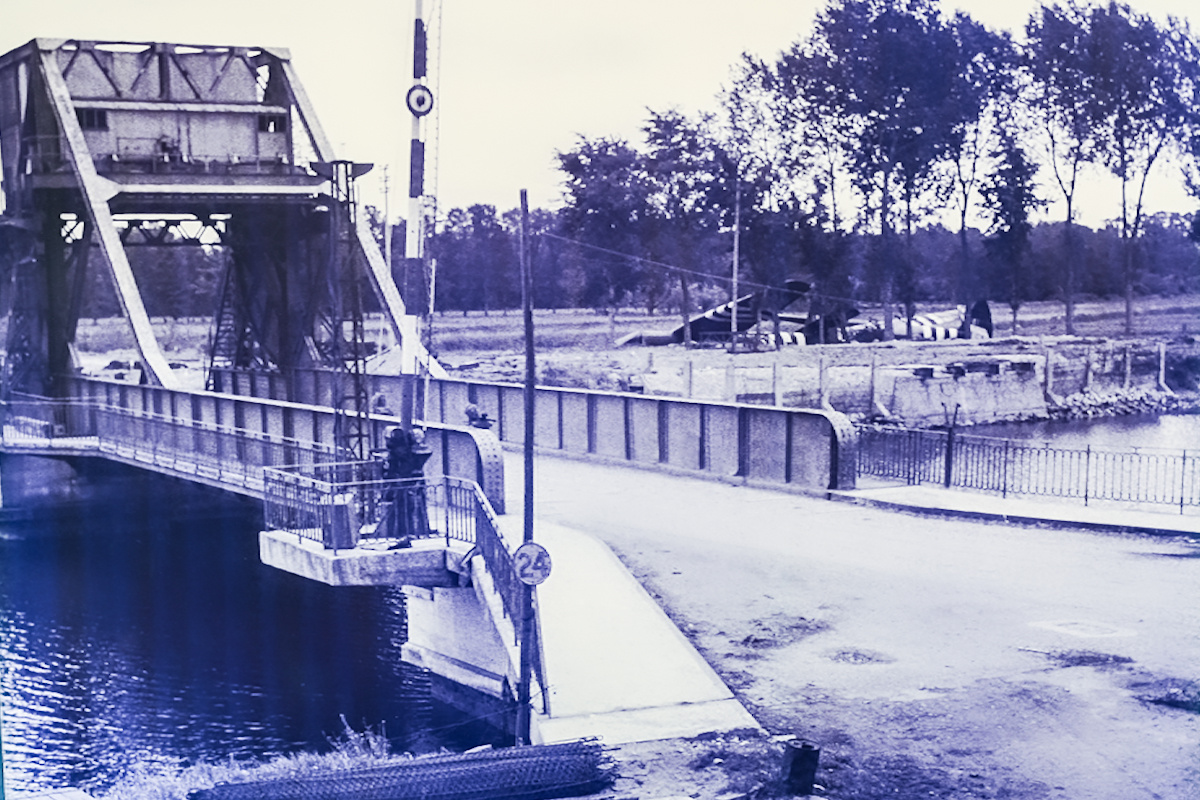
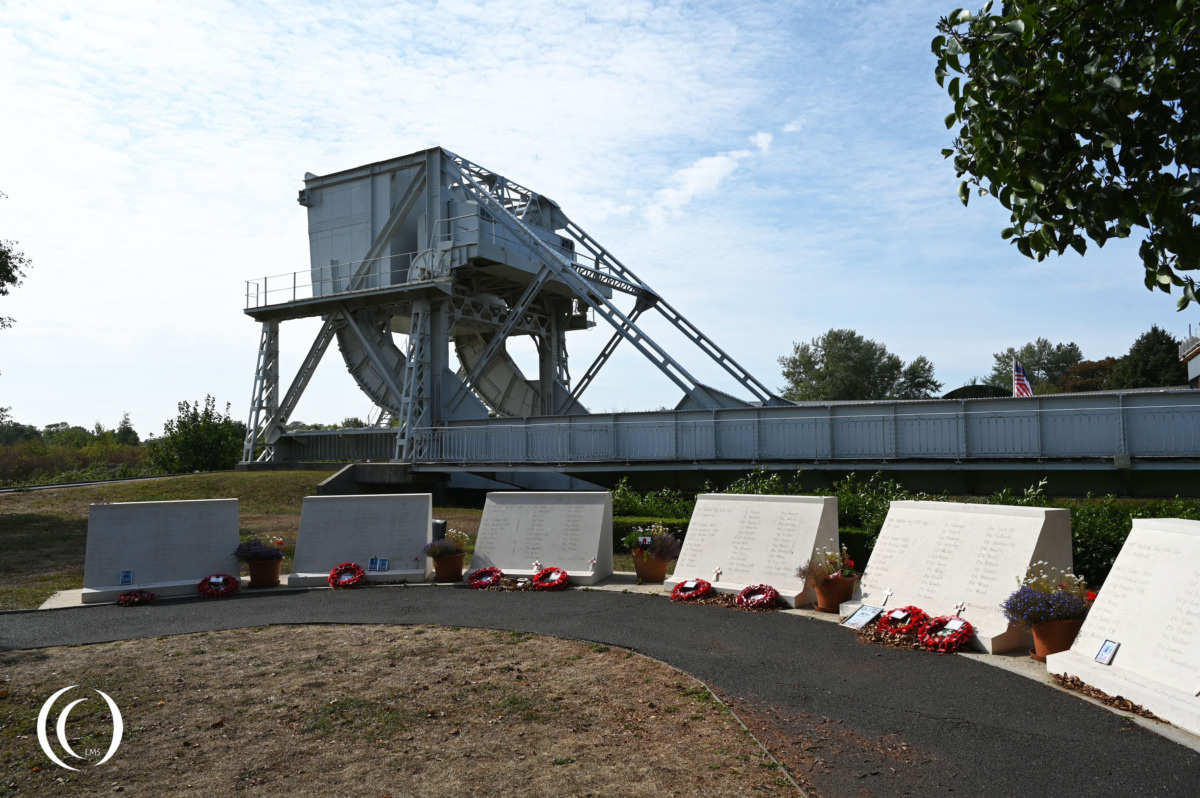
The bridge can be visited freely; on the west side, there is a Café Gondrée—one of the first buildings to be liberated during D-Day—along with a few other dining options. On the east side of the bridge lies a museum dedicated to the battle, and a little further on is the Horsa Bridge. Please note that the bridge was been replaced and modernized in 1994. The original bridge has been preserved and can be seen in the memorial Pegasus museum.
Sources
- war-documentary.info
- IWM
- comitedudebarquement.fr
- dday-overlord.com
- normandie44lamemoire.com
- portsmouthtocaen.co.uk
- Cornelius Ryan – The longest day
