D-Day, the first battle
On June 5, 1944, 6 aircraft, each towing a glider, departed from RAF Tarrant Rushton airfield, heading toward Caen in France, carrying troops from the 2nd Battalion, Oxfordshire and Buckinghamshire Light Infantry, part of the British 6th Airborne Division. Their objectives were to secure bridges east of Caen, capture strategic infrastructure points, and neutralize threatening coastal batteries—thereby undermining artillery support and cutting off supply lines for German reinforcements. The overarching goal was to gain time and space for the infantry landings carried out on the French beaches of Normandy, within the British sectors designated as Gold, Juno, and Sword.
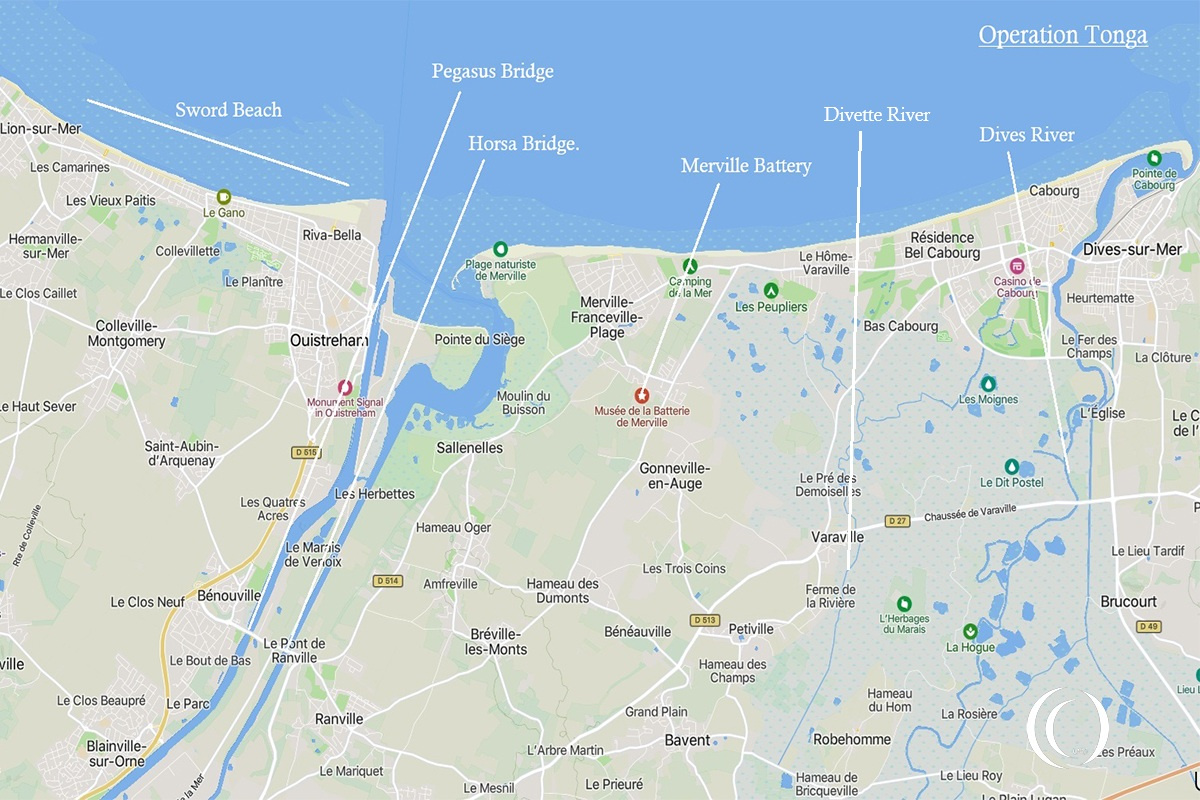
Operation Tonga was a combined operation involving 8,500 men, paratroopers, pathfinders and infantry dropped by parachute and gliders before the beach landings on the 6th of June 1944. The decision to use six gliders at the two bridges, Pegasus and Horsa, stemmed from the fact that paratroopers can become scattered during an airborne descent and must regroup upon landing before an attack can be launched. This operation had to be executed with great speed; it was the only chance of success for securing the bridges intact. The Horsa gliders were able to deliver 25 to 30 paratroopers to the objective silently and as a cohesive unit, allowing them to launch an attack immediately.
The attack on Pegasus Bridge and Horsa Bridge began at 00:16 on the night of June 5–6, 1944. These were the very first engagements of Operation Overlord—the invasion, D-Day.
Euston II – The Battle for the Horsa Bridge
For the attack on the two bridges, 6 Horsa gliders were selected, which in turn were divided into two groups of three gliders each—three gliders for each bridge.
The bridge over the Orne—Ranville Bridge—was included in the operation under the codename Euston II, while the bridge located to the west, over the Caen Canal, the Bénouville Bridge, was designated as Euston I.
The glider pilots played an absolutely pivotal role in the success of the assault on the bridges codenamed Euston I and II. Belonging to the British Glider Pilot Regiment, they executed one of the most precise and daring feats of airmanship in military history during the night of June 5–6, 1944.
Flying in the dark, without engines: Twelve pilots, two per glider, flew in six wooden Airspeed Horsa gliders. They were towed from RAF Tarrant Rushton airbase in England by Halifax bombers.
Relying entirely on the stopwatch: Once released over France, they flew through the darkness in complete silence. The co-pilot kept meticulous time using a stopwatch, allowing them to execute pre-planned course changes with pinpoint accuracy—entirely without visual reference (“5-4-3-2-1—bingo, turn right”).
While the first three gliders (Nos. 1, 2, and 3) set a course for the canal bridge (Pegasus Bridge), gliders 4, 5, and 6 were tasked with reaching the river bridge (Euston II).
Battle for the Horsa Bridge
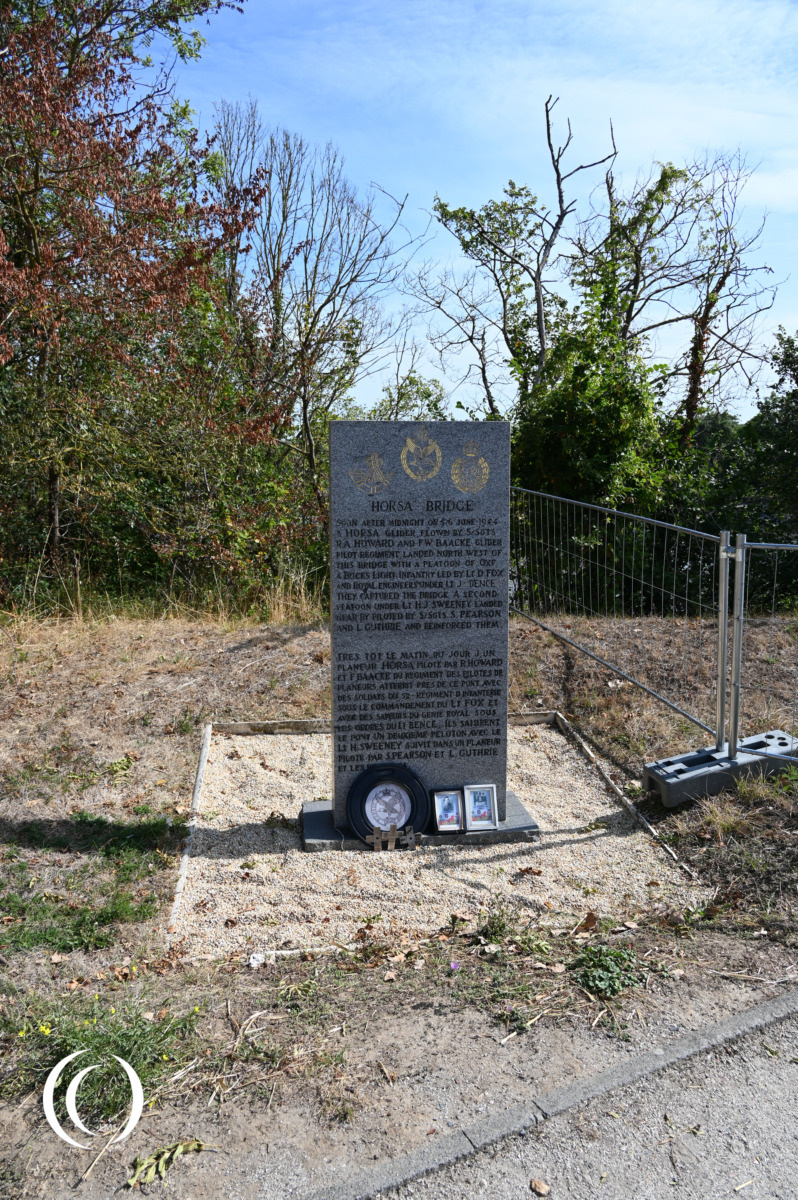
The three Airspeed Horsa gliders carried troops from the 2nd Battalion, Oxfordshire and Buckinghamshire Light Infantry, part of the British 6th Airborne Division. They were tasked with capturing the Orne bridge intact and holding it to protect the eastern flank of the invasion.
Glider 5, flown by S. Pearson and L. Guthrie, landed approximately 1,300 meters from the target site due to unexpected turbulence. The unit was commanded by Lieutenant Lt. H.J. Sweeney, they had to reach the objective on foot.
Glider 6, flown by R.
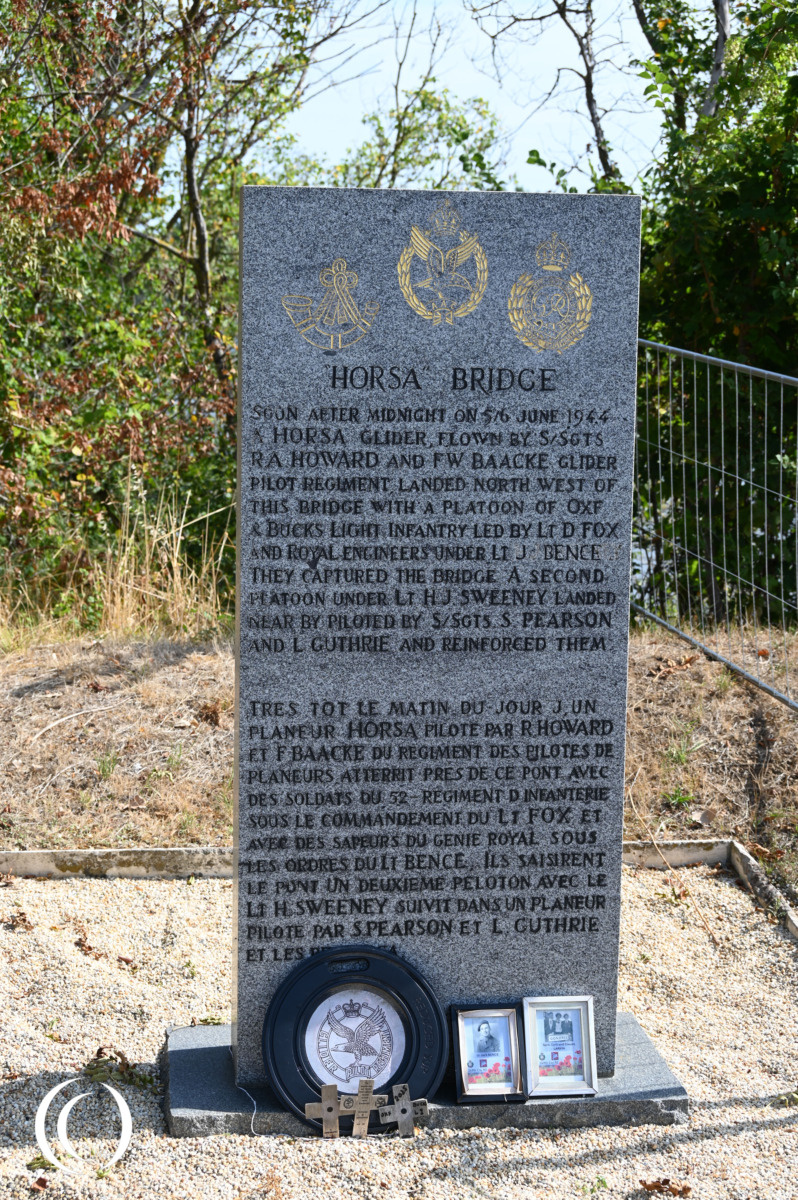
A. Howard and F.W. Baacke was the only one of the three to land precisely at the intended landing zone near the Horsa Bridge. The troops, commanded by Lieutenant Dennis Fox, surprised the German defenders totally and within minutes the bridge was overrun and secured.
Under command of Lieutenant Dennis Fox the soldiers seized Euston II intact with lightning speed, it took them only 10 minutes to overcome the German defenders.
Securing both Euston I and Euston II, both within the 10 minutes, allowed the Allies to protect the eastern flank of the Normandy bridgehead against German counter-attacks.
Following the successful, rapid capture of both crossings, Major John Howard sent the famous signal: “Ham and Jam” (Ham meaning Euston I was taken, Jam meaning Euston II was taken intact).
What happened to Glider 4?
In addition to the planned demolitions in Operation Tonga, another bridge location on the Dives is linked to the operation due to a historical navigation error
Glider No. 4, commanded by Lieutenant Brian Priday, intended to capture the Ranville Bridge over the River Orne intact, went off course. The glider accidentally landed 10 miles away, near the bridges over the Dives in the vicinity of Périers-en-Auge (near Cabourg). Despite this, the troops captured the bridge and subsequently fought their way back to their own lines.

Visit
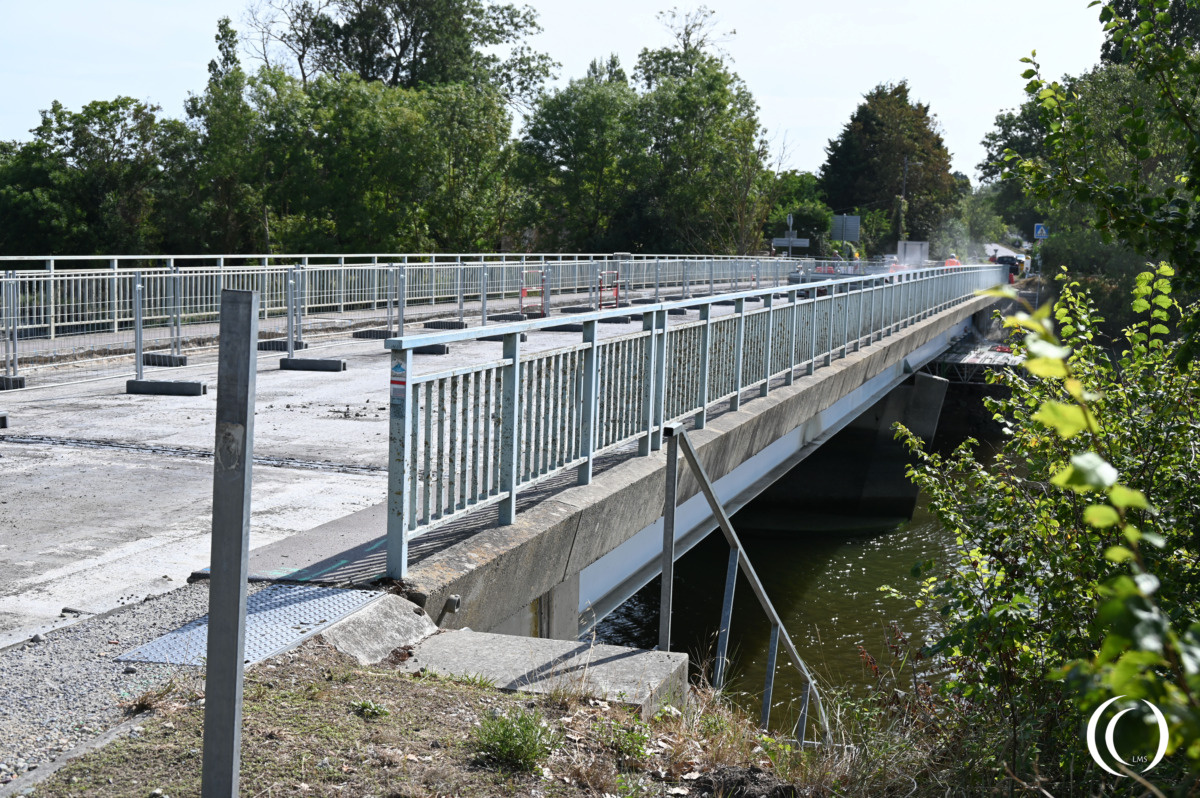
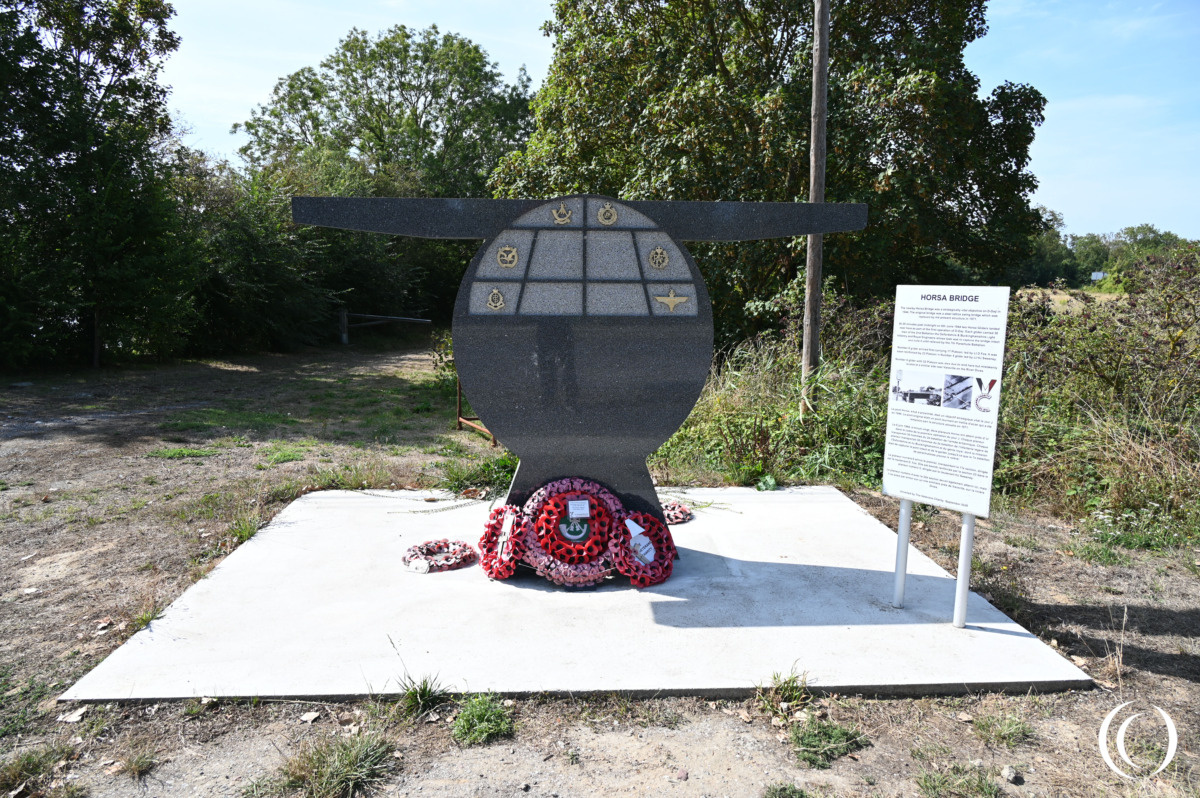
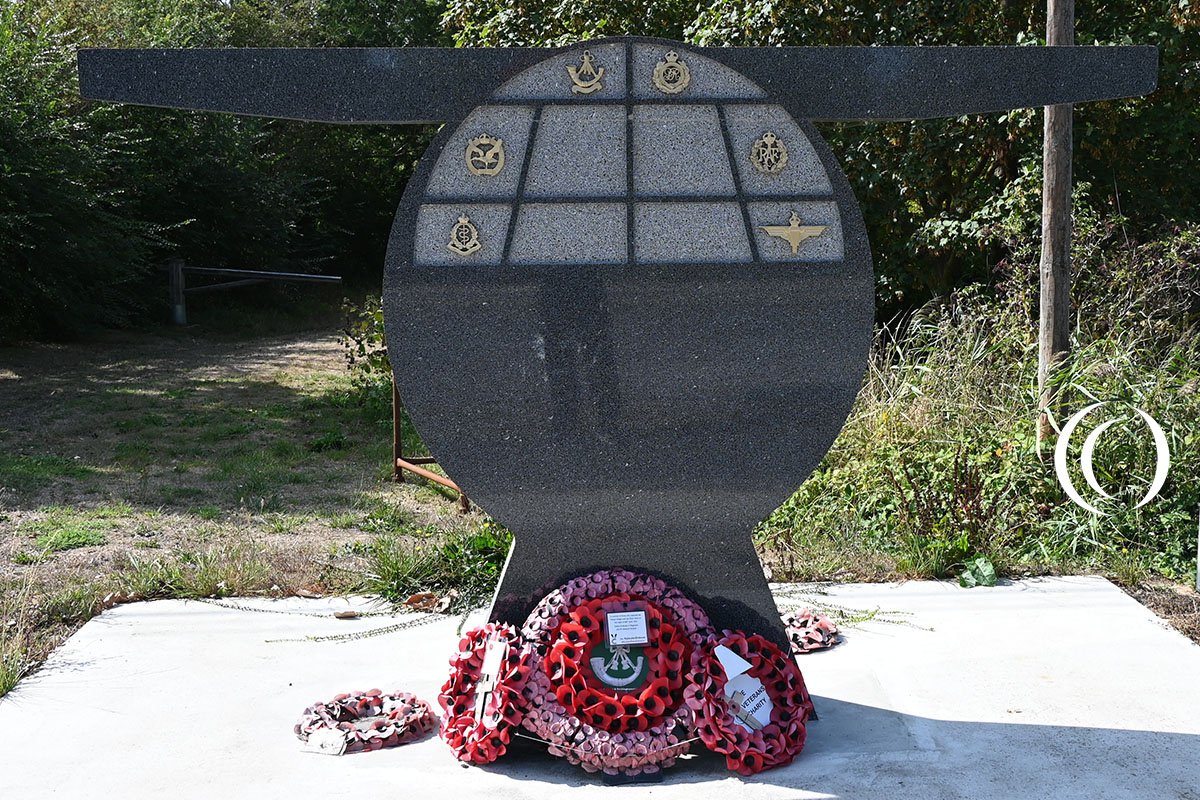
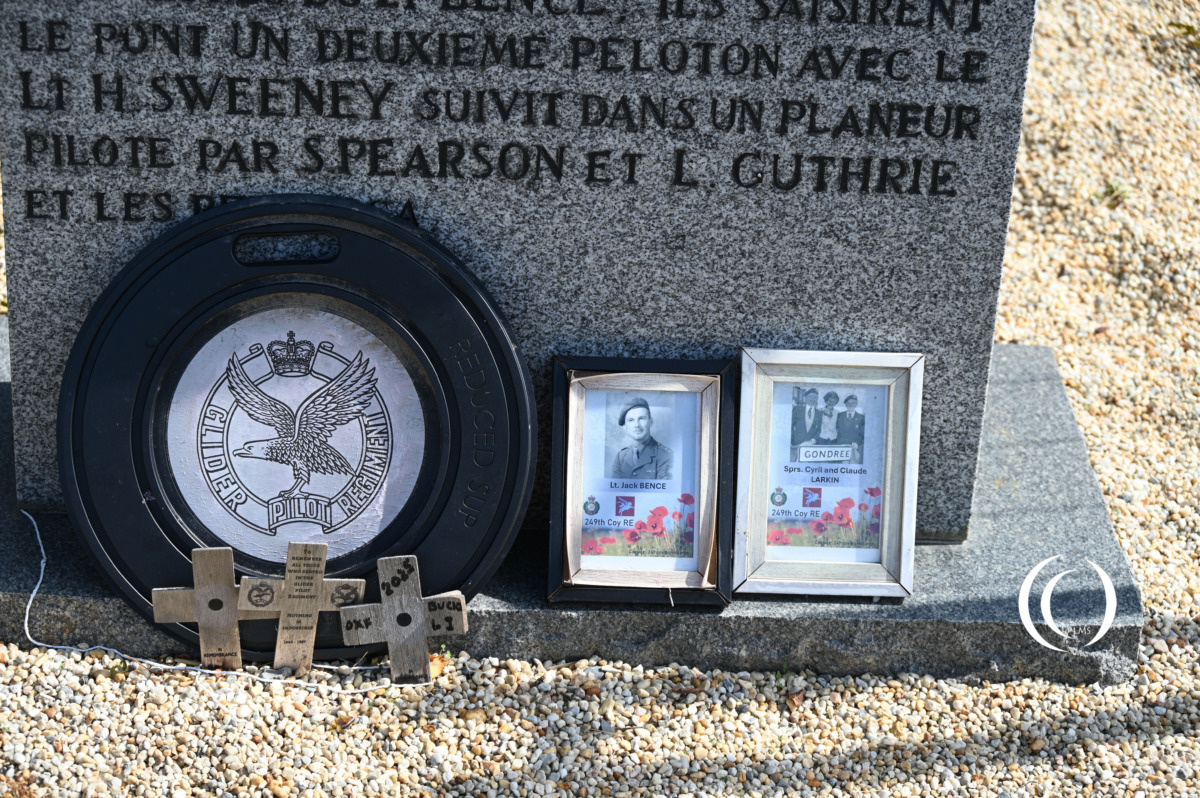
The Horsa Bridge is located 400 meters from the Pegasus Bridge—and, by extension, from the museum that showcases the units, weapons, and equipment deployed there. On the west side of the bridge stands a monument dedicated to the units that took part in the battle for the bridge.
During our visit in August 2026, the bridge was undergoing maintenance.
Sources
- war-documentary.info
- IWM
- comitedudebarquement.fr
- dday-overlord.com
- normandie44lamemoire.com
- portsmouthtocaen.co.uk
