Verteidigungsbereich Hansted
Located at the western entrance to the Skagerrak Strait, Hanstholm or Hansted occupied one of the most strategically important positions in Northern Europe during the Second World War. Controlling the only maritime route into the Kattegat and further into the Baltic Sea, the area became a key defensive point for the German armed forces after the occupation of Denmark in April 1940. Recognizing its importance, the German High Command (OKH) designated the area “Verteidigungsbereich Hansted” and transformed it into one of the strongest fortified sectors of the Atlantic Wall. By the end of the war, the coastal defense zone extended across seven kilometers and contained hundreds of bunkers, gun positions, radar stations, and support installations.
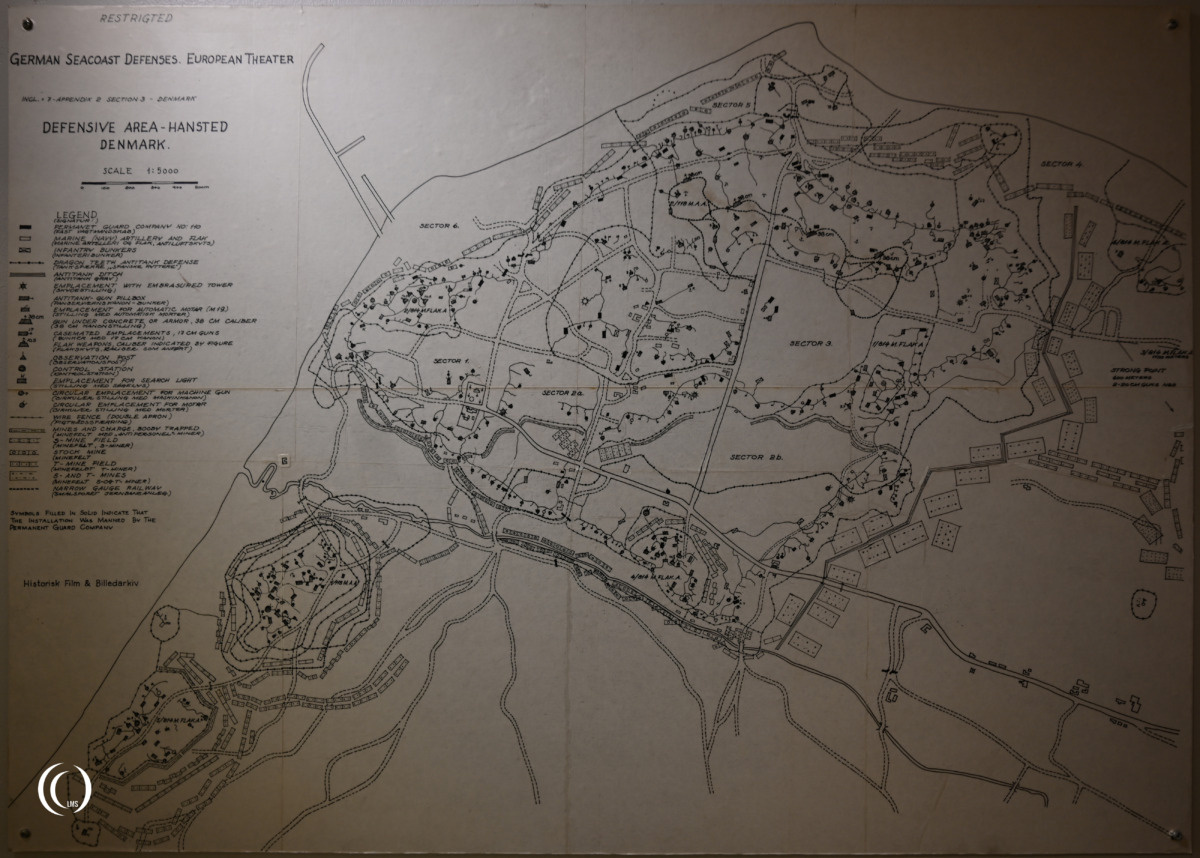
Controlling the Skagerrak Strait
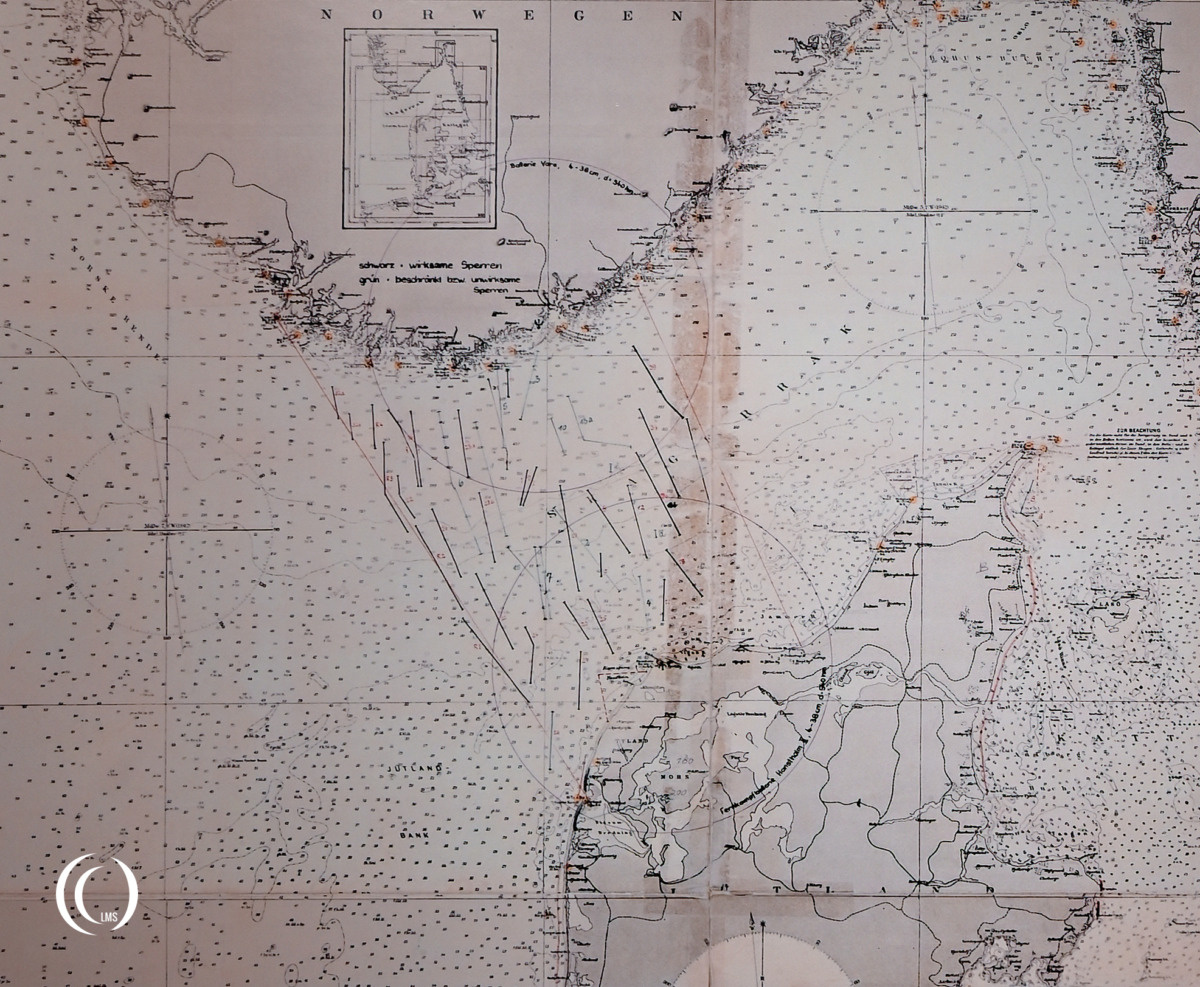
Shortly after the occupation, the German Kriegsmarine established a temporary mobile artillery battery at Hanstholm to protect the opening off the coast in the sea-mine barrage at the entrance of the Skagerrak. In May 1940 this position was replaced by the permanent naval battery “Hanstholm I” (Stz.P. 1./M.A.A. 118), equipped with four 17 cm M1901 naval guns.
MKB Hanstholm II
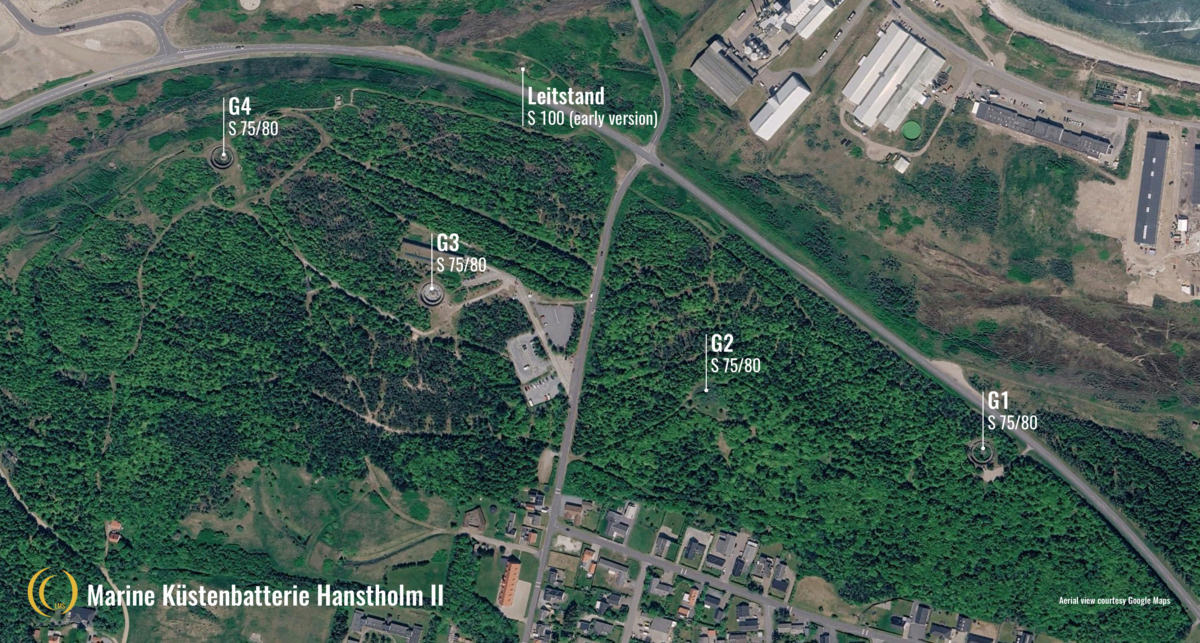
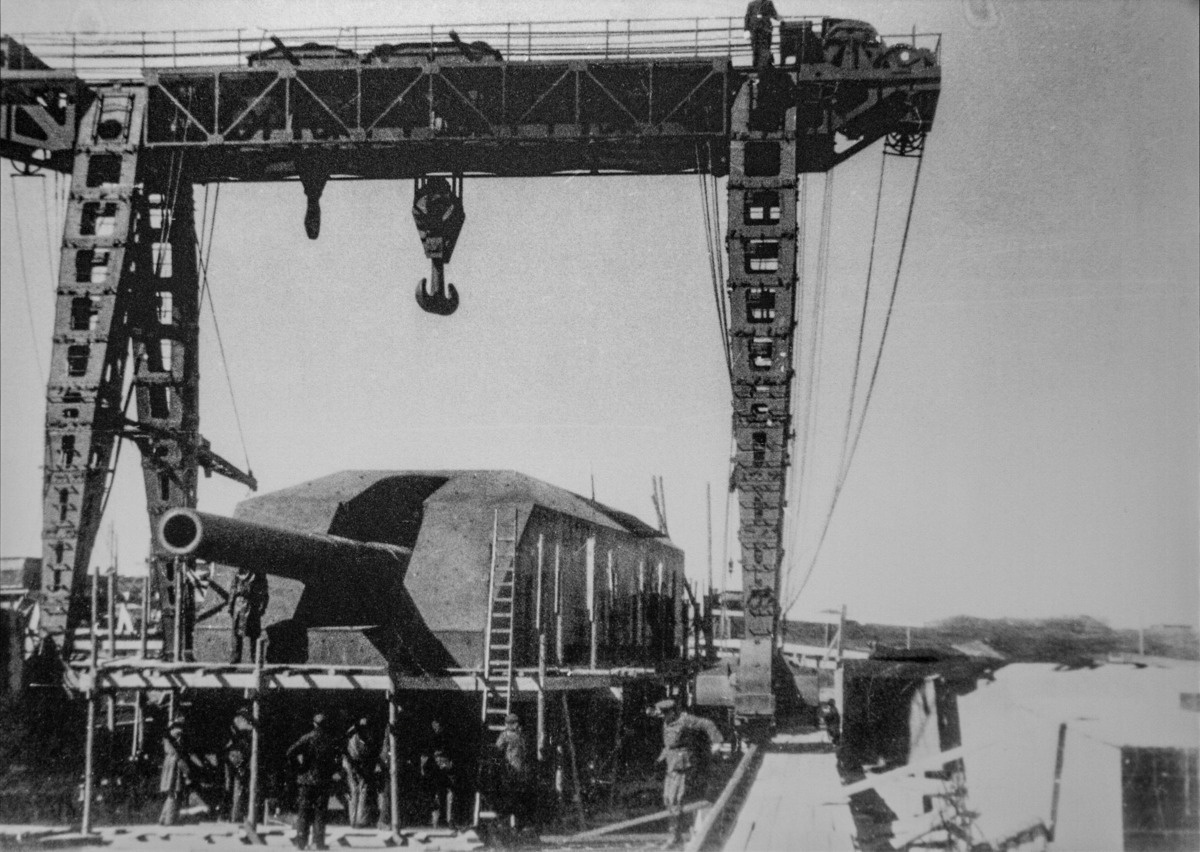
Later that same year, German military planners decided to strengthen the defenses further. Construction began on a second and much more powerful coastal battery known as “Hanstholm II” (Stz.P. 2./M.A.A. 118), located northeast of the original battery. This new installation was armed with four massive 38 cm SK C/34 naval guns capable of engaging enemy vessels at extreme range across the Skagerrak.
With a range of 56 kilometers the battery covered almost half the distance of the roughly 120 kilometers wide strait. Together with the corresponding German 38 cm heavy coastal battery Vara on the northern side of the strait in Kristiansand, Norway, the batteries posed a serious threat to Allied shipping.
Hanstholm I and Hanstholm II formed a central part of the German naval defense system in northern Denmark and fell under the command of Marineartillerieabteilung (M.A.A.) 118, the naval artillery detachment responsible for coastal defense in the region.
Geschütz 3 (G3)
The four gun emplacements of Hanstholm II were designated “Geschütz 1” (or short G1) to 4, with G1 starting at the most eastern side of the battery. The guns were placed in open concrete emplacements, which were derivates of the S 75 and S 80 regelbau types and especially designed for Hanstholm II in 1940. The type S 75/80 open emplacement allowed the gun to rotate 360 degrees, while a bunker system underneath housed ammunition stores for up to a hundred shells, machinery rooms, a workshop and crew quarters for the 90-men crew, complete with latrines, washing rooms and showers. A corridor at the front of the bunker with a narrow-gauge railway allowed a small train to access the bunker to supply shells to the ammunition stores.
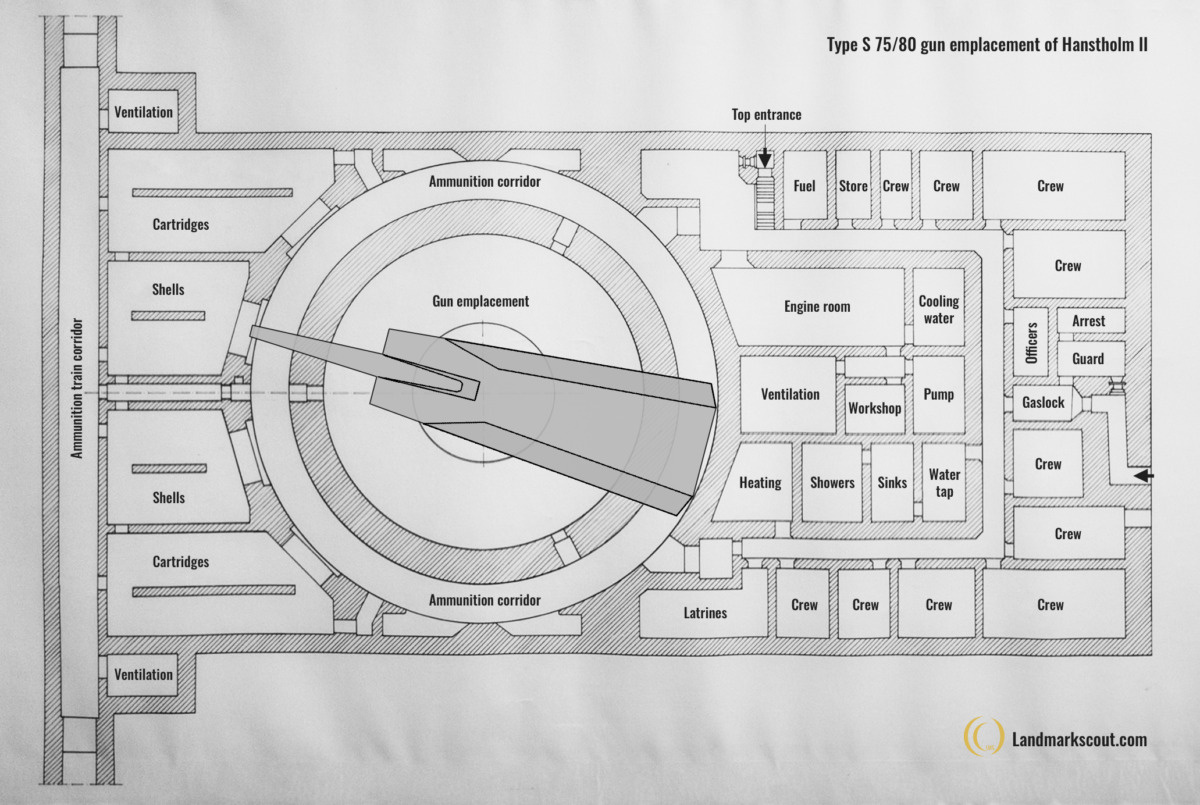
Another three type S 75/80 gun emplacement bunkers were built at Batterie Schleswig-Holstein on the Hel peninsula in Poland. These were armed with even larger 40.6 cm SK C/34 gun turrets.
Museum bunker
Today Geschütz 3 is part of Bunkermuseum Hanstholm. The WWII bunker and the neighbouring modern museum building are interconnected through the former ammunition train corridor. Although the bunkert exterior looks pretty similar to the state of Geschütz 1, located a little further to the east, its interior has been largely restored into the state it was when it was operational during World War Two.
Gun pit
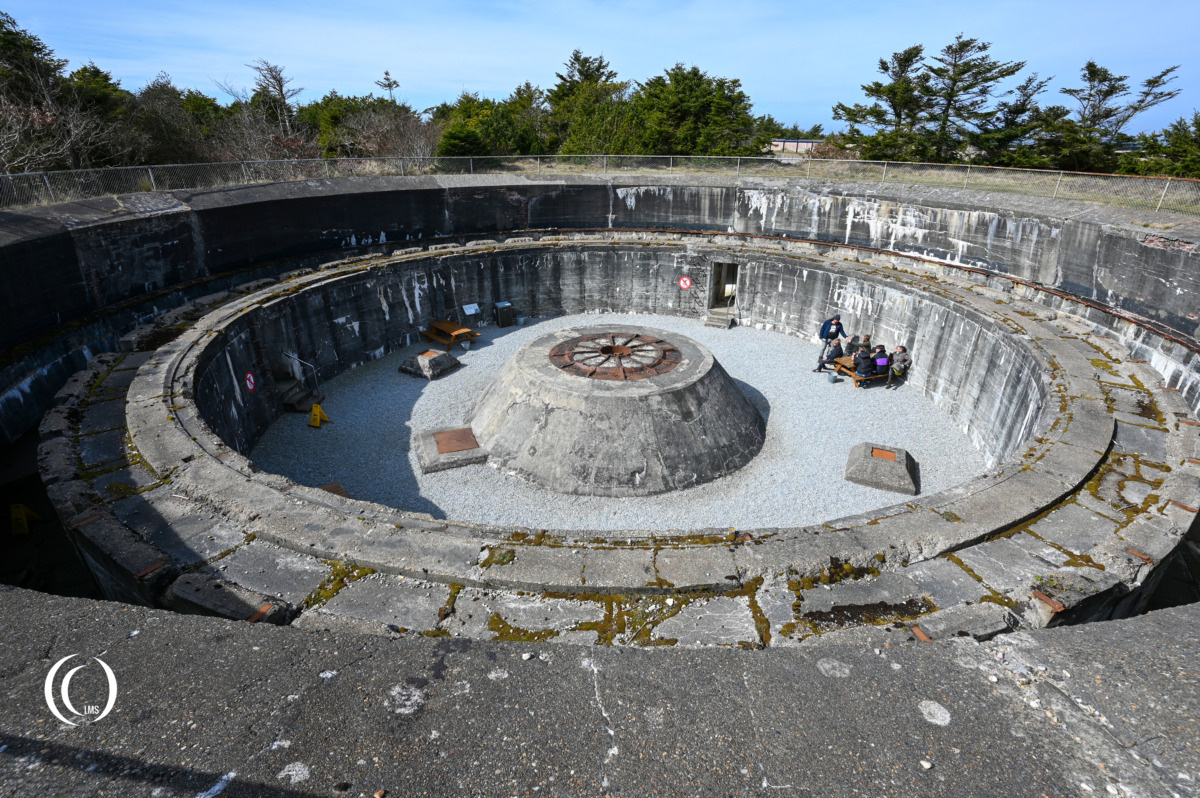
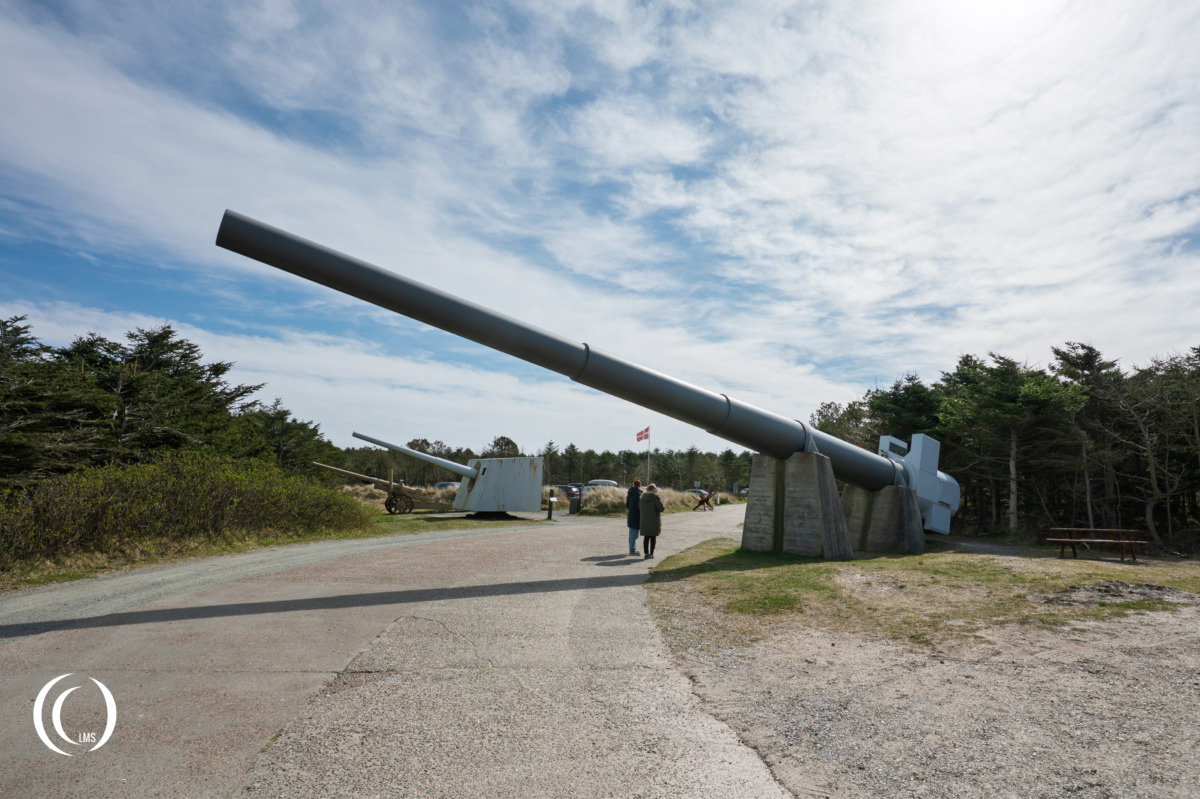
Although none of the S 75/80 gun emplacements of Hanstholm II still have the gun turret present, the gun pit with the base pivot in its center still give a good sense of how large it must have been.
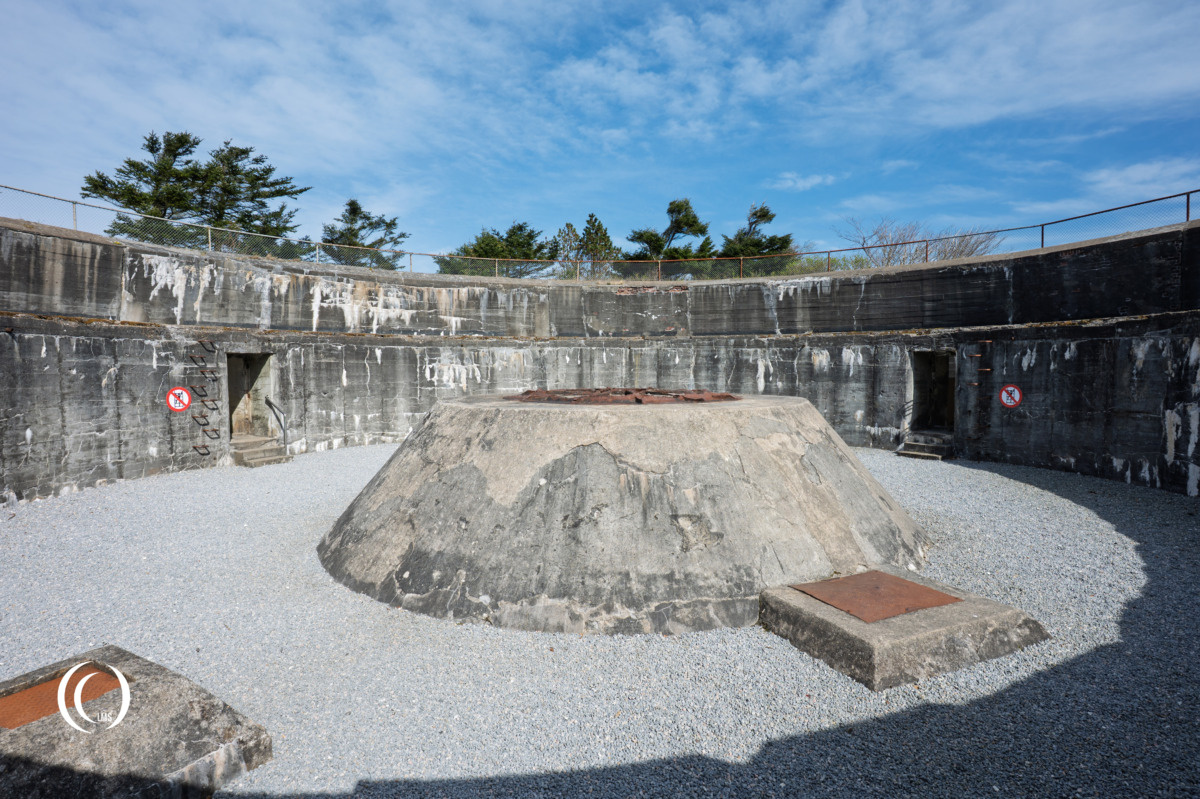
A similar 38 cm naval gun type SK C/34 is on display at the museum grounds near the gun emplacement, which gives another good impression of its size.
Ammunition corridor
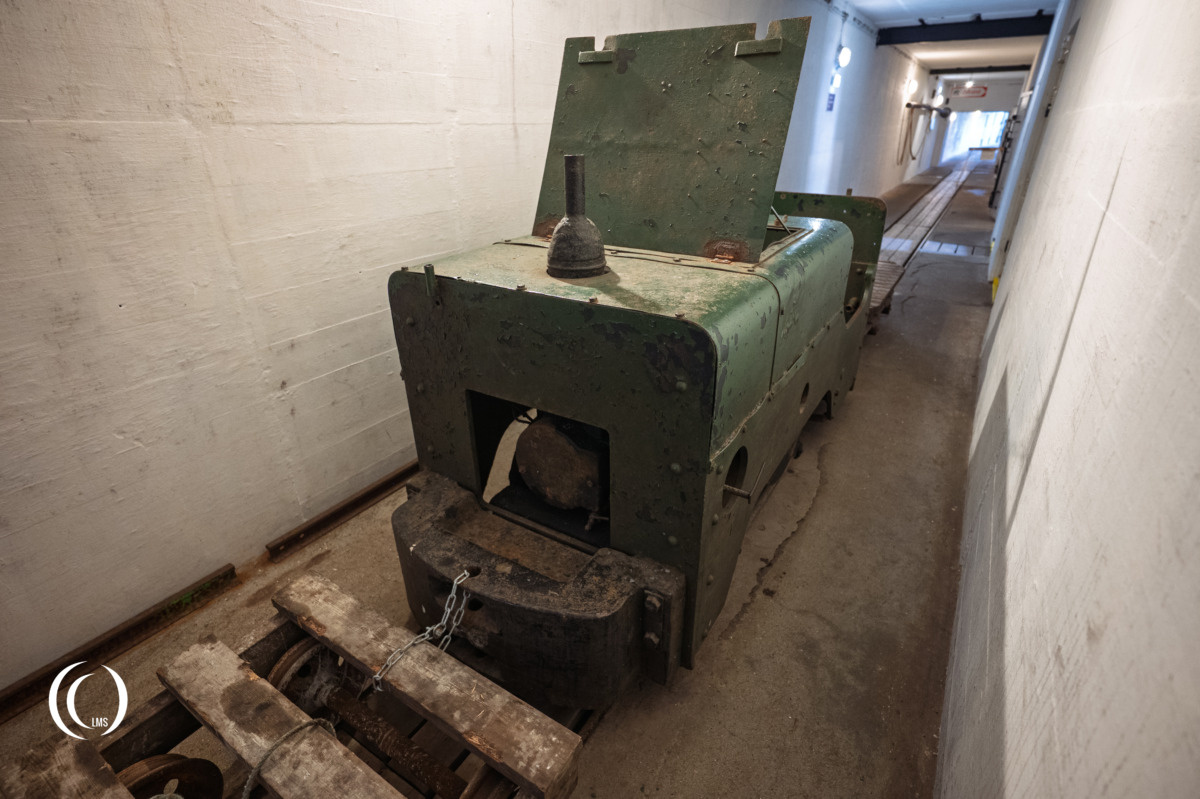
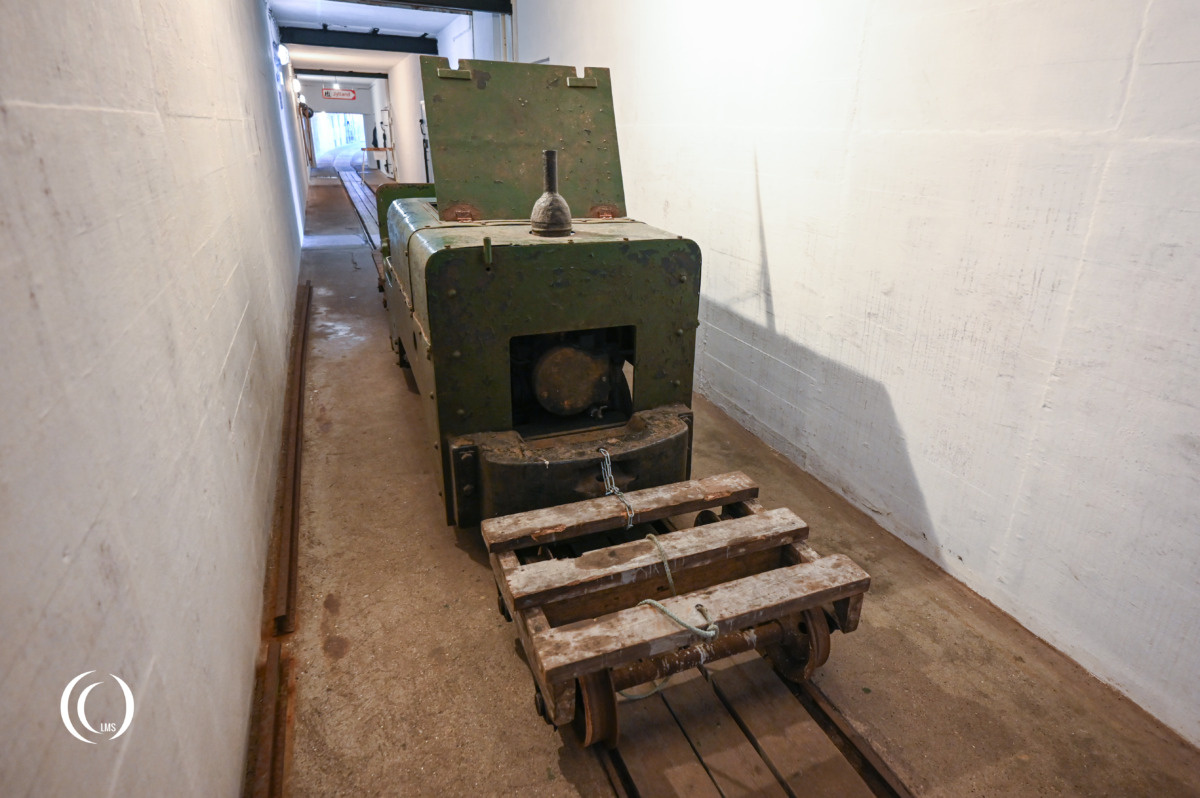
The ammunitions corridor (Ger: Munitionsgang) forms the outer ring of the gun emplacement and was used to pass the cartridges and shells from the storage room through a lock onto the trolleys (seen in the pictures below) and transport them to the 38 cm gun turret. These ammunition trolleys were pushed by a two men crew.
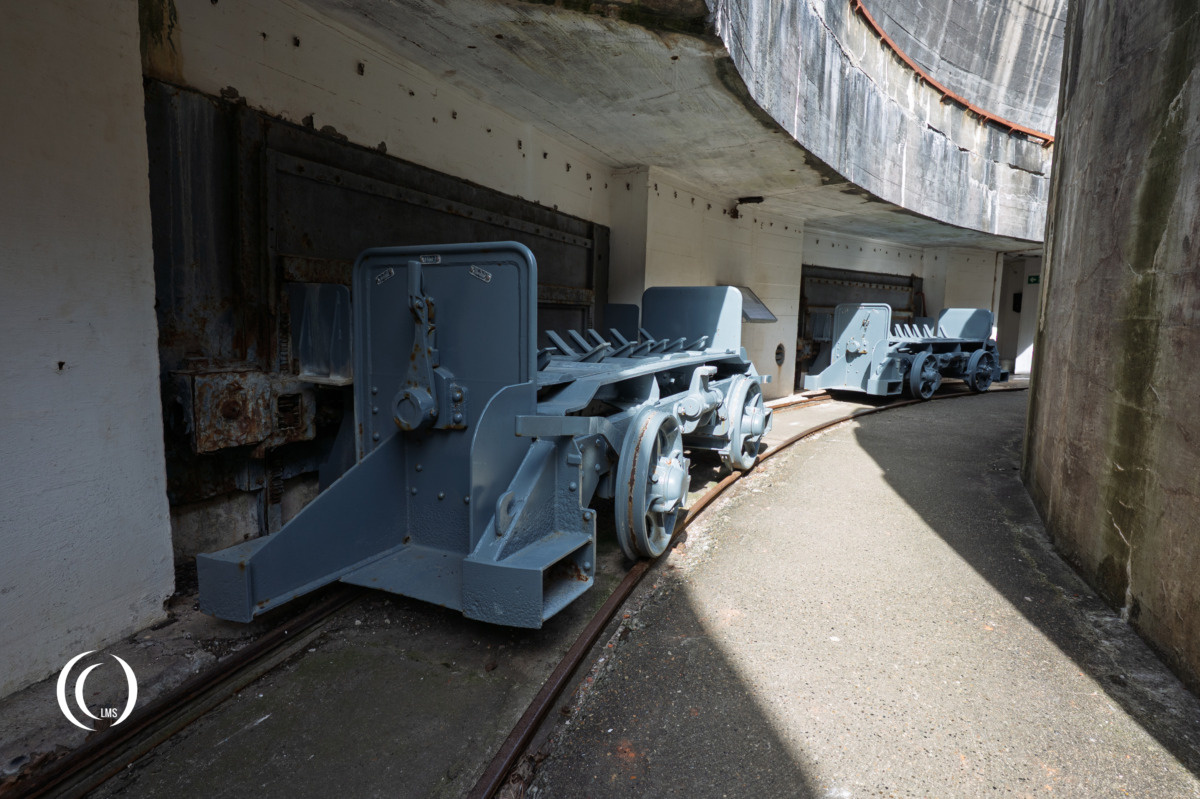
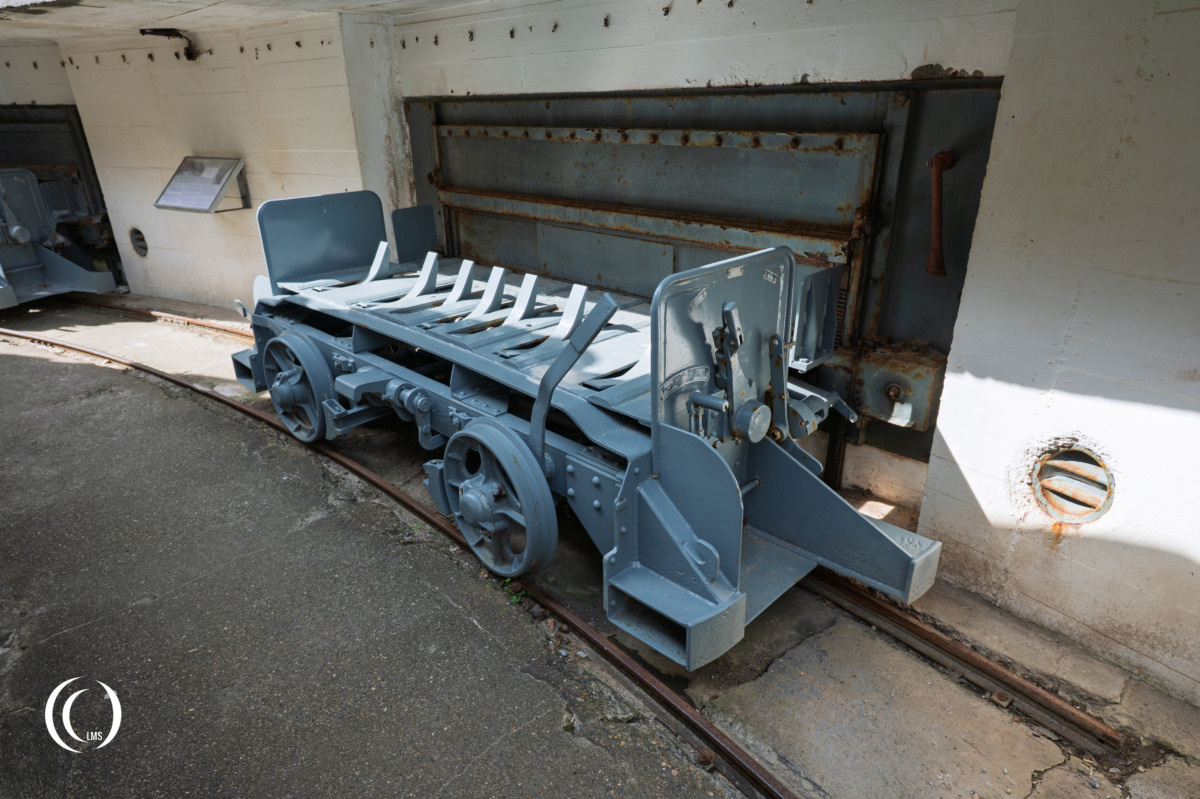
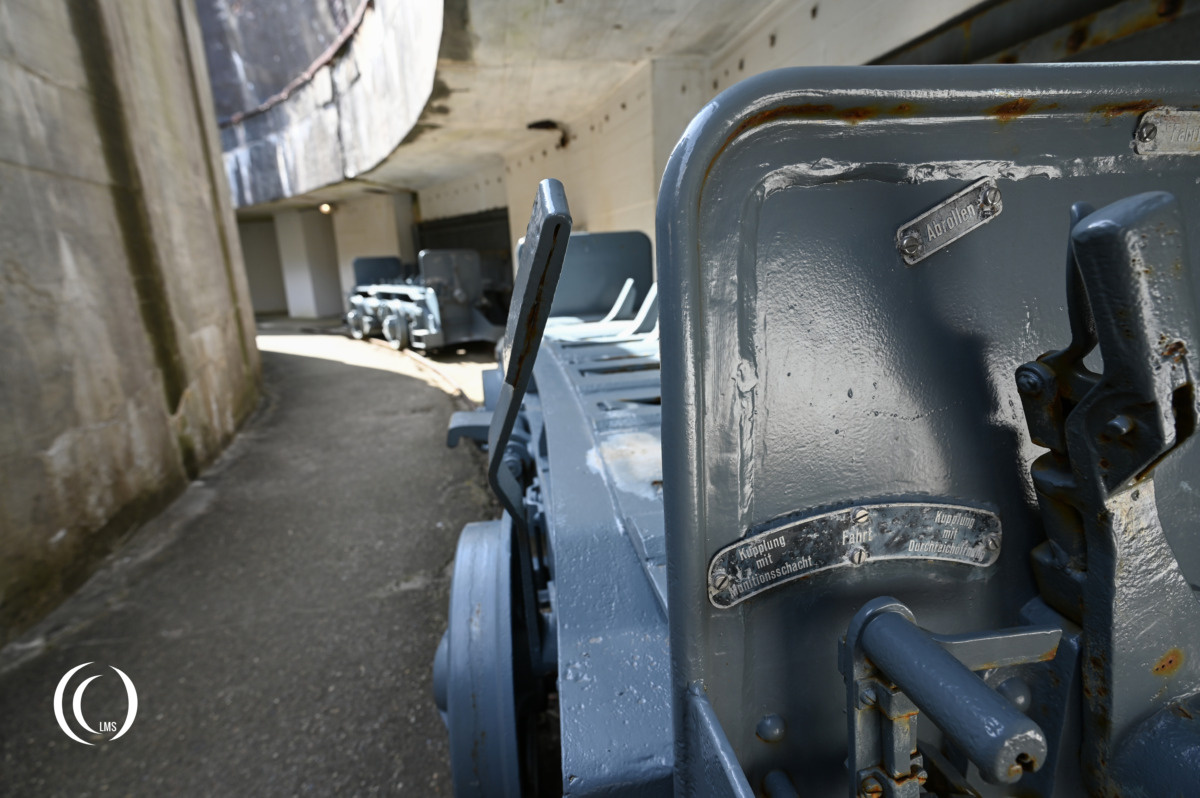
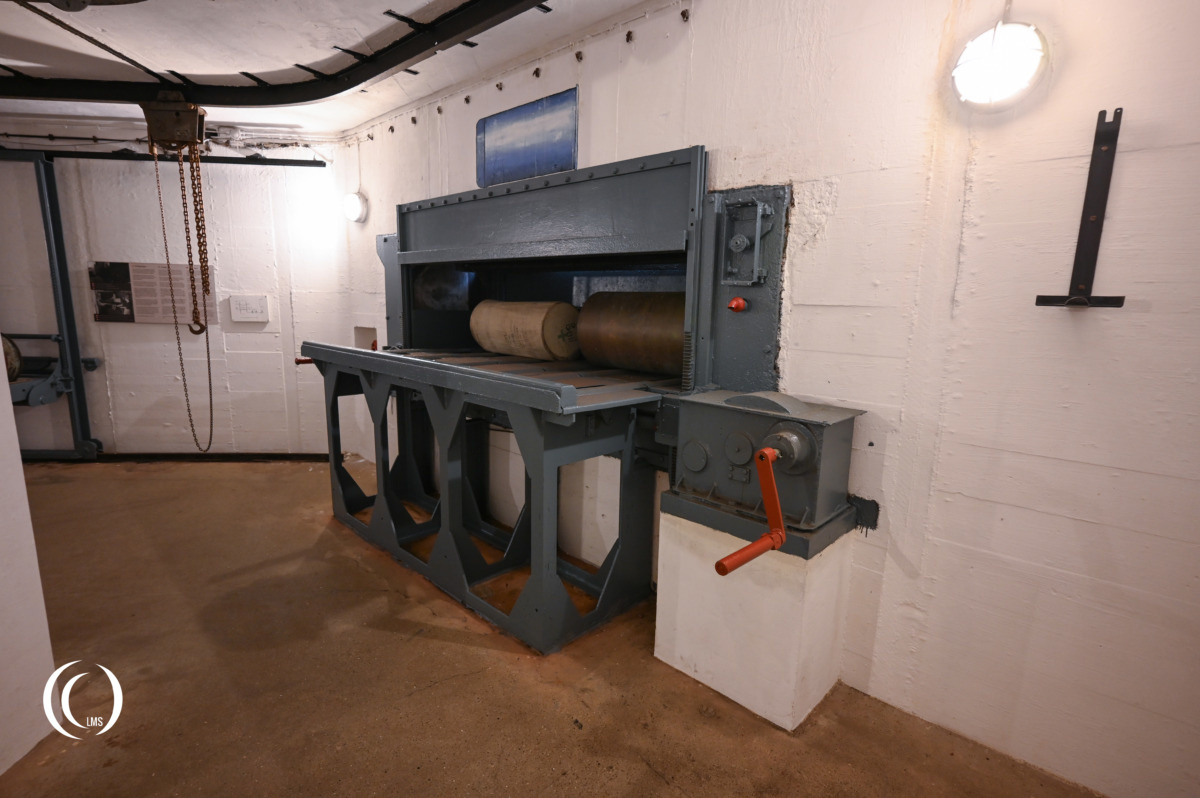
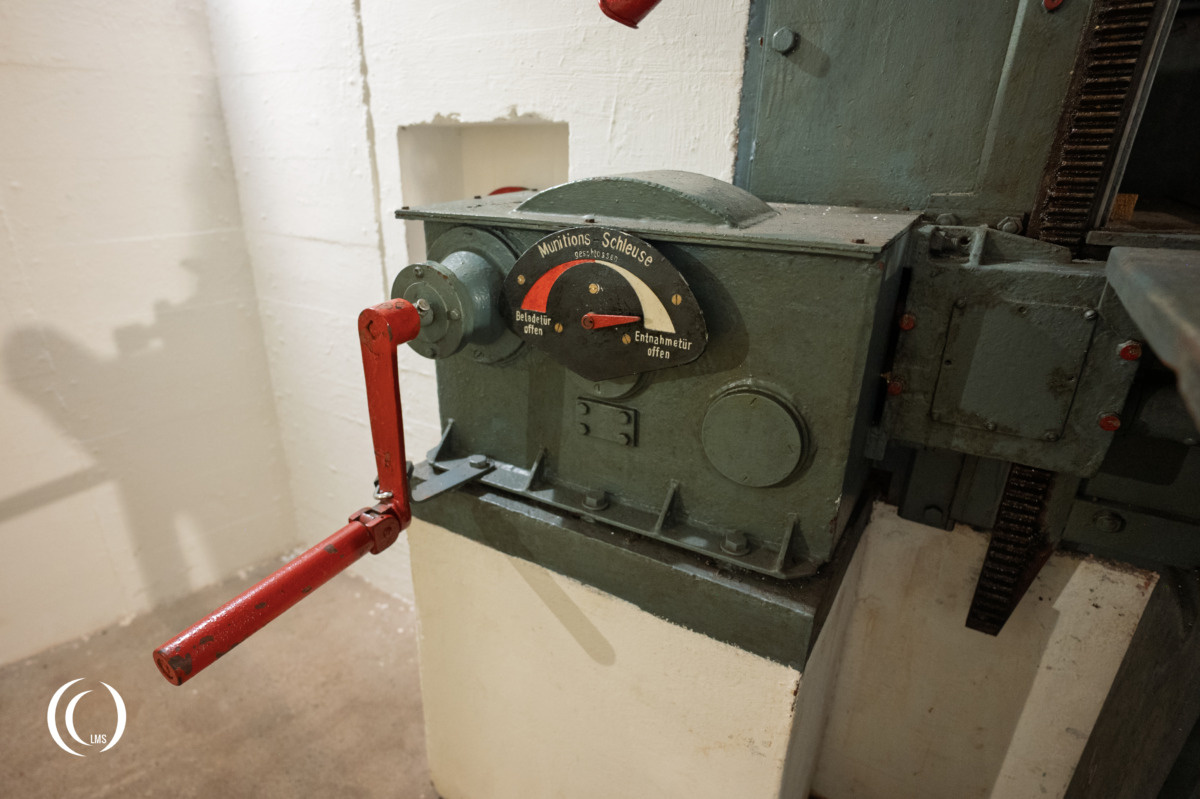
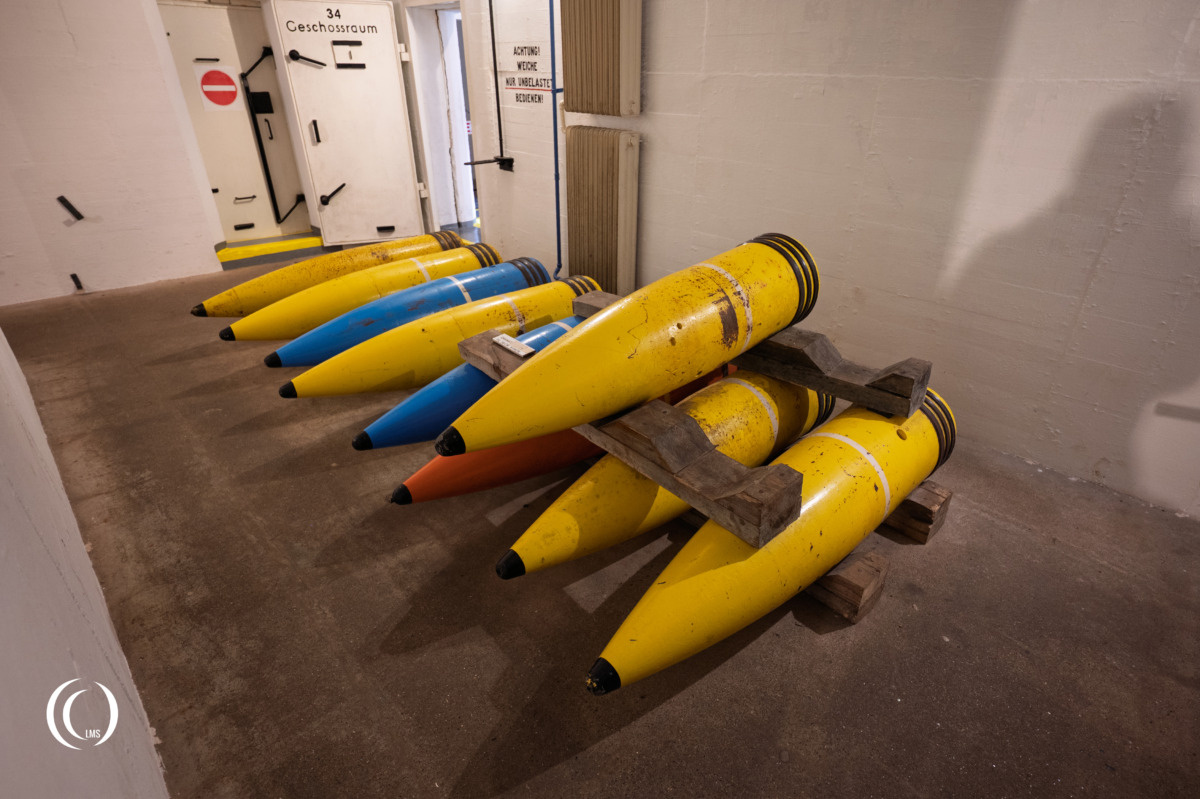
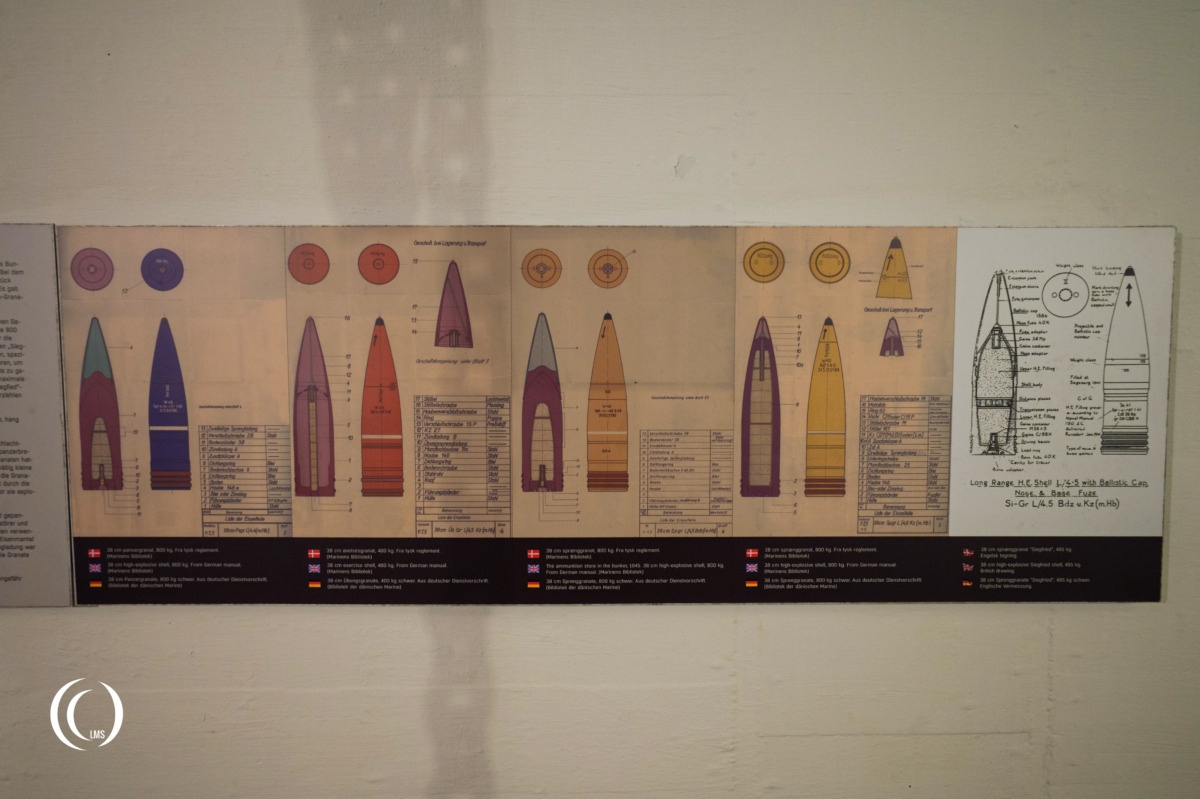
Four locks served to pass the ammunition from the storage chambers into the corridor, whereafter they were loaded on the trolleys and then hoisted up the gun turret. Shells for the 38 cm guns of the battery weighed between 800 kilograms (standard ammo) and 495 kilograms (high-explosive).
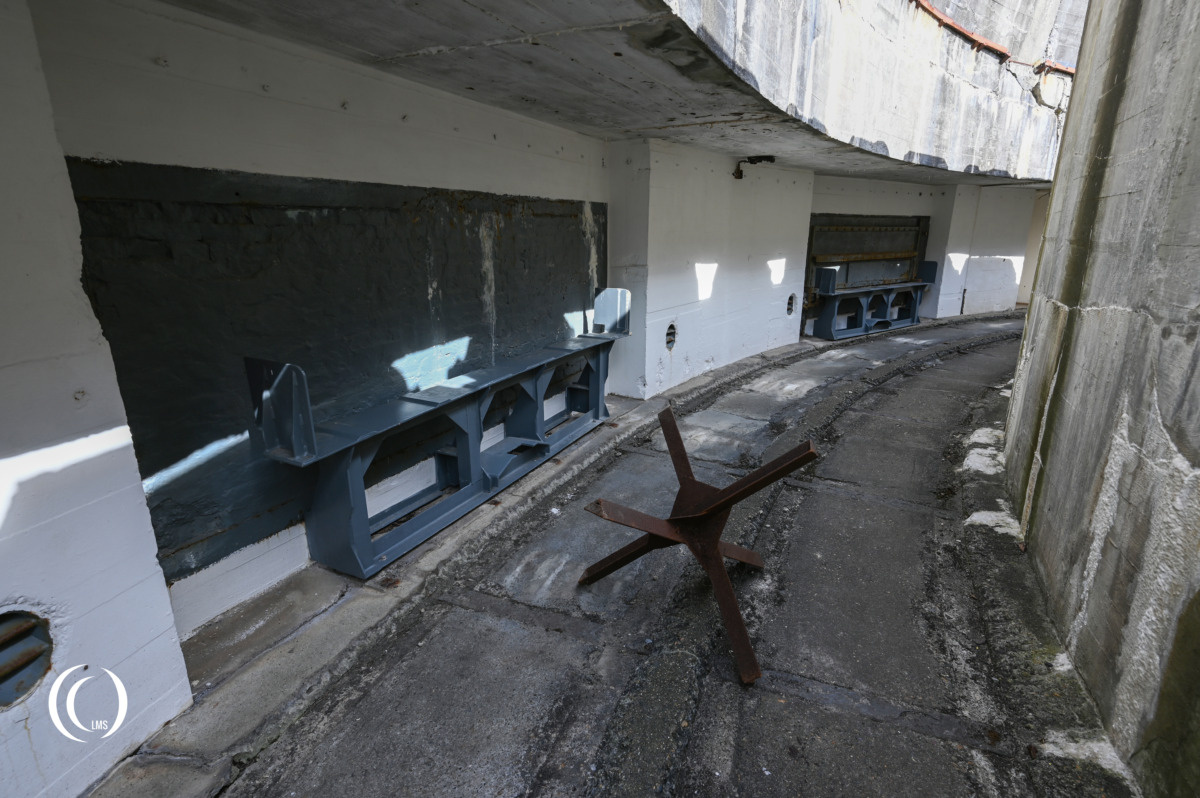
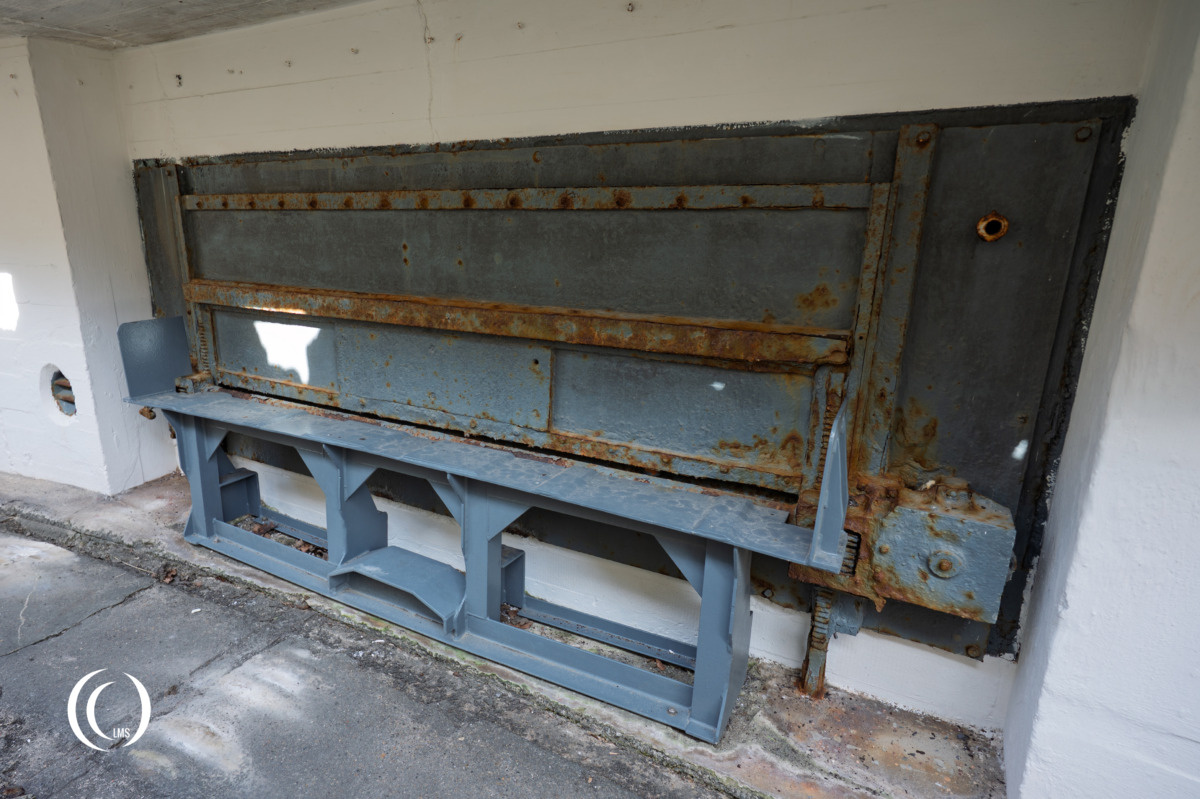
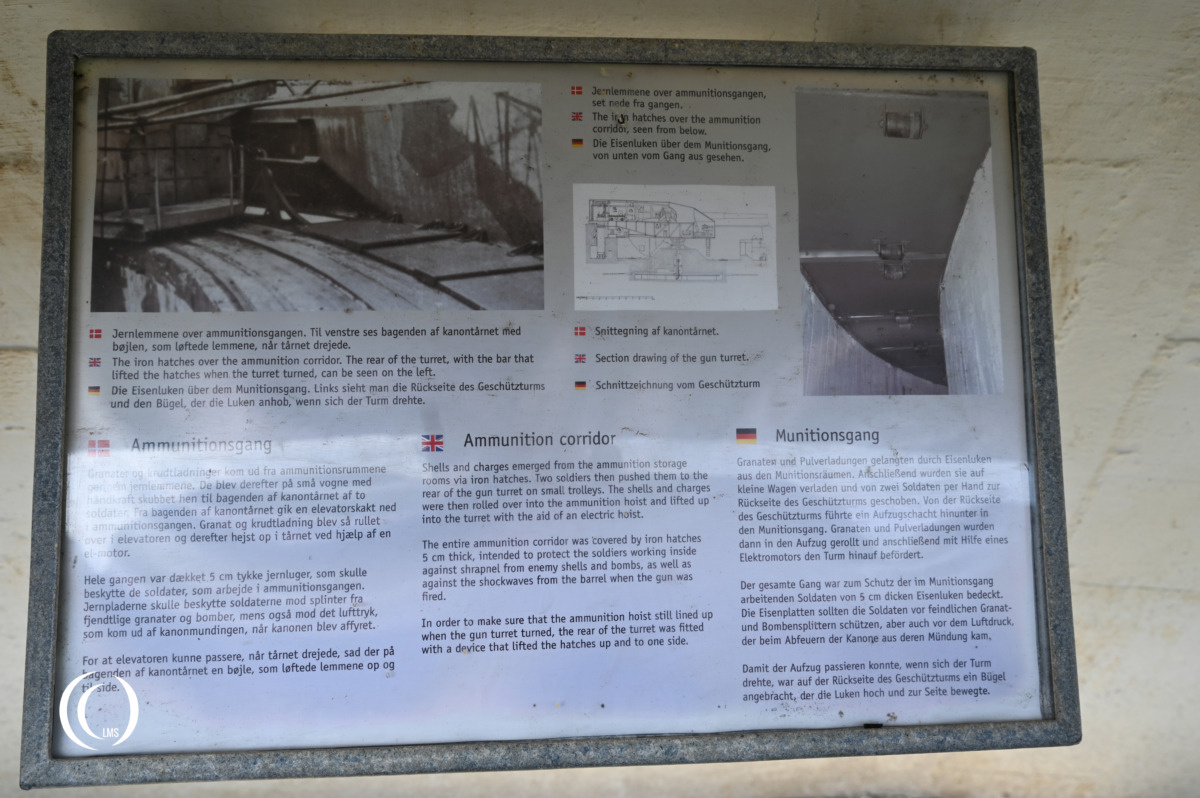
The opening in the roof of the ammunition corridor was covered by 5 cm thick steel hatches which protected the men and ammunition in the corridor from shrapnel and the shockwave from the gun barrel when it was fired. These hatches were lifted and closed again by a curved hook at the back of the turret when it rotated.
Ammunition stores
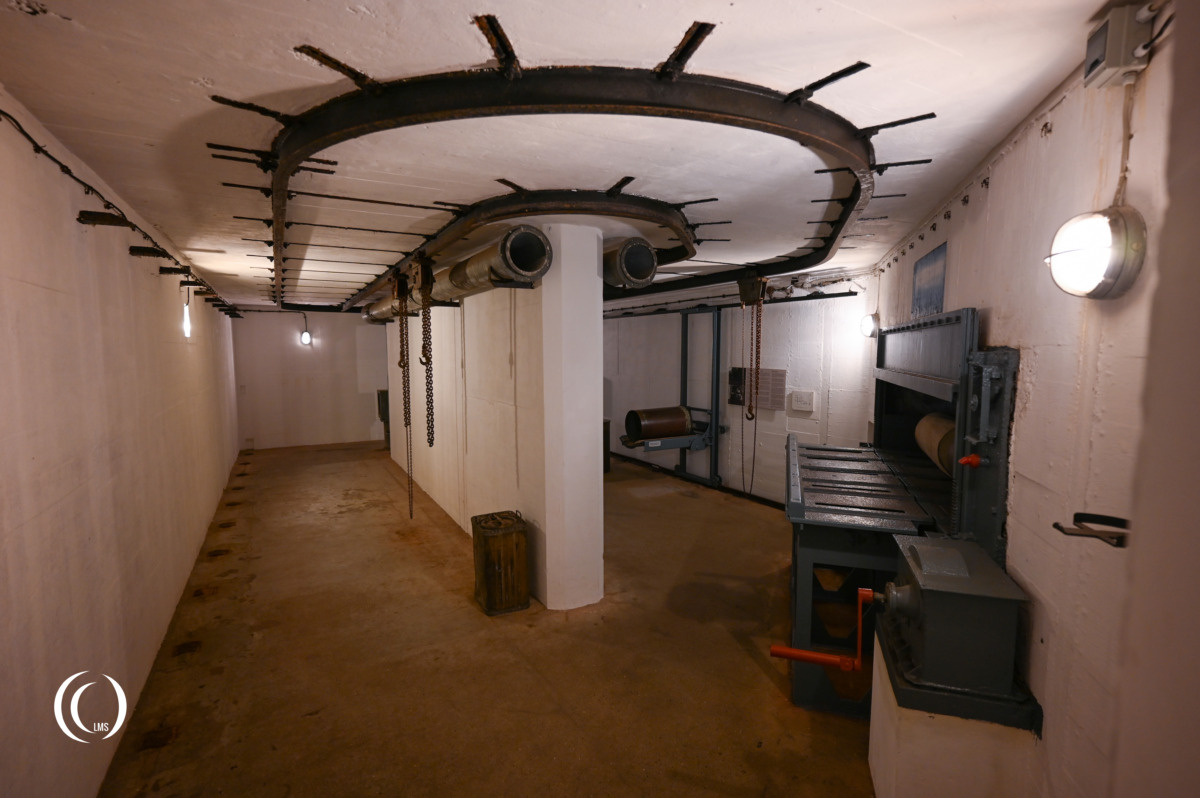
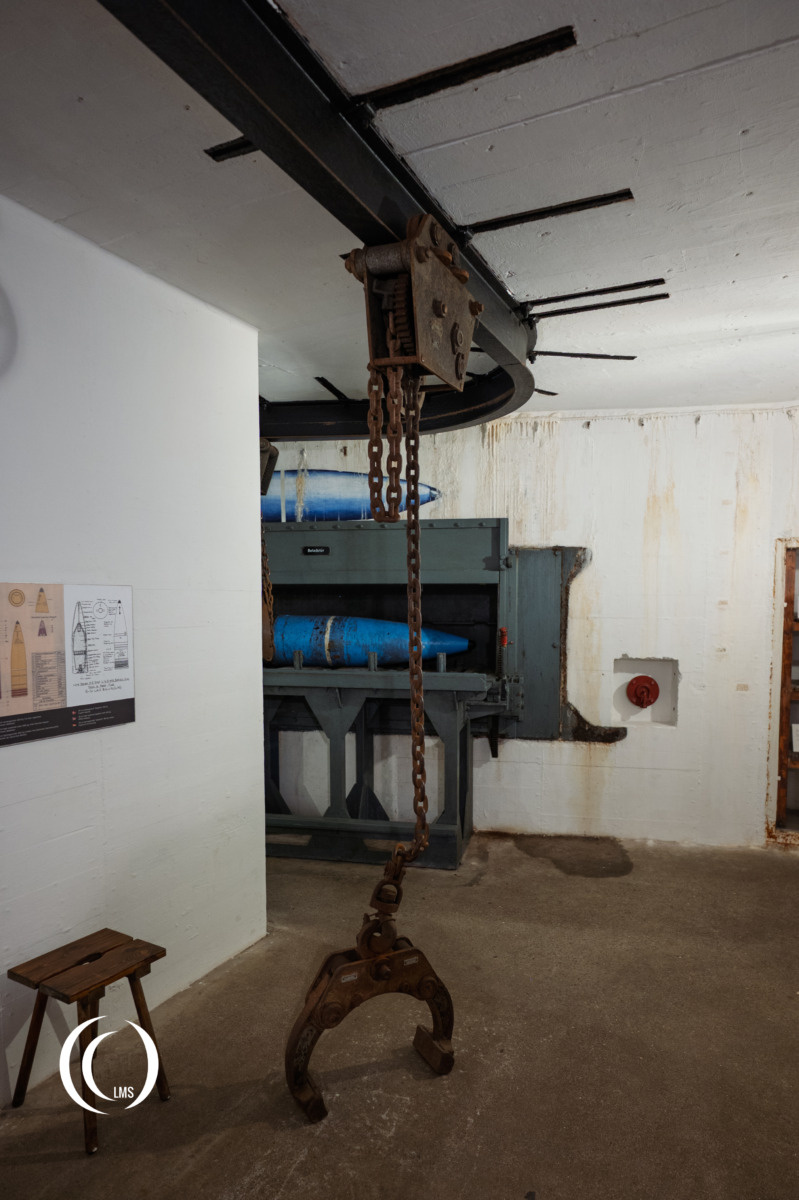
The bunker had four large ammunition storage rooms of which the two outermost rooms for storing cartridges and charges and the innermost rooms for shells, each with a capacity of around 50 shells. A rail system installed on the ceiling was used to transport the cartridges and shells within the ammunition storage rooms. Each room had its own ammunition lock to the ammunitions corridor.
Ammunition train
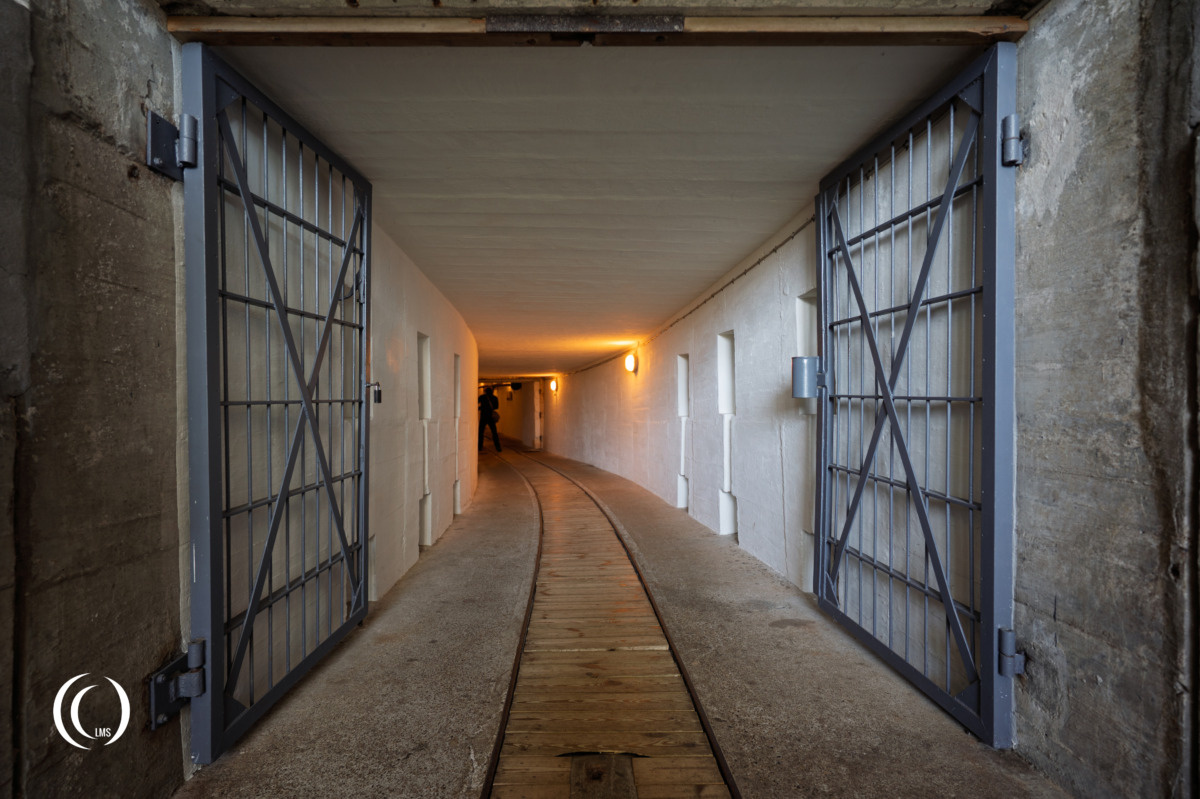
At the front of the S 75/80 bunker a straight corridor with a small-gauge railway track installed provided access for a small transport train to supply ammunition to the storage rooms from ammunition bunkers nearby. These ammunition bunkers (2 x type S 174 and 4 x type S 468) were constructed separately from the gun emplacements on the battery grounds and were all interconnected by a small-gauge rail system.
The museum has a DEMAG Diesel locomotive of 1940 on display in the corridor which is said to be used here at Hanstholm II during World War Two.
Crew section
Around 90 soldiers were stationed in the bunker. Although soldiers could leave when off duty, at least half of the crew always had to remain nearby to operate the gun if needed. The bunker was relatively comfortable for its time, equipped with toilets, showers, central heating, and electric ventilation. The walls were insulated with fibreboard to improve warmth and acoustics.
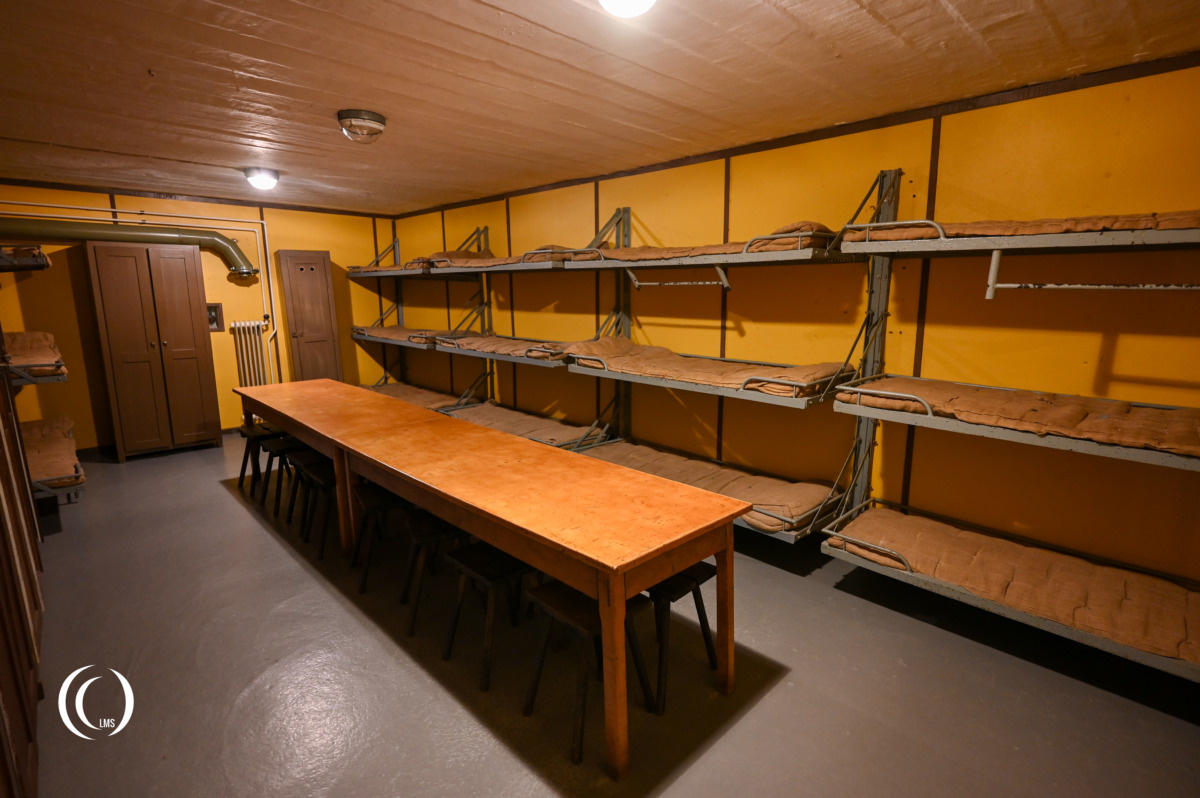
Fifteen men were assigned to this crew room, which served as both sleeping quarters and a common living area where meals were eaten.
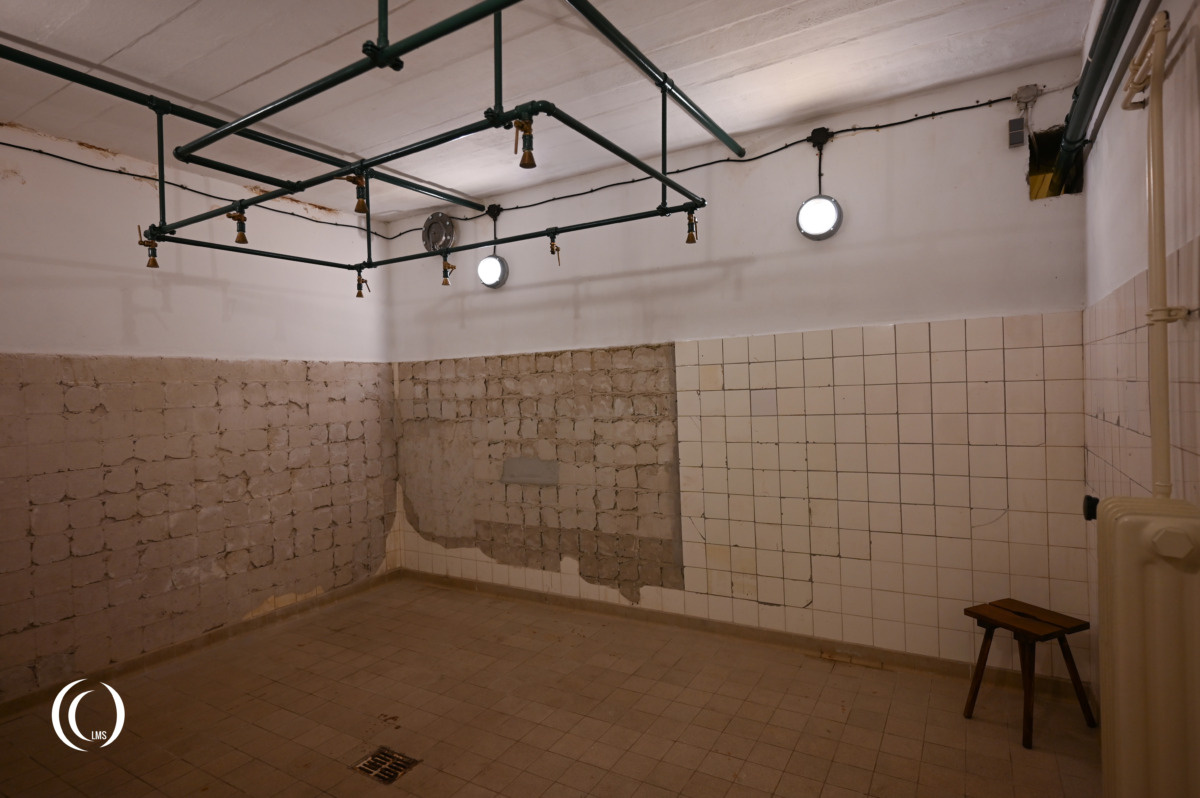
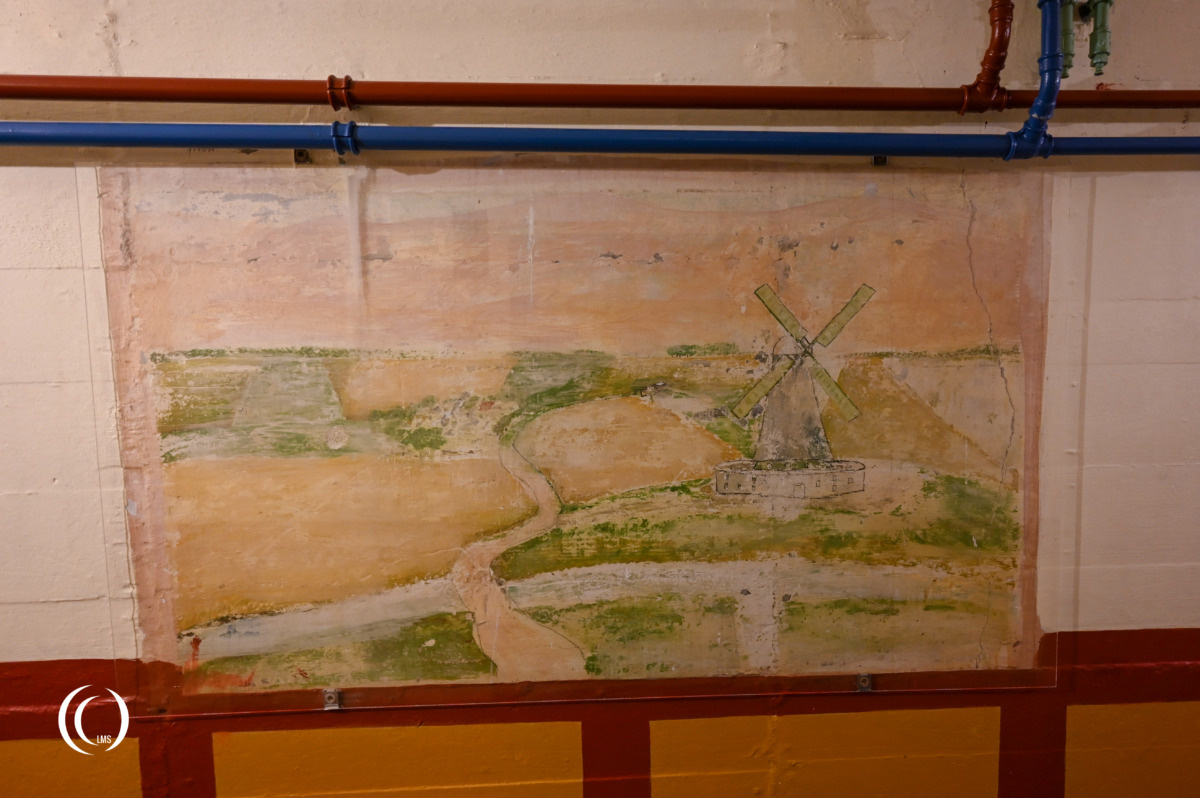
Machine room
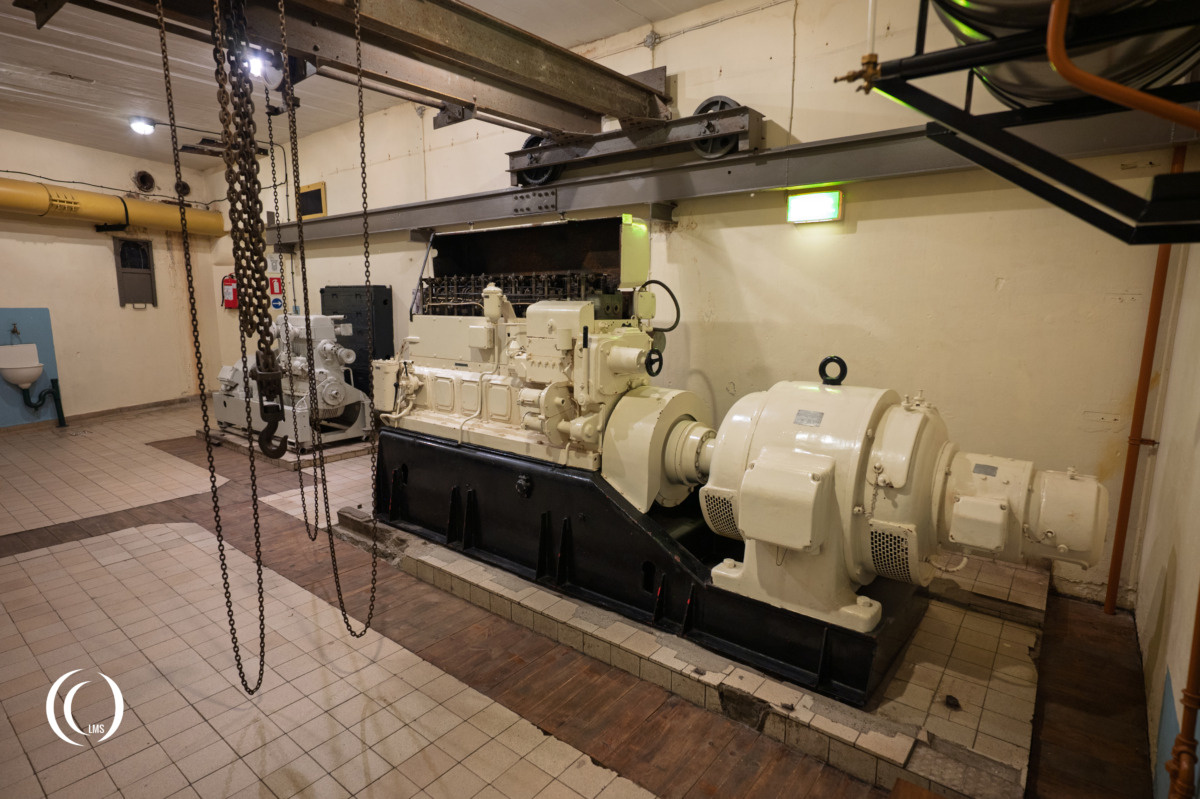
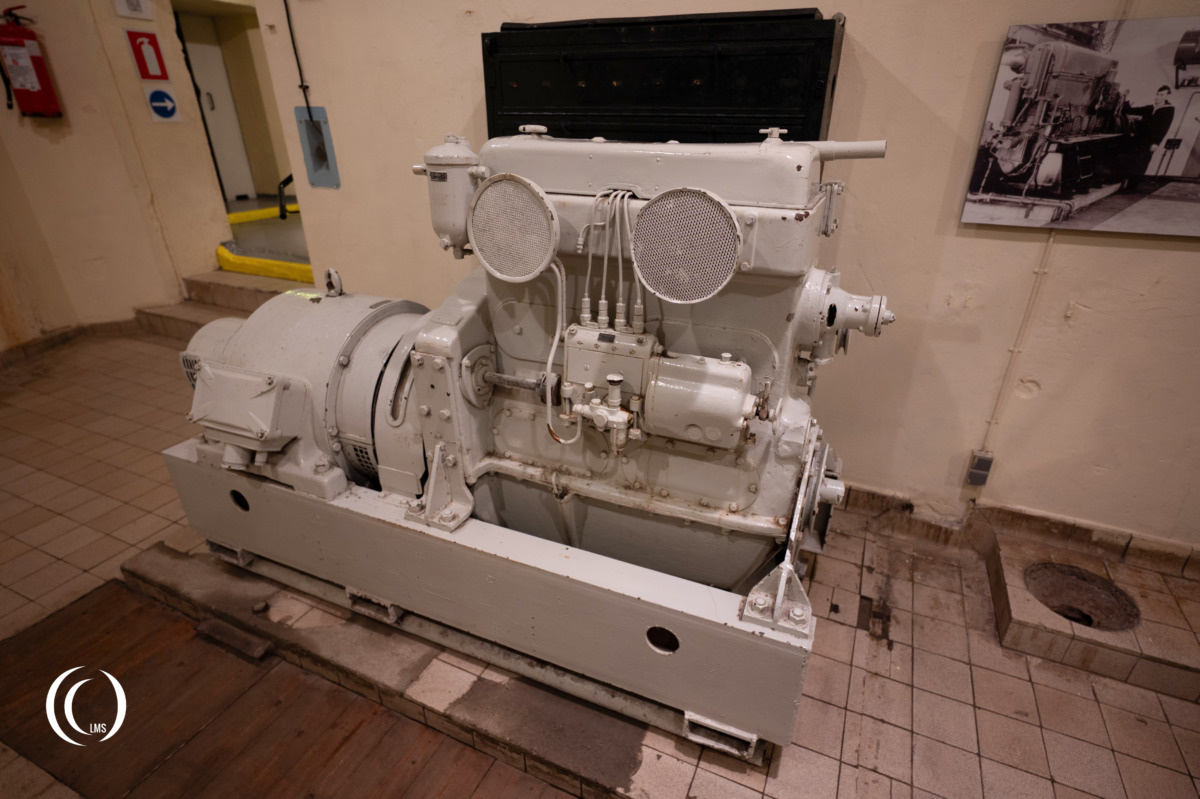
The machine room provided emergency electricity for the bunker during combat. Under normal conditions, power came from the town’s electrical grid, but because the grid could be damaged during attacks, each bunker was equipped with diesel-powered generators. These generators supplied electricity for lighting and for operating the guns. Every gun bunker of Hanstholm II had its own generator units, supported by a central power bunker for the entire battery.
After the war, the original machinery was removed, but the room has since been reconstructed using authentic German equipment.
Visit
You can visit the Geschütz 3 or G3 bunker of Battery Hanstholm II as part of a visit to Bunkermuseum Hanstholm. The museum has done a great job restoring and preserving the bunker interior to its former state and displaying many original items in the various rooms inside the large bunker. Be sure to combine your visit with the exhibition inside the museum building itself, which provides a great WWII collection and lots of background information about the battery and the German occupation in Denmark.
References
- https://atlantvolden.dk/
- https://en.wikipedia.org/
- https://bunkermuseumhanstholm.dk/
- German bunkers in Denmark | Jens Andersen & Rudi Rolf (PRAK Publishing 2006)
- Atlantic Wall Typology | Rudi Rolf
- https://www.hanstholmregistreringen.dk
